

Bike Bar Tape – What Is It Exactly?
A tape is made from plastic wrapped around the handlebars and the shift and brake levers of your road bike to provide more grip and comfort – a simple idea that has been firmly established among cyclists for around 100 years now. Back in the day, the first bicycles had rubber or wooden grips to make it easier to steer using metal handlebars, but from the 1920s onwards, bar tape started to become increasingly popular. This tape wraps around your bike’s handlebars and is much more supple than the grips of the past, which often looked rather clumsy.
Handlebar tape does the same job: it is designed to make riding more comfortable by absorbing shocks and bumps on the road. Road bike handlebar tape is also used to provide more grip – in the rain or when hands get sweaty in extremely hot conditions, for example. Otherwise, you could slip or even lose control of your bike in the blink of an eye, especially in wet conditions. With handlebar tape, however, your grip stays firm and secure. Handlebar grip tape can also be great for long rides, as it provides your hands with a little extra comfort and padding.
Why Do Some Bikes Need Handlebar Tape?
Handlebar tape provides more grip and comfort when cycling. Sure – some handlebars still come with built–in grip, like mountain or trekking bikes, for example, which come equipped with a comfortable, ergonomic grip. Handlebar tape, however, is used on certain bicycles such as road bikes, track bikes or triathlon bikes, as they have a more minimalist design without a handlebar grips. Bar tape is ideal for these kinds of bikes as the weight added is practically zero and it doesn’t slip even when steering gets more extreme. What’s more, road bike bar tape can be easily applied or removed by your average cyclist, something which is especially important for those who like to change things up on a regular basis.
Handlebar Tape – What Different Types Are Available?
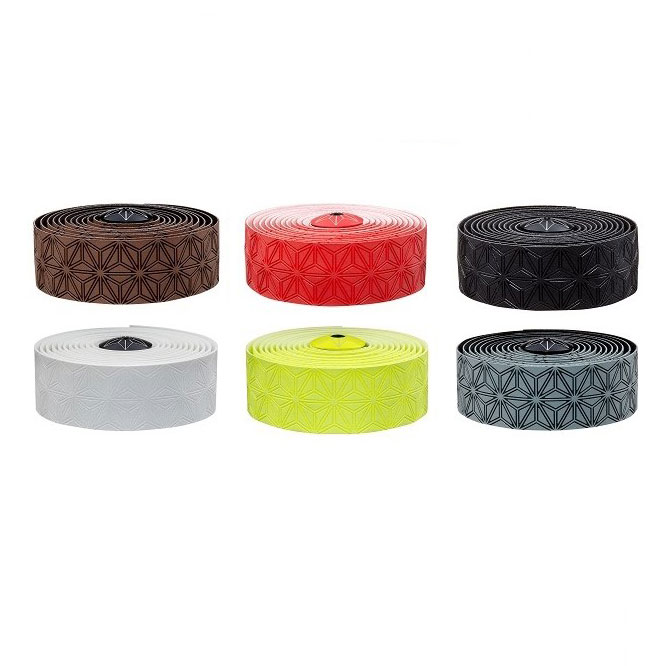
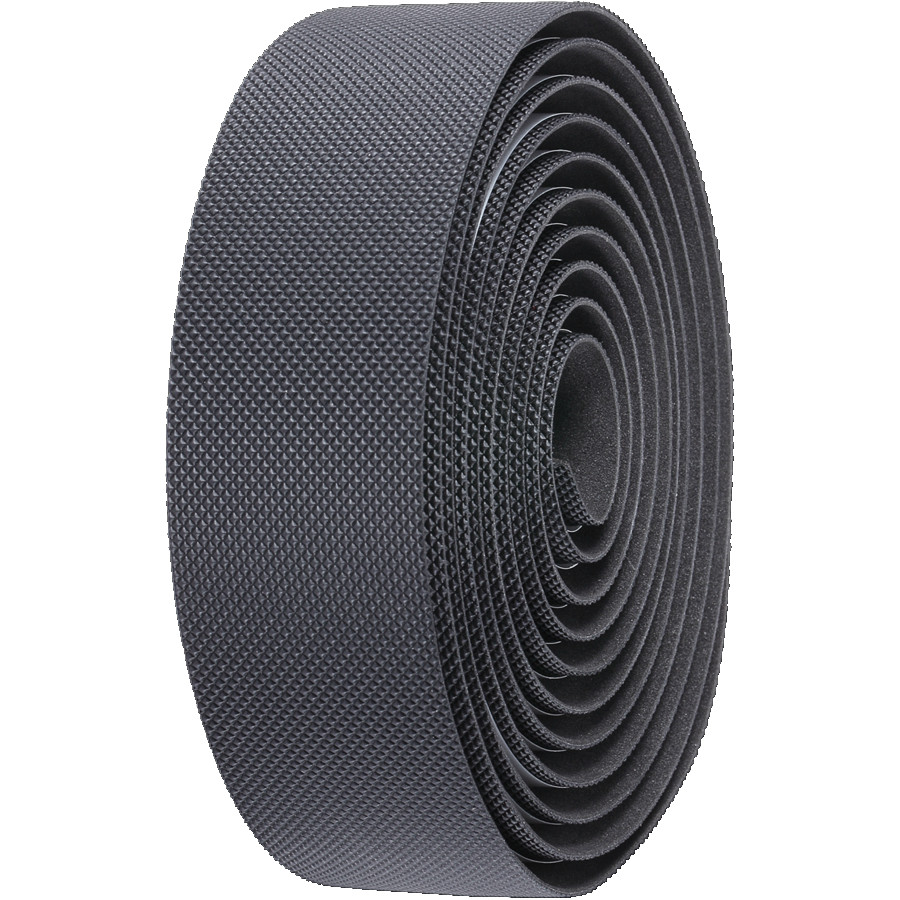
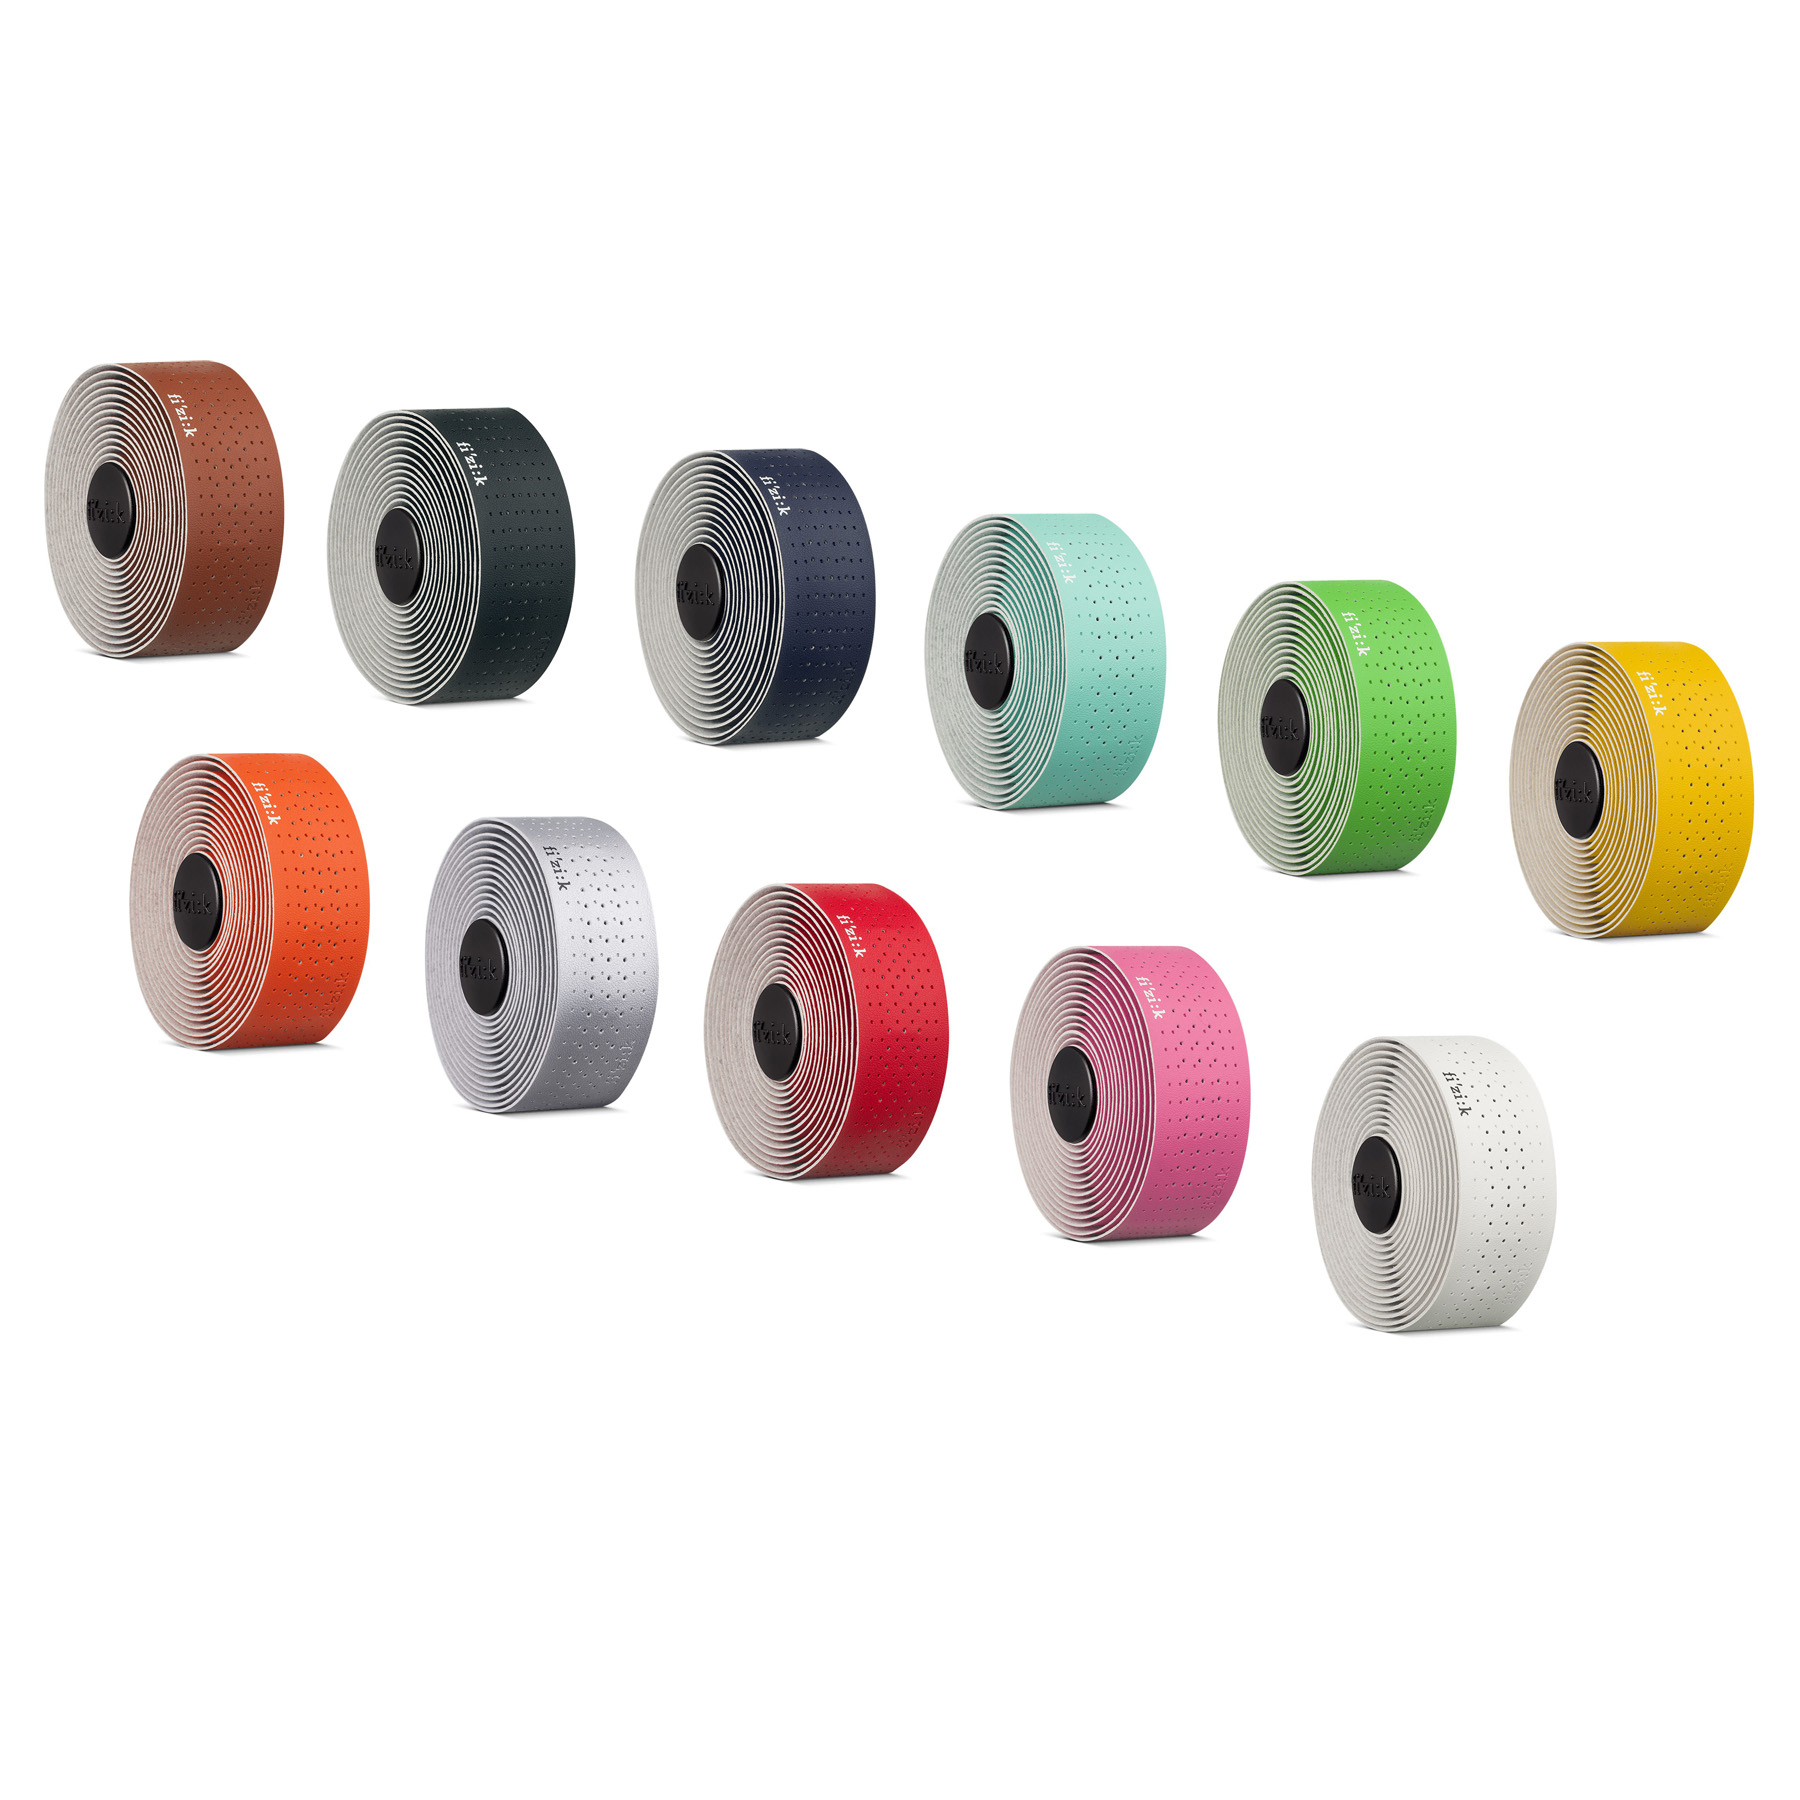
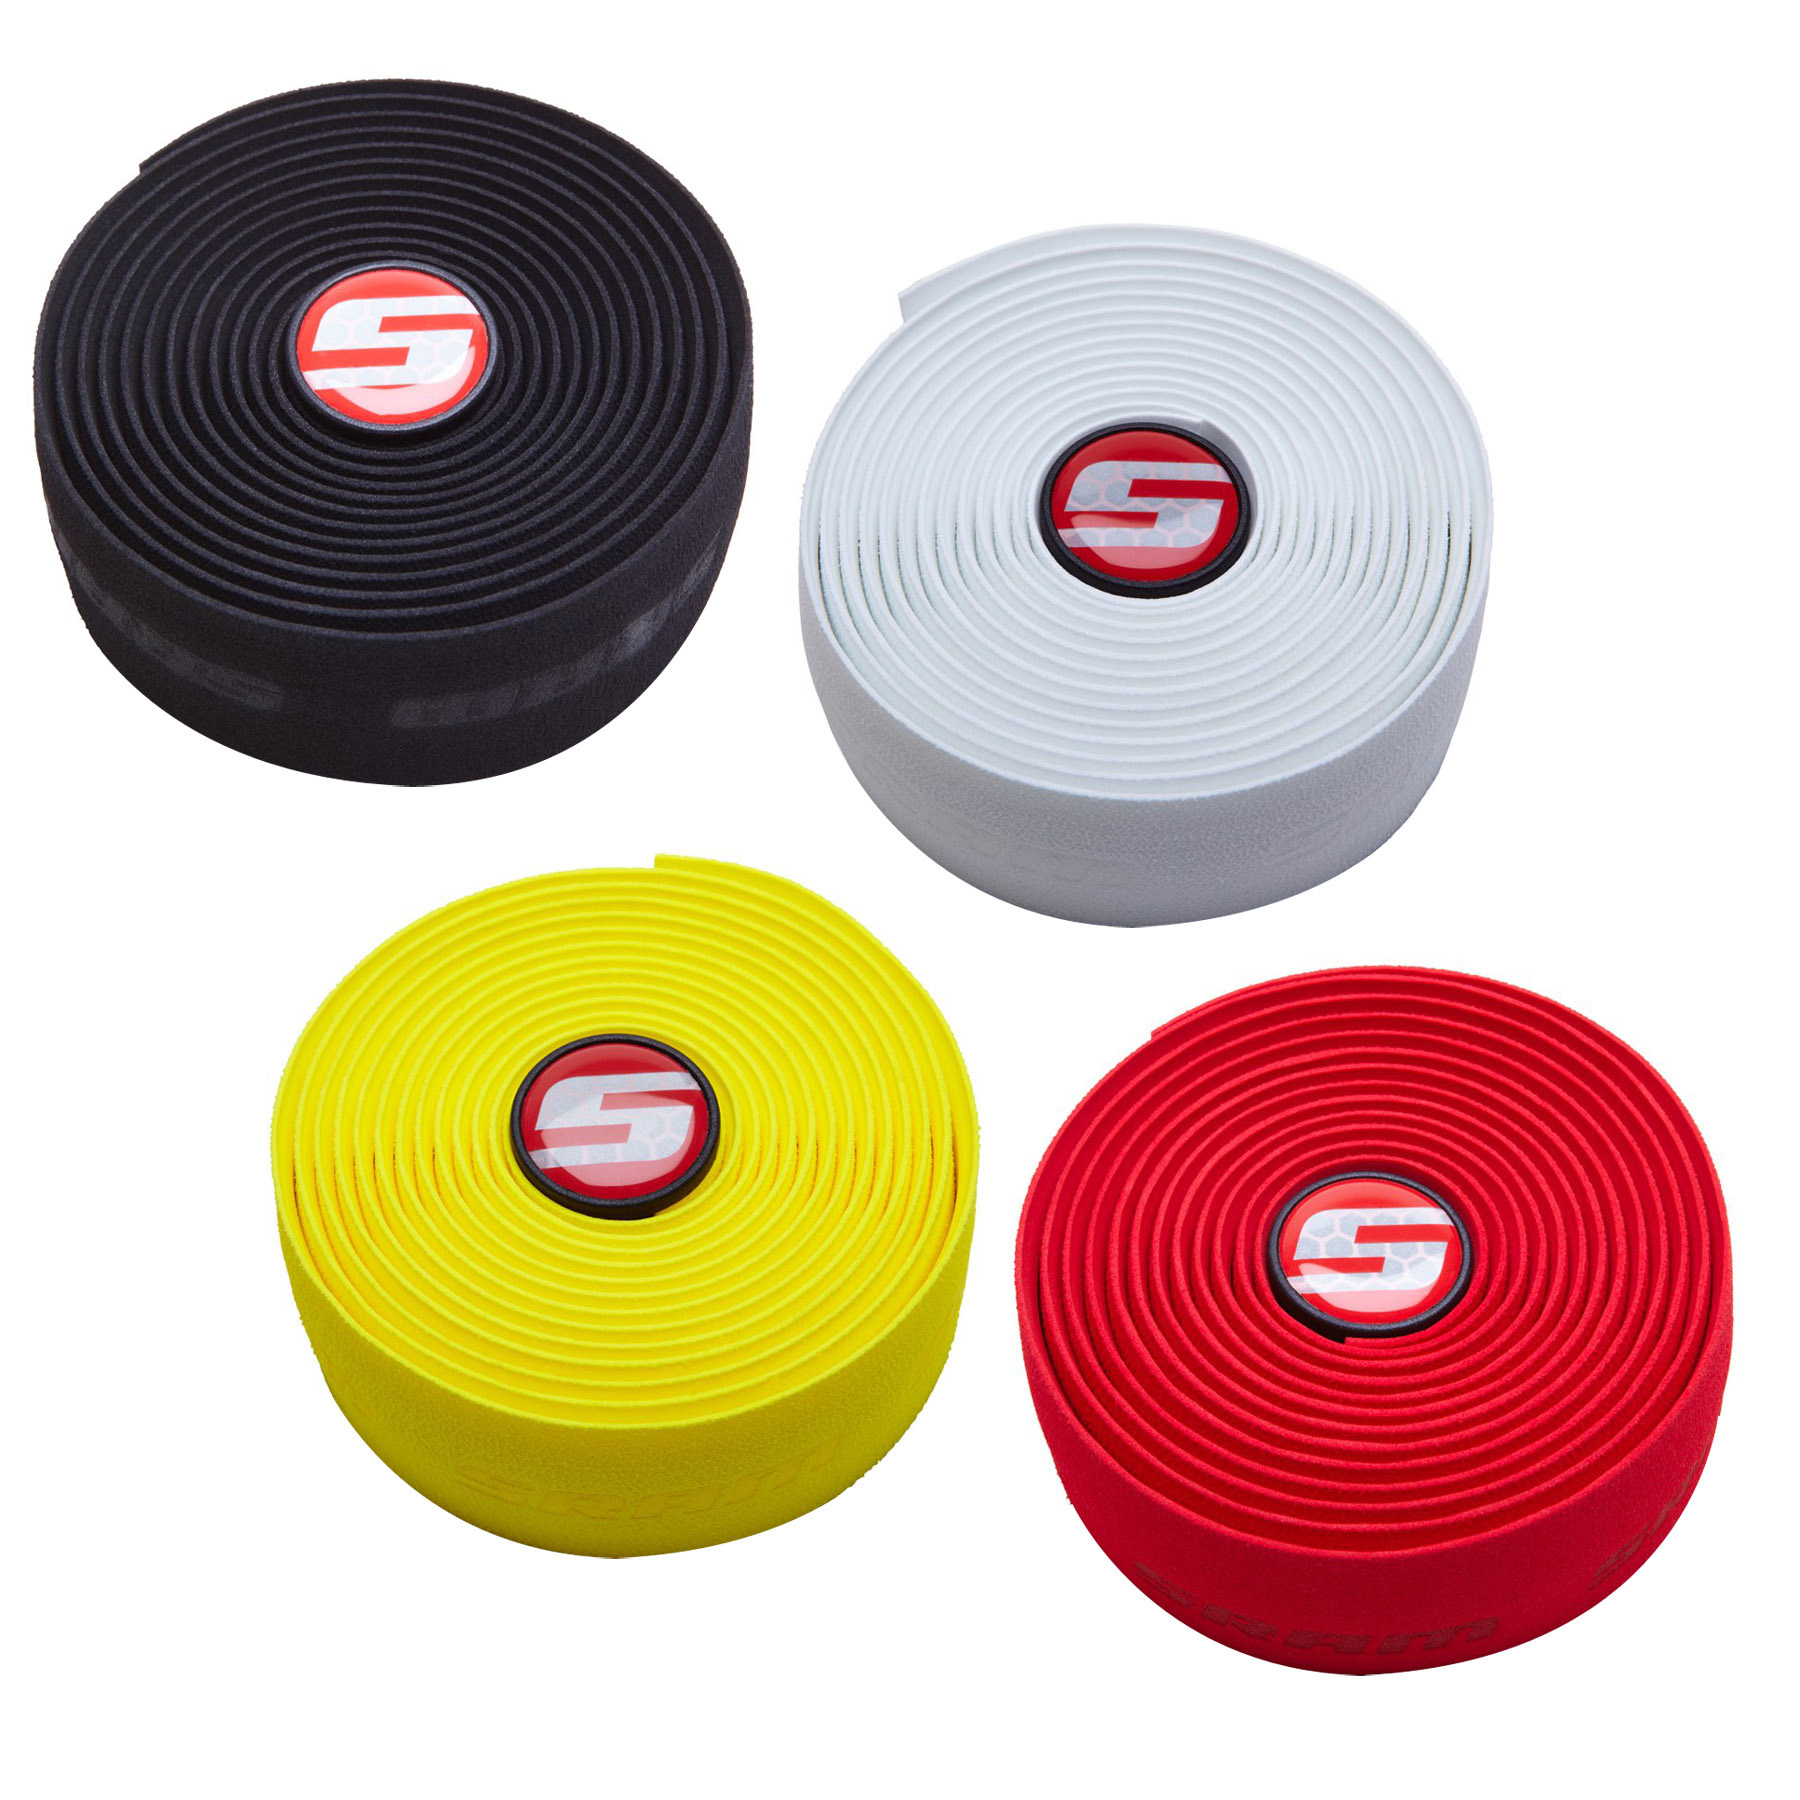
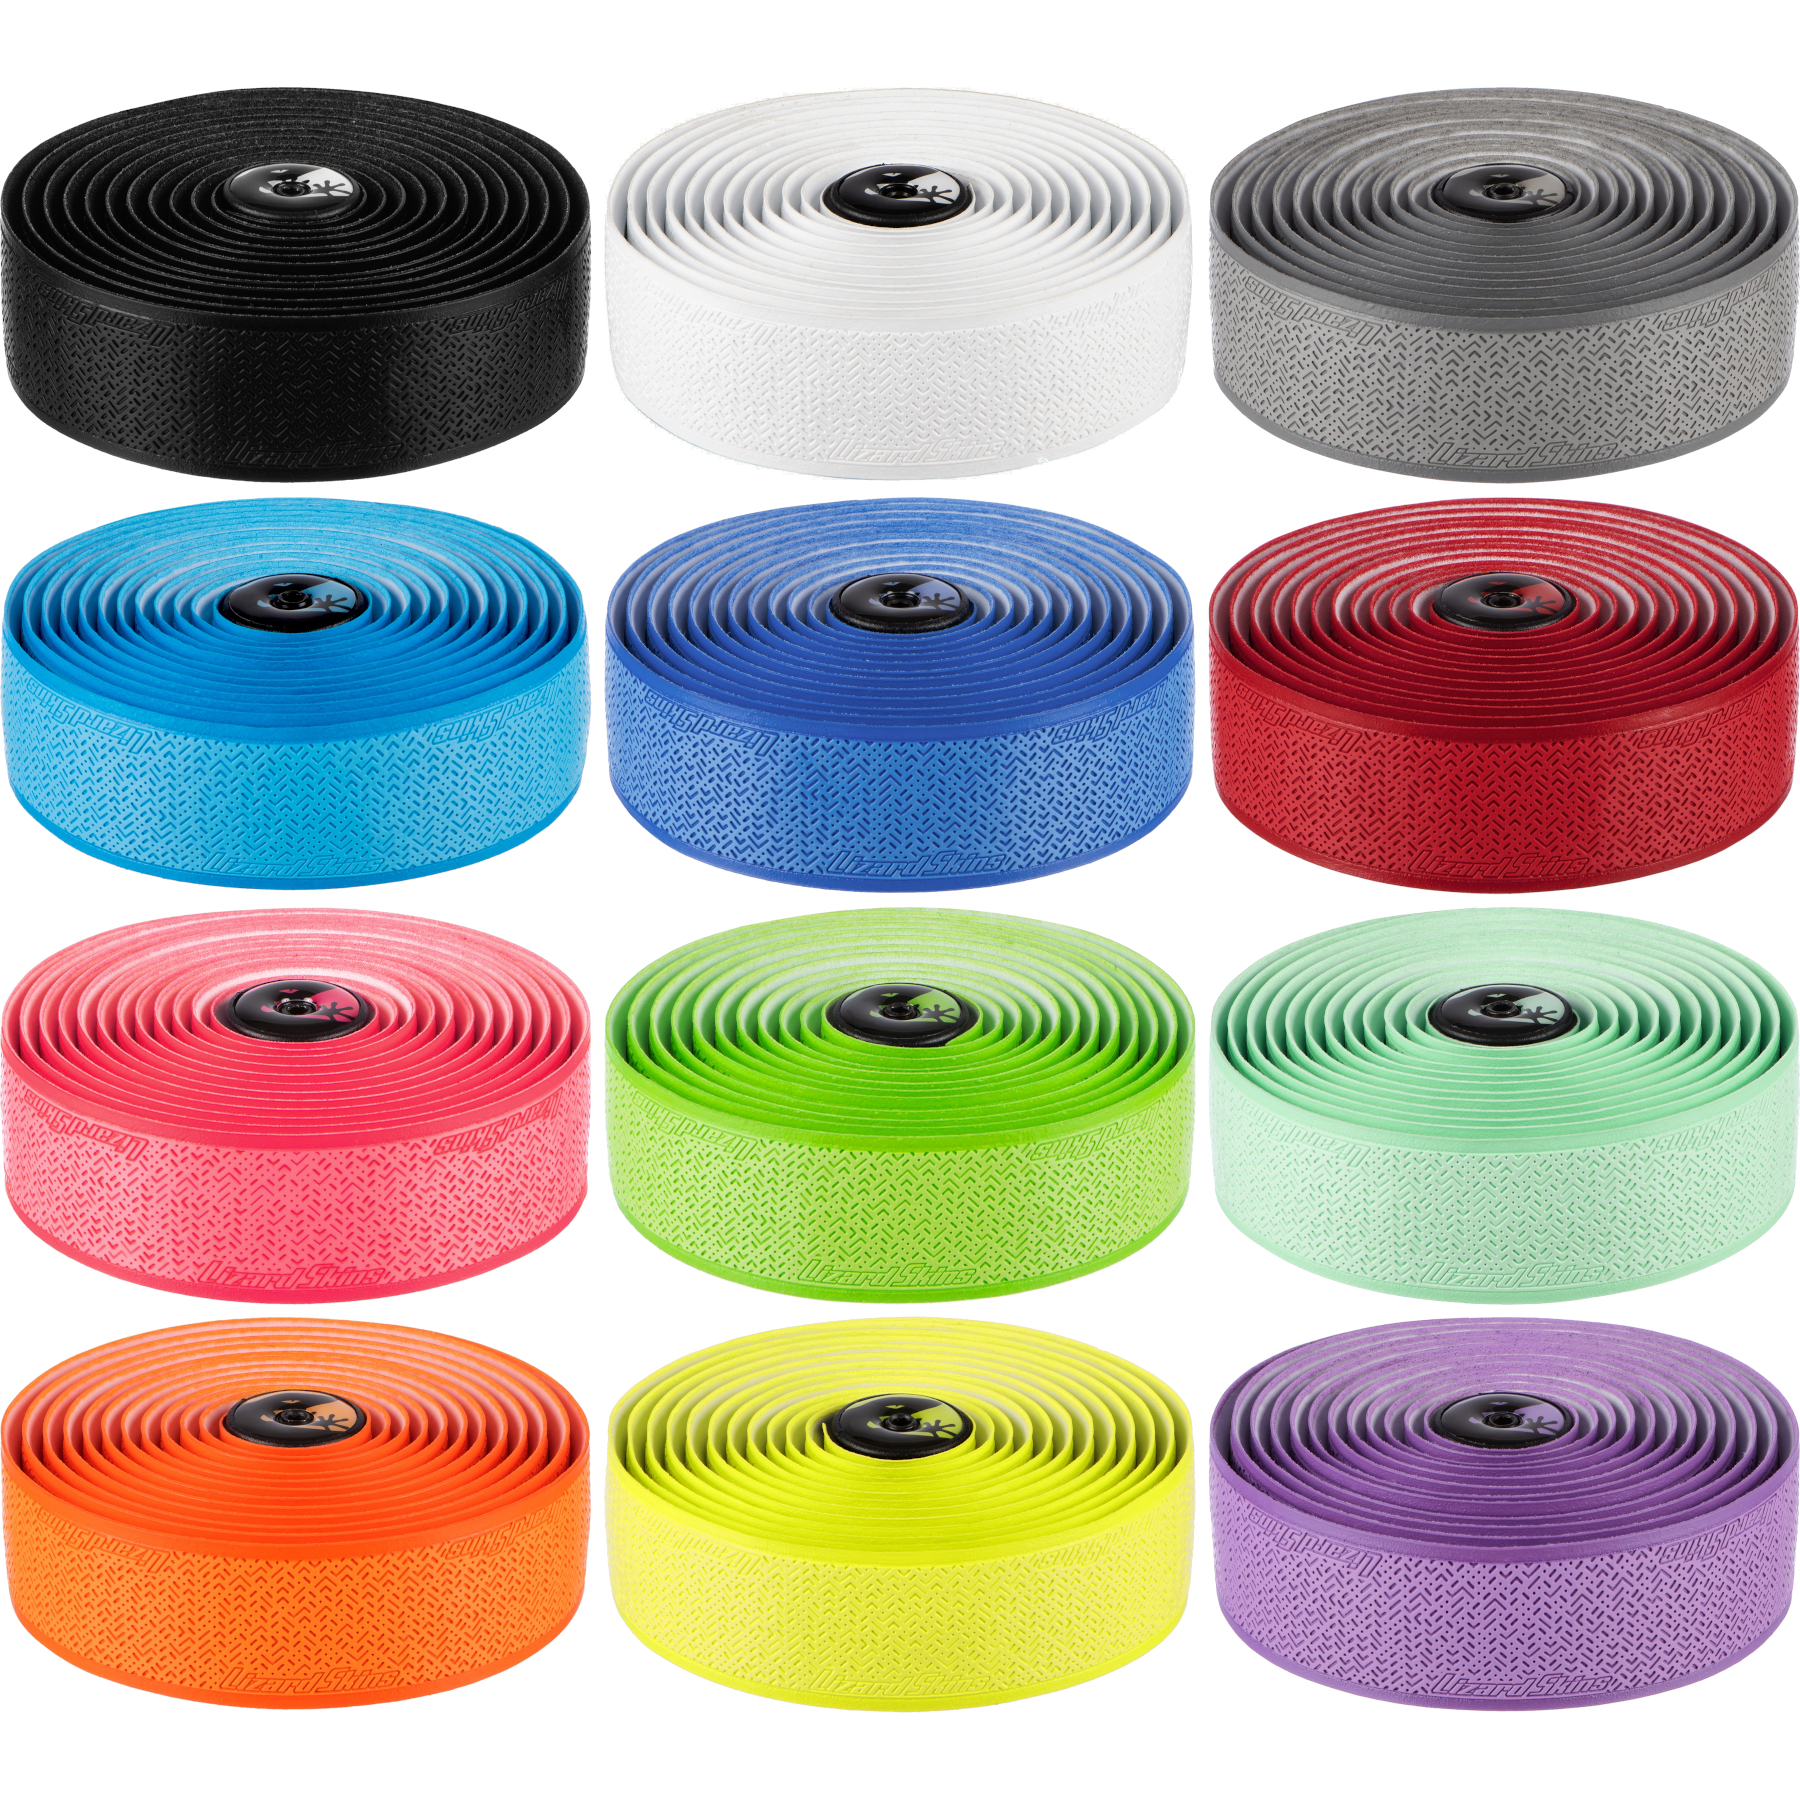
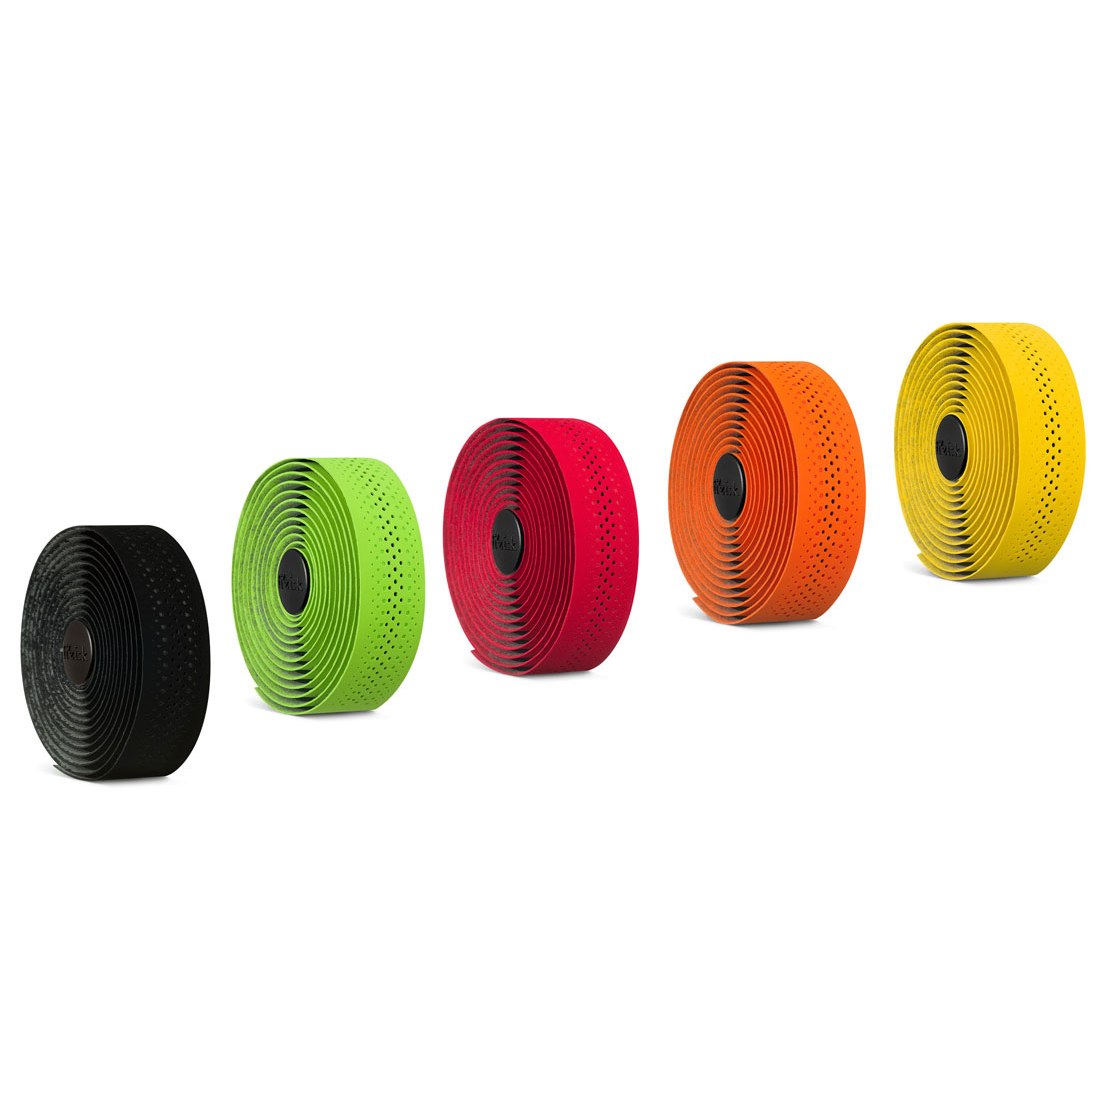
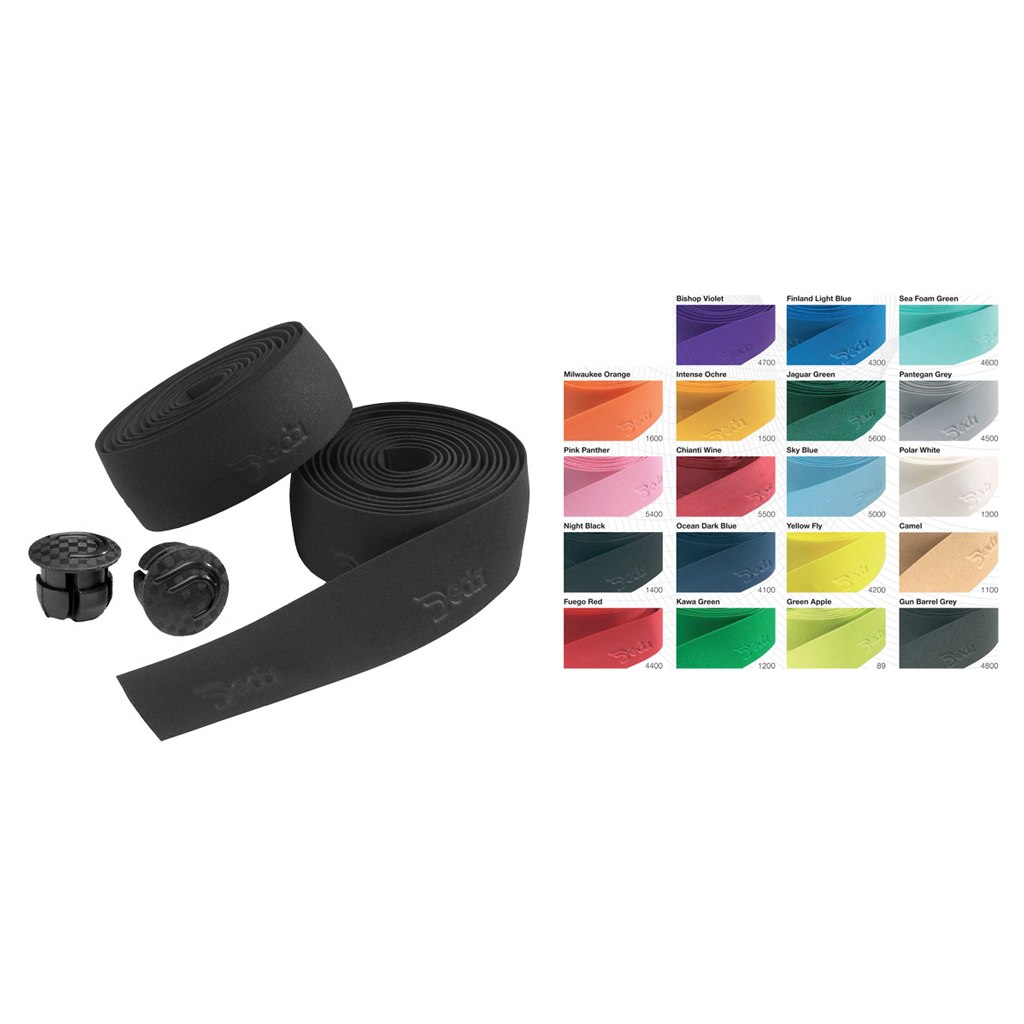
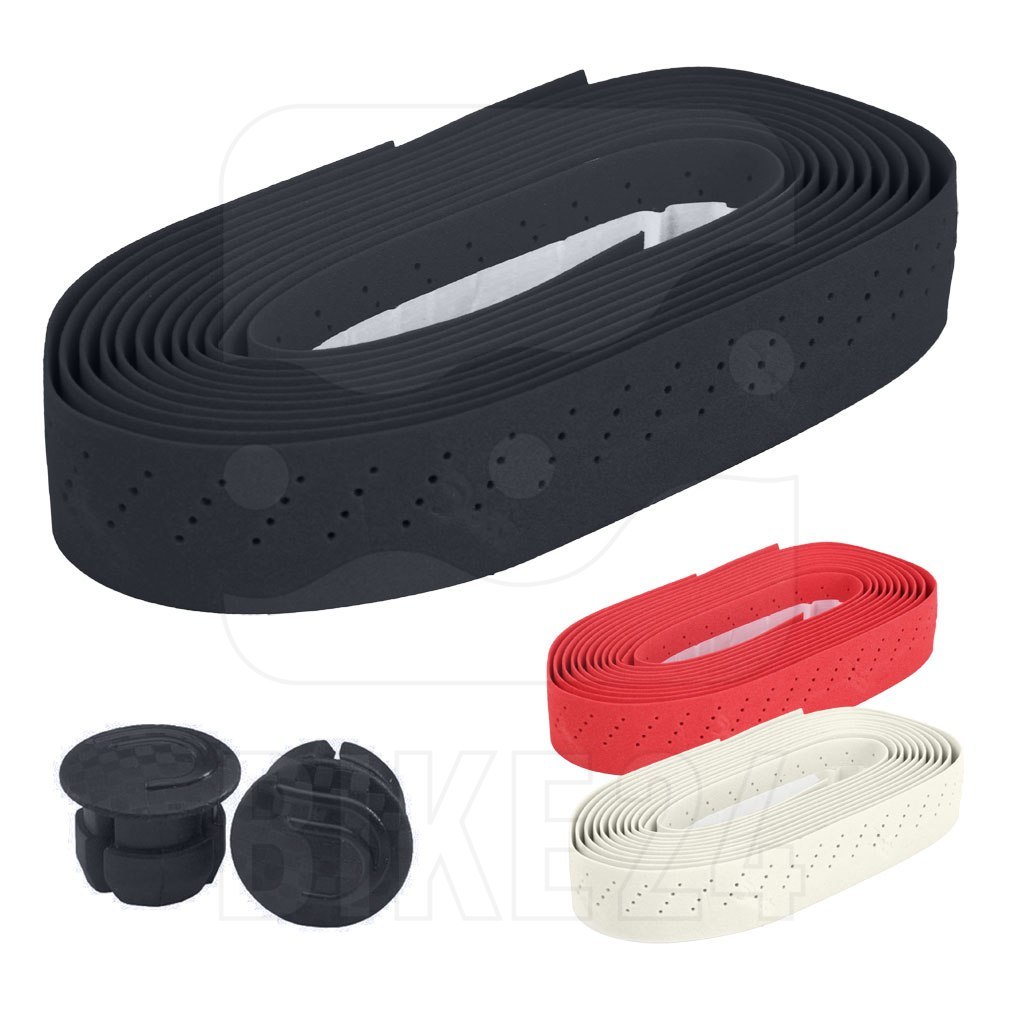
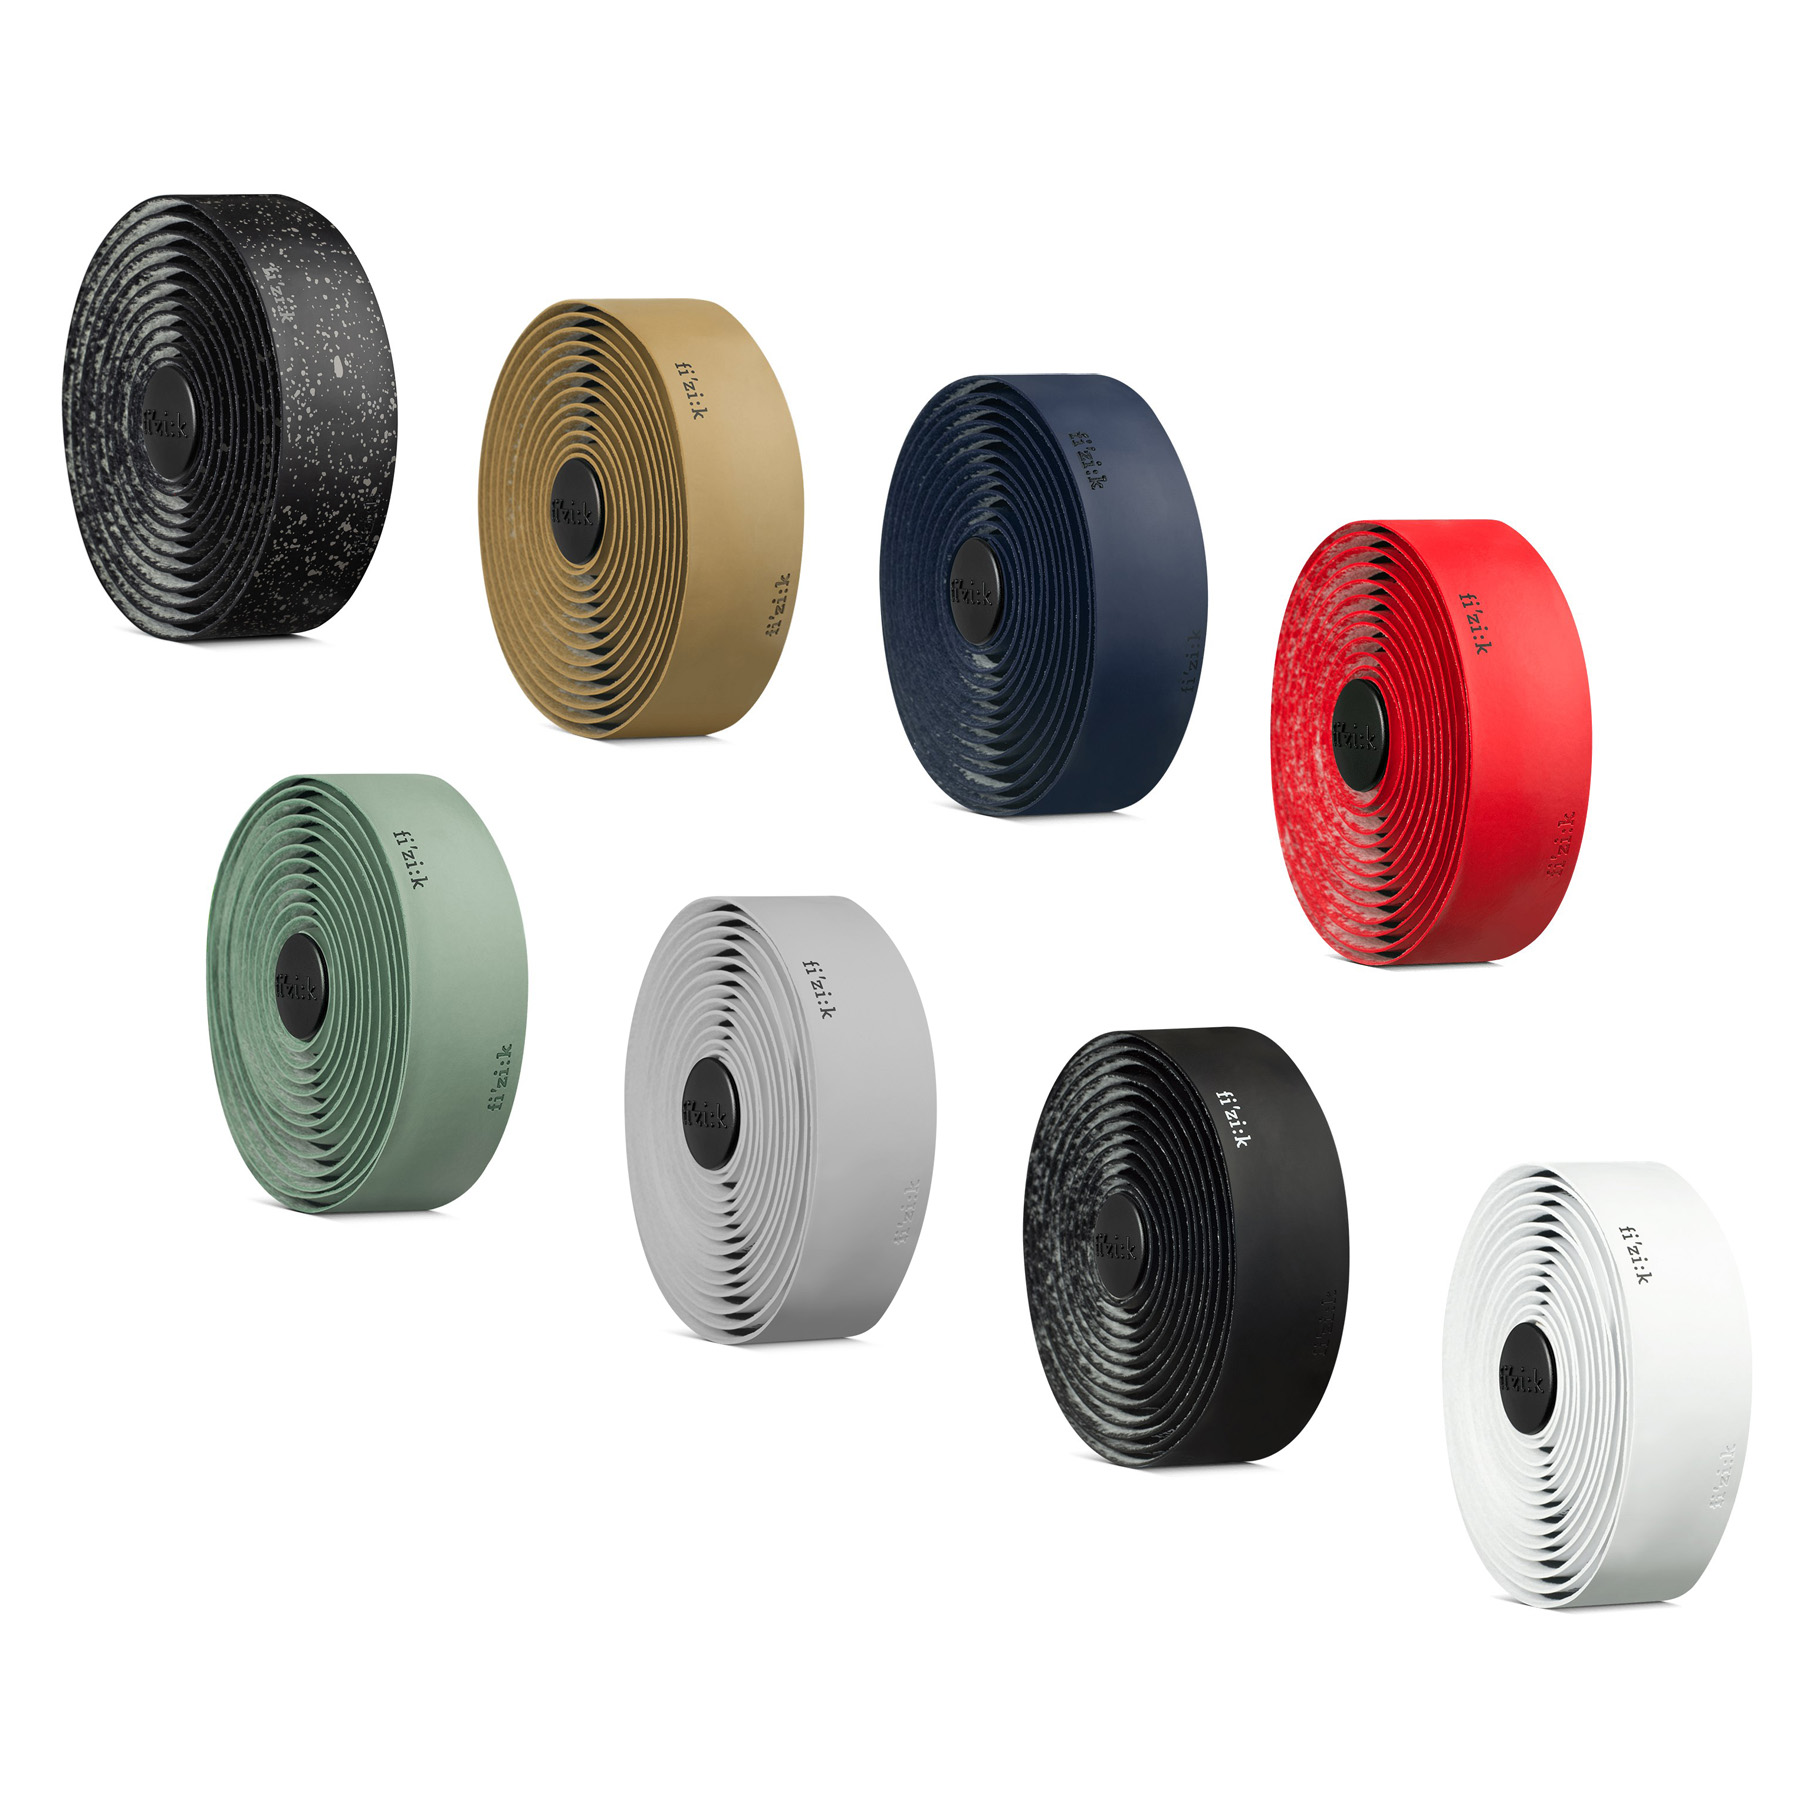
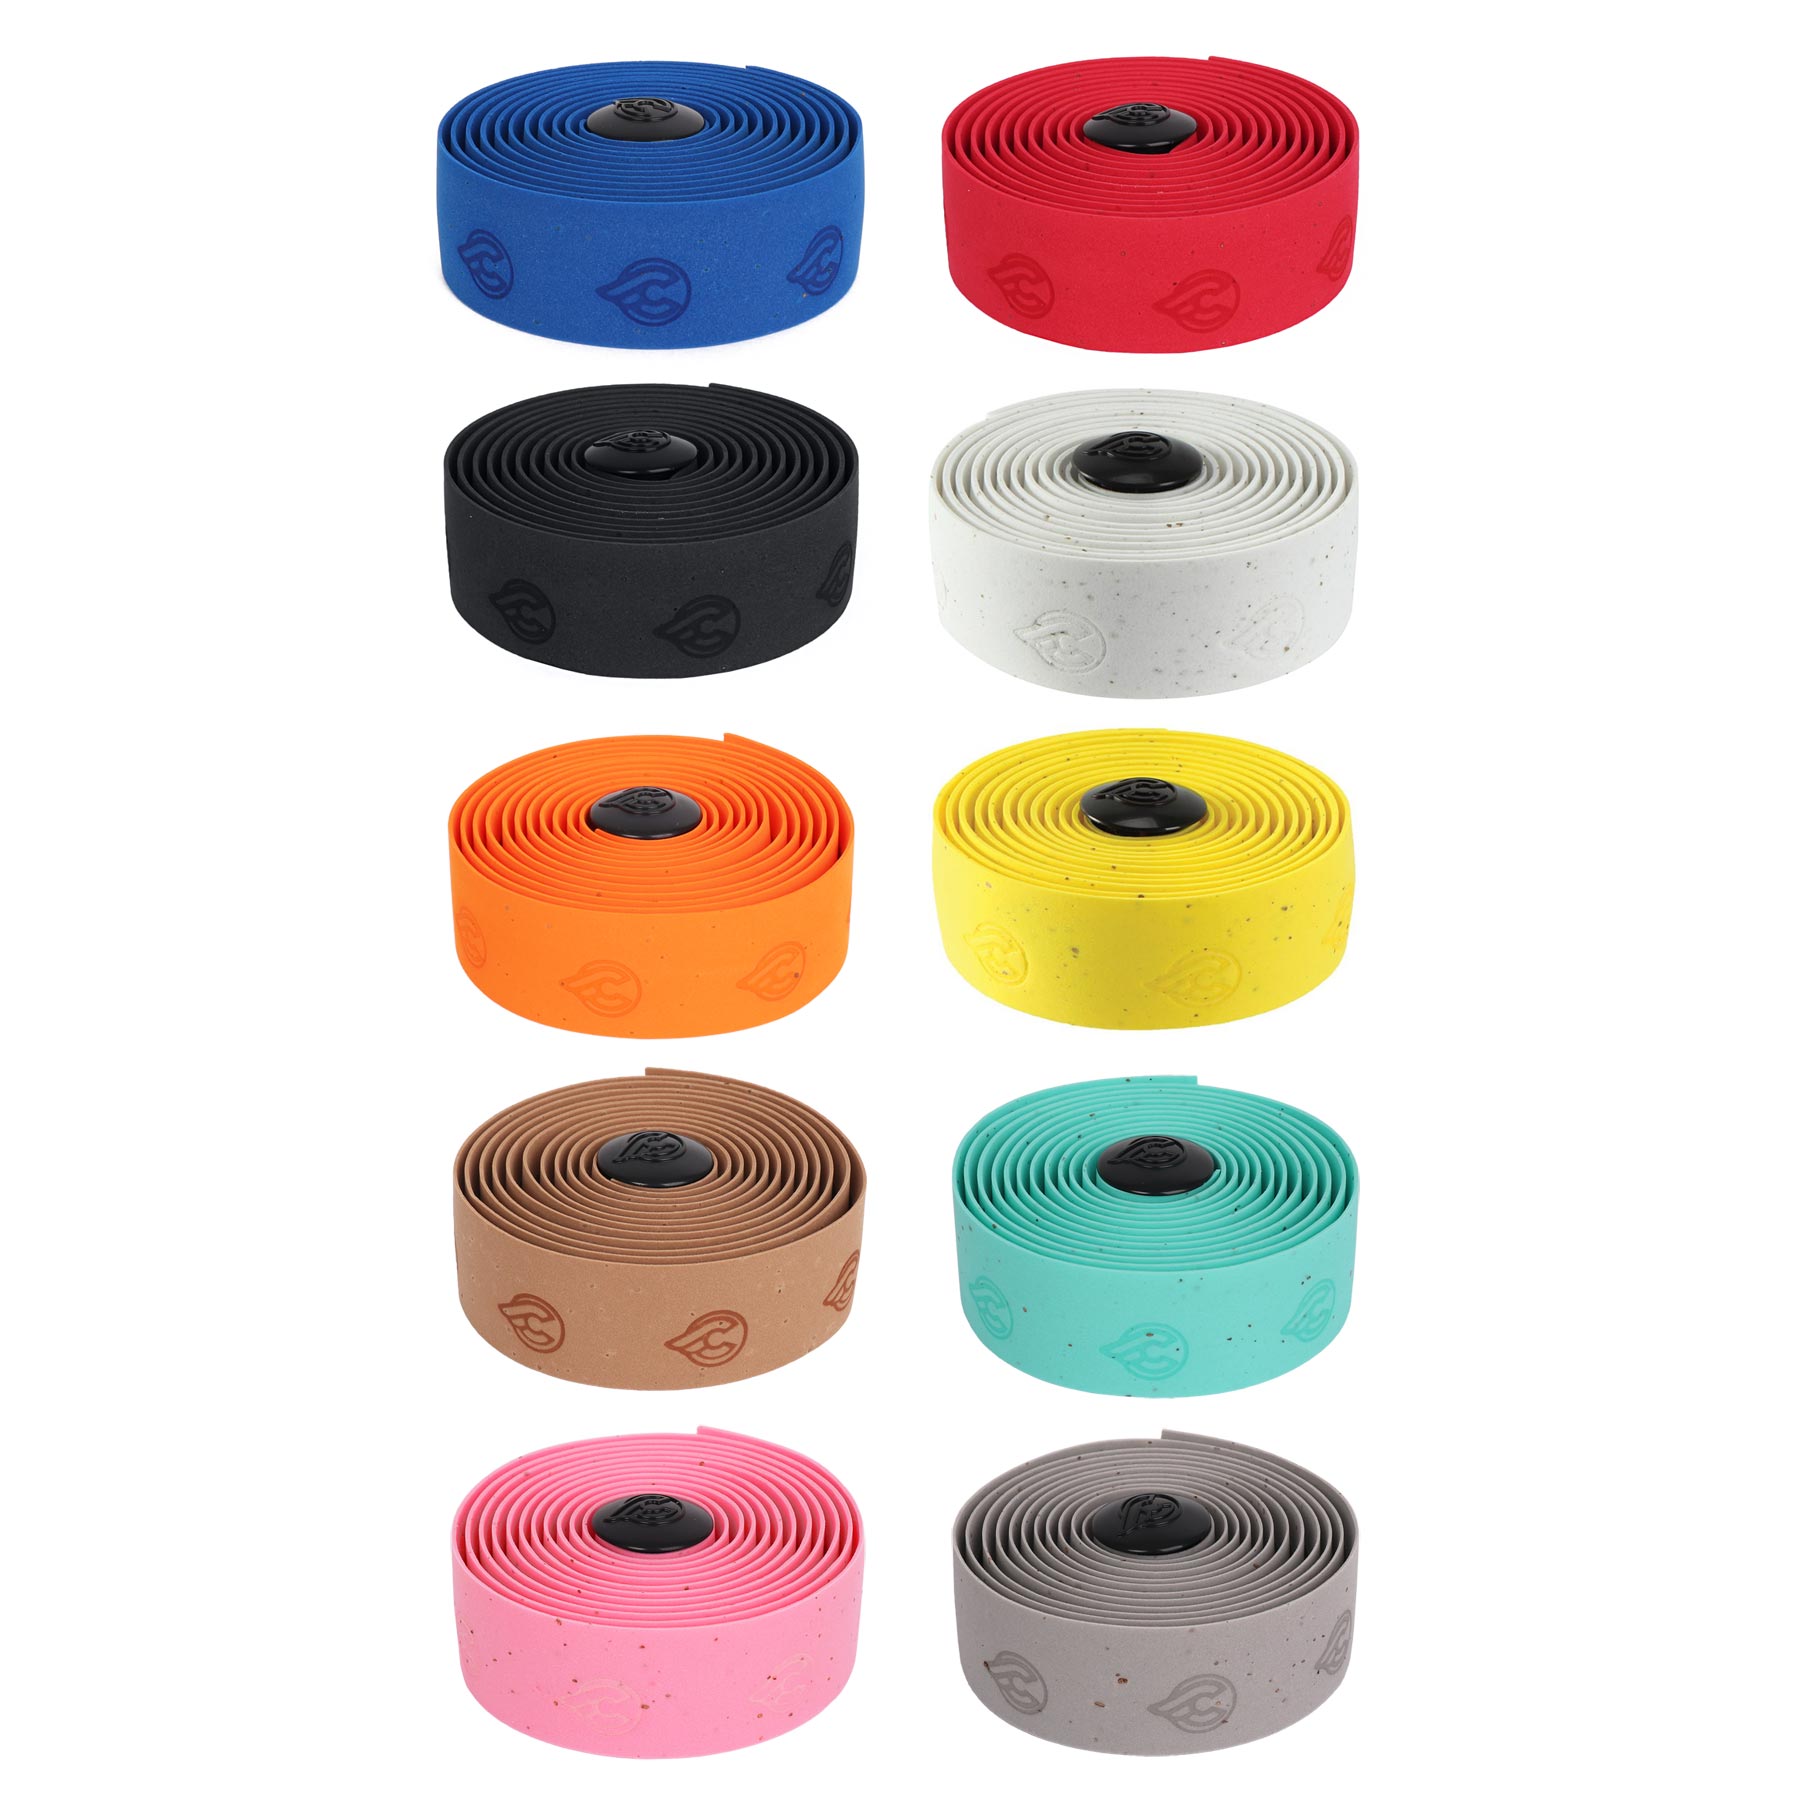
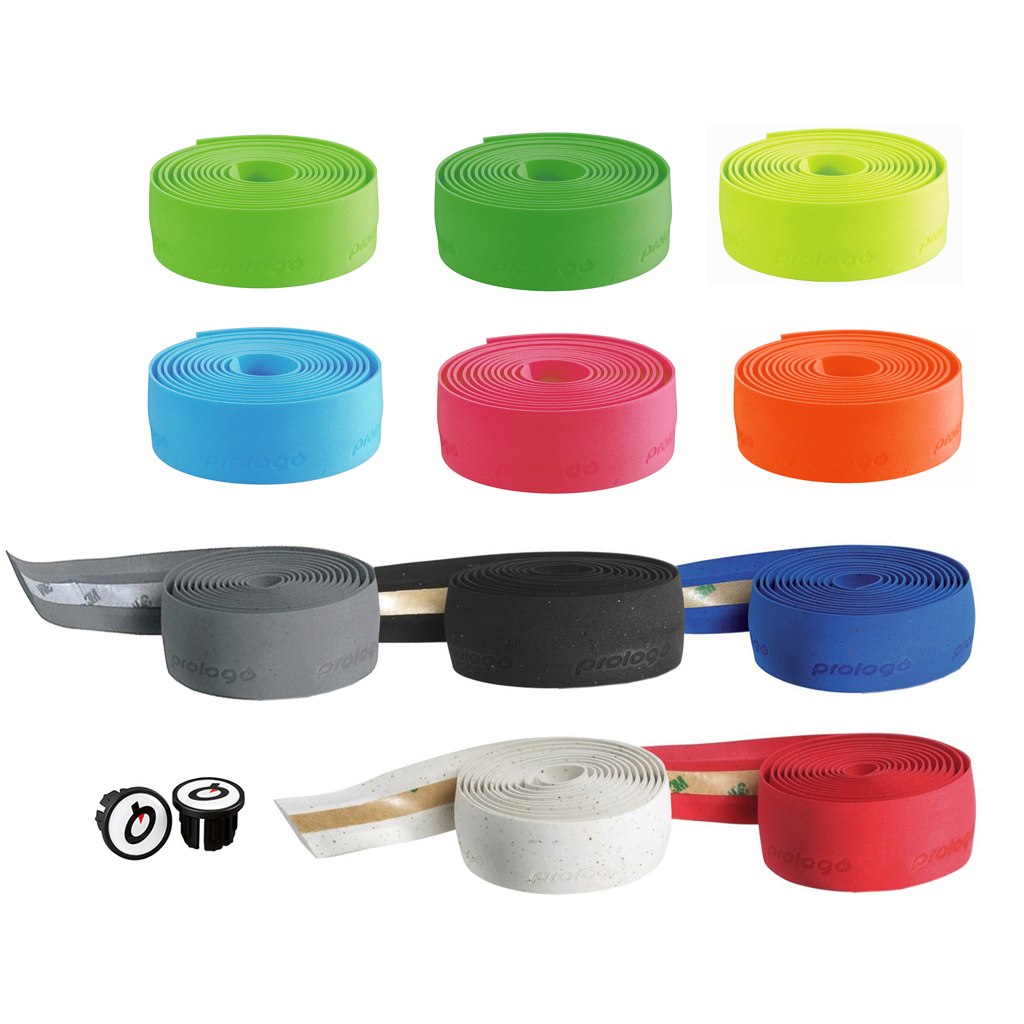
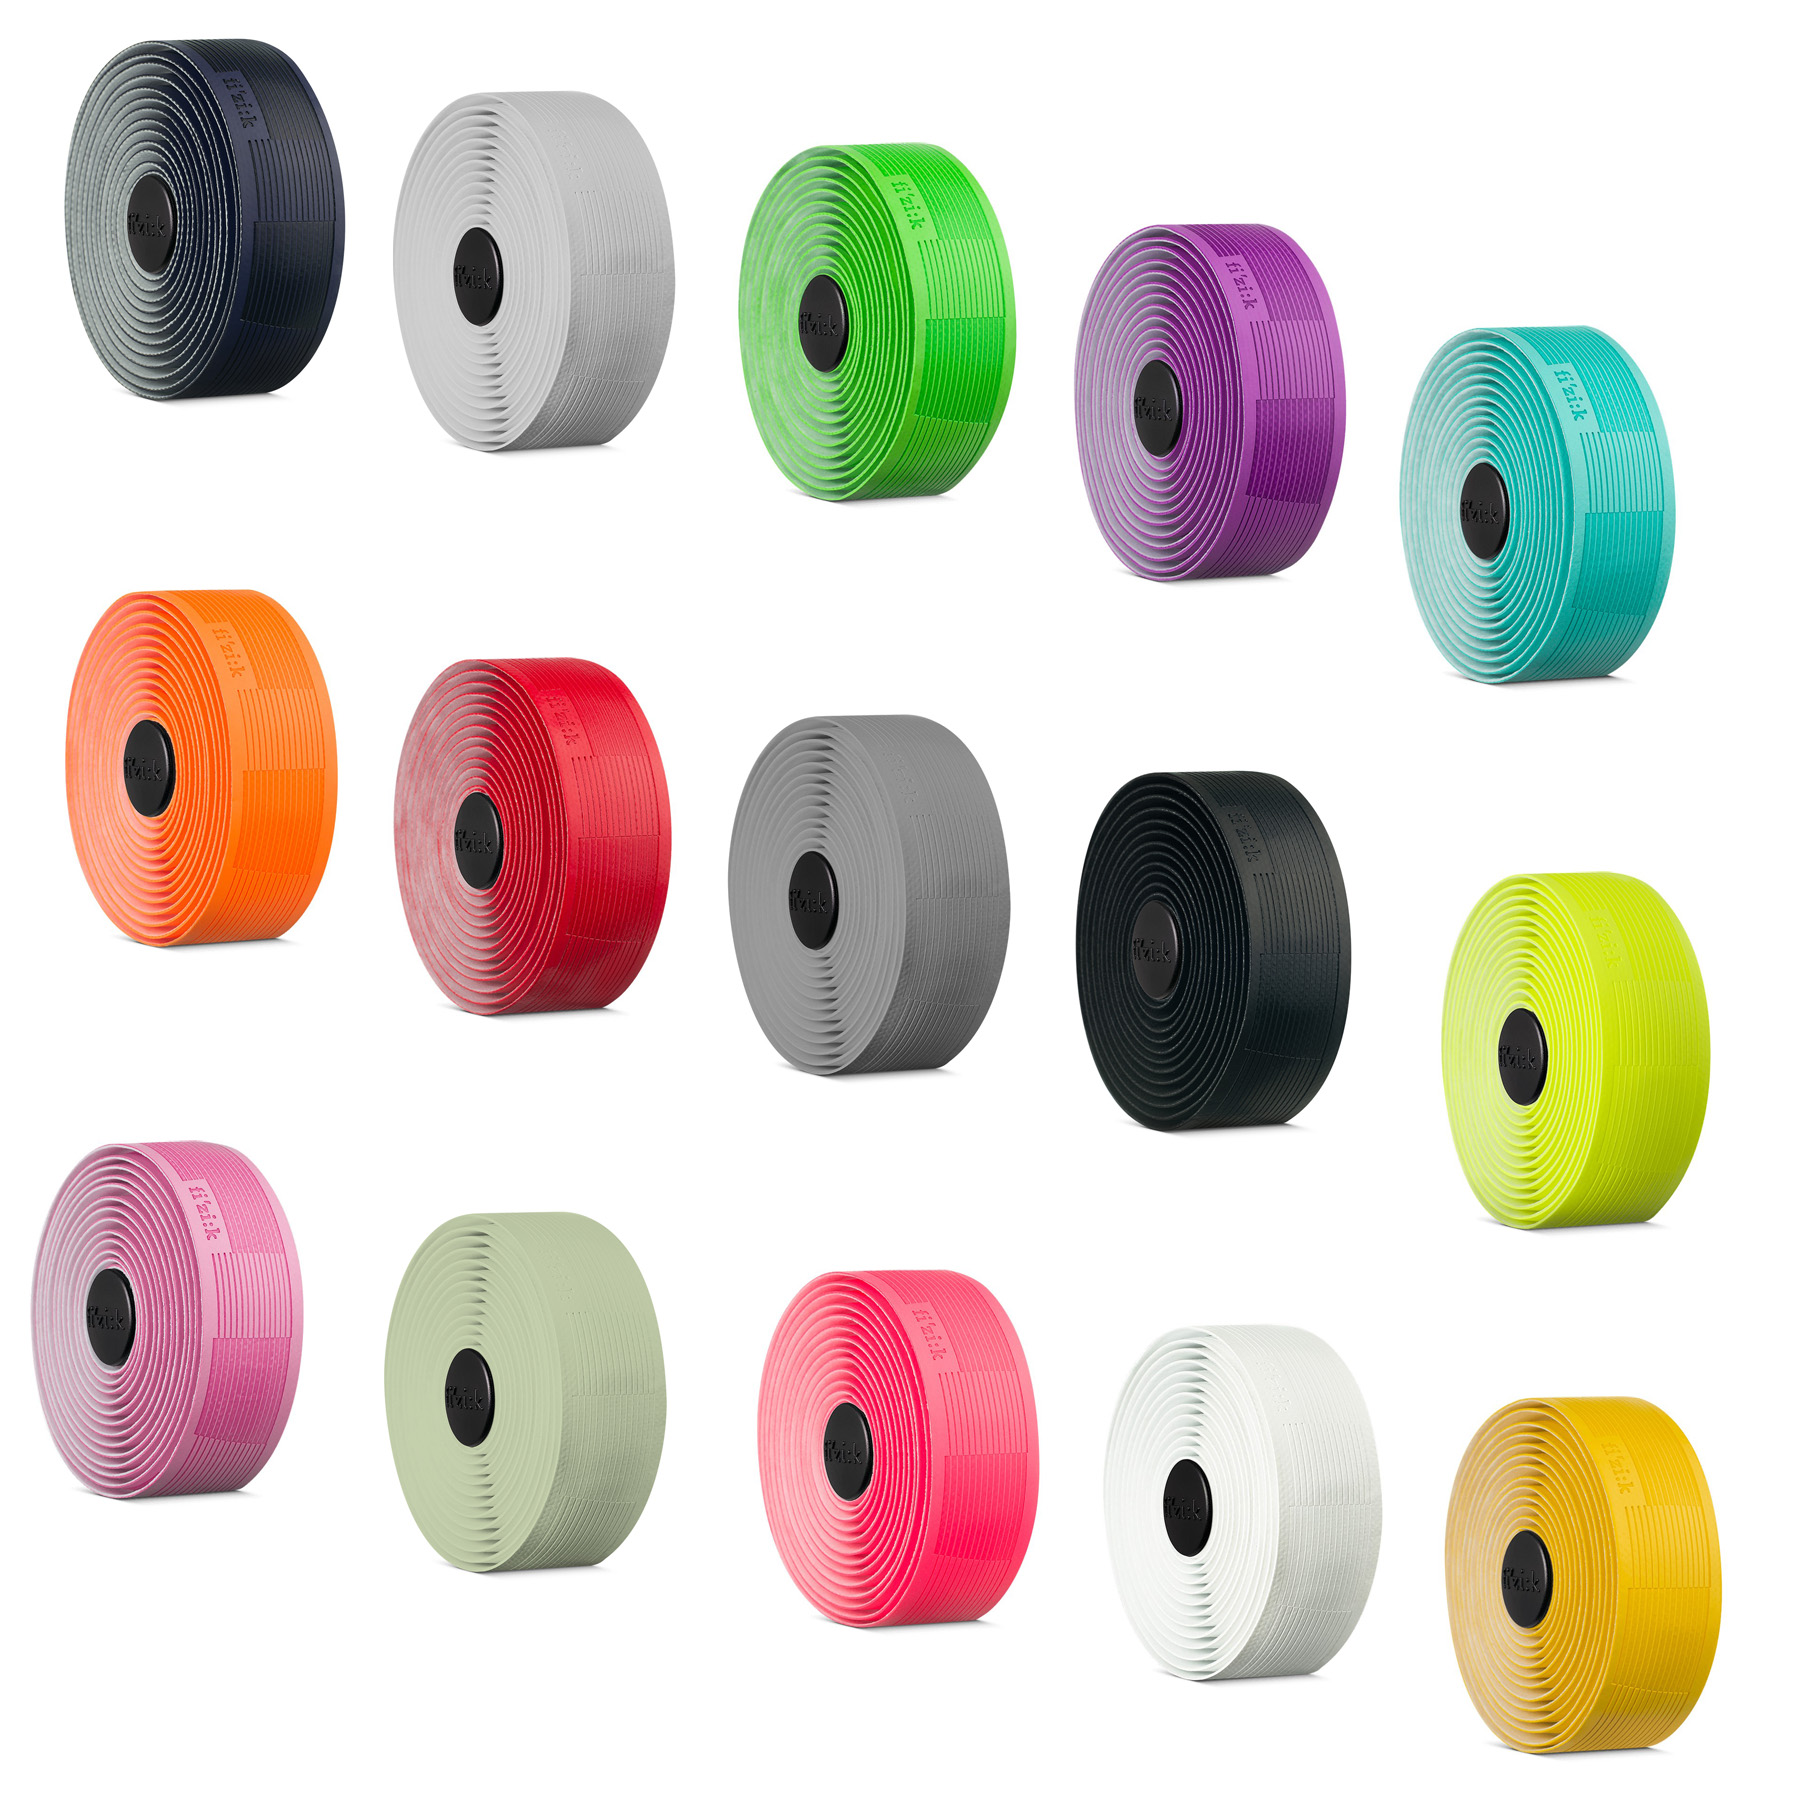
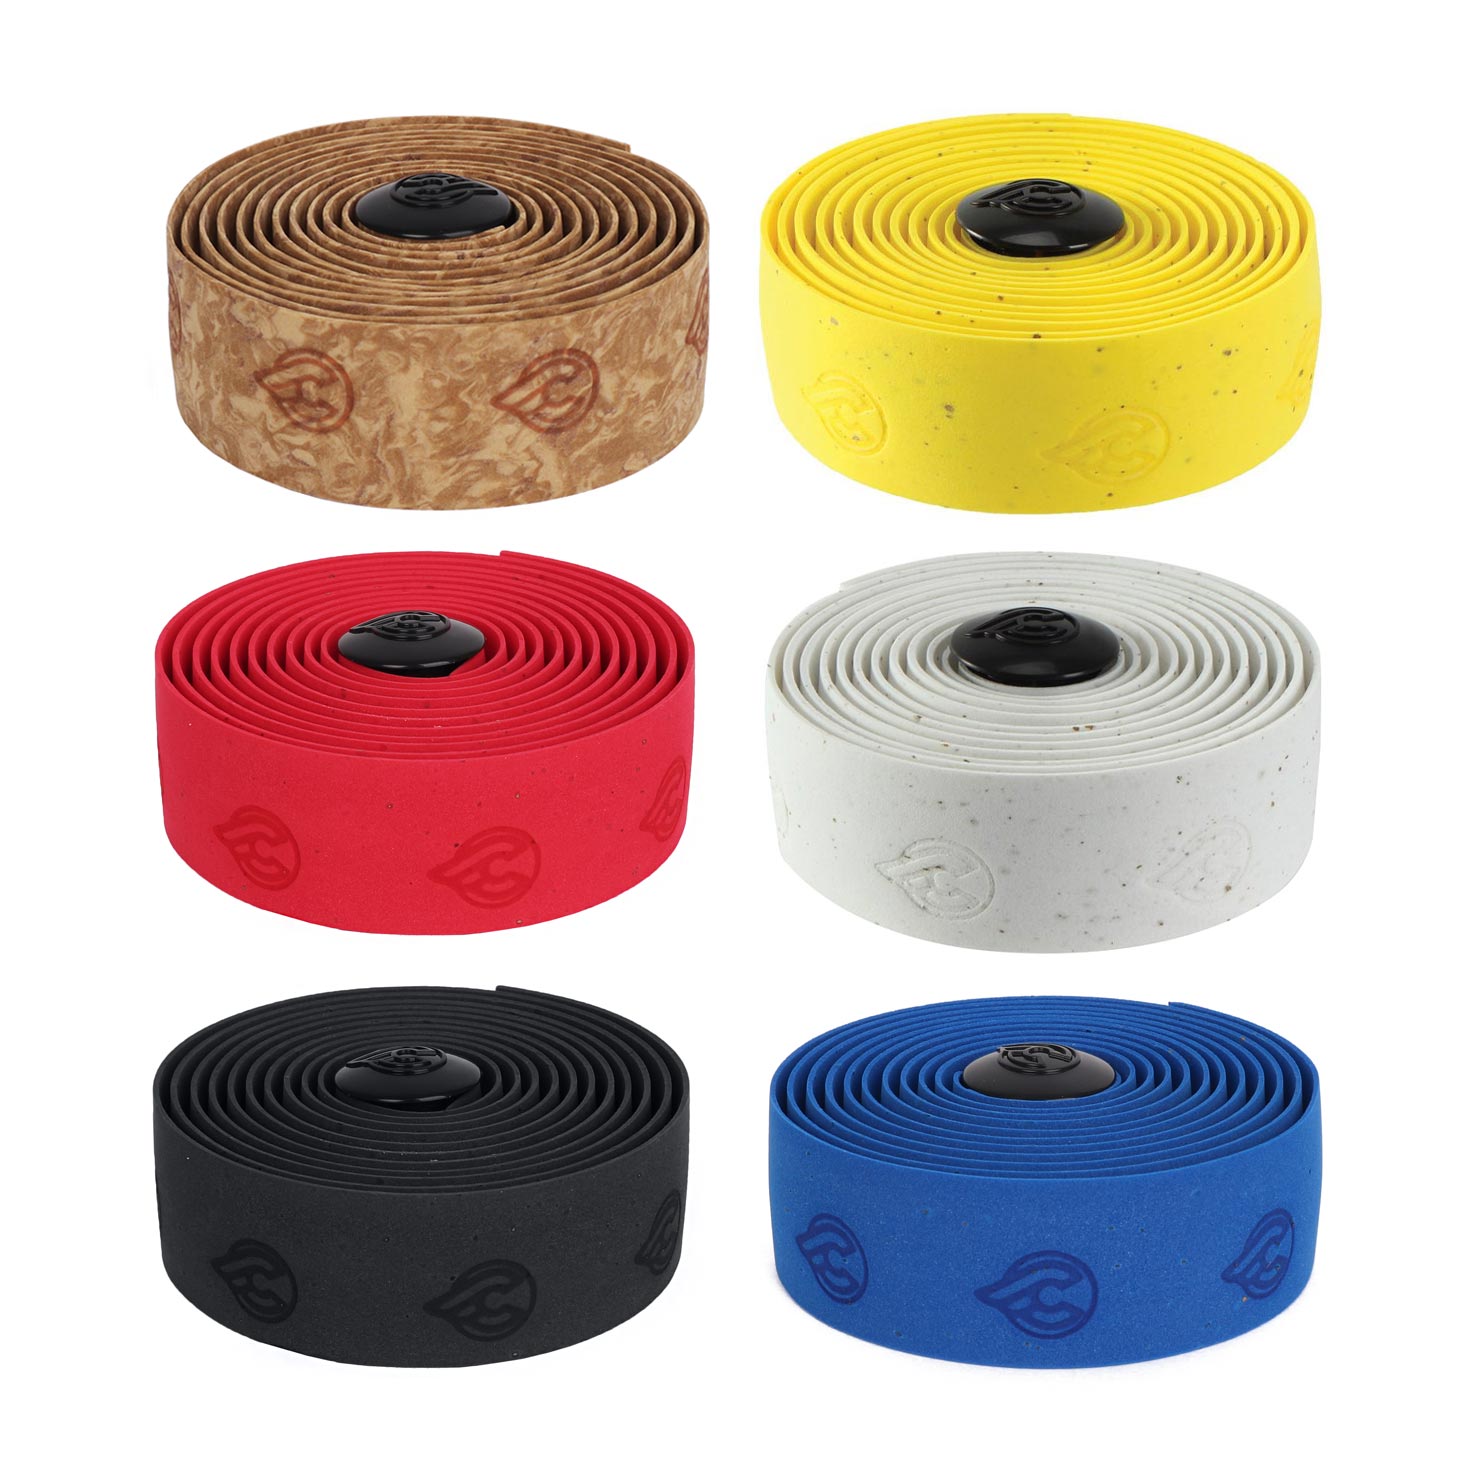
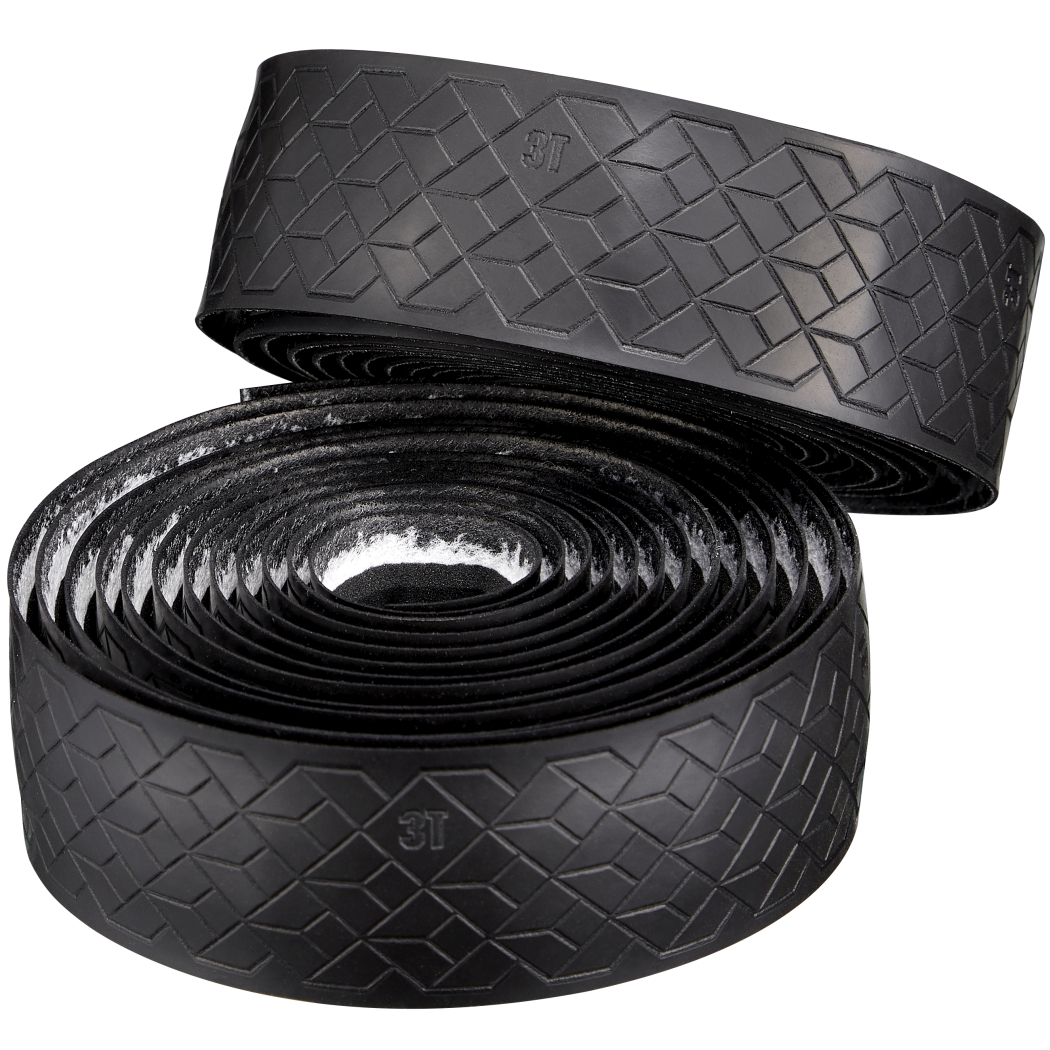
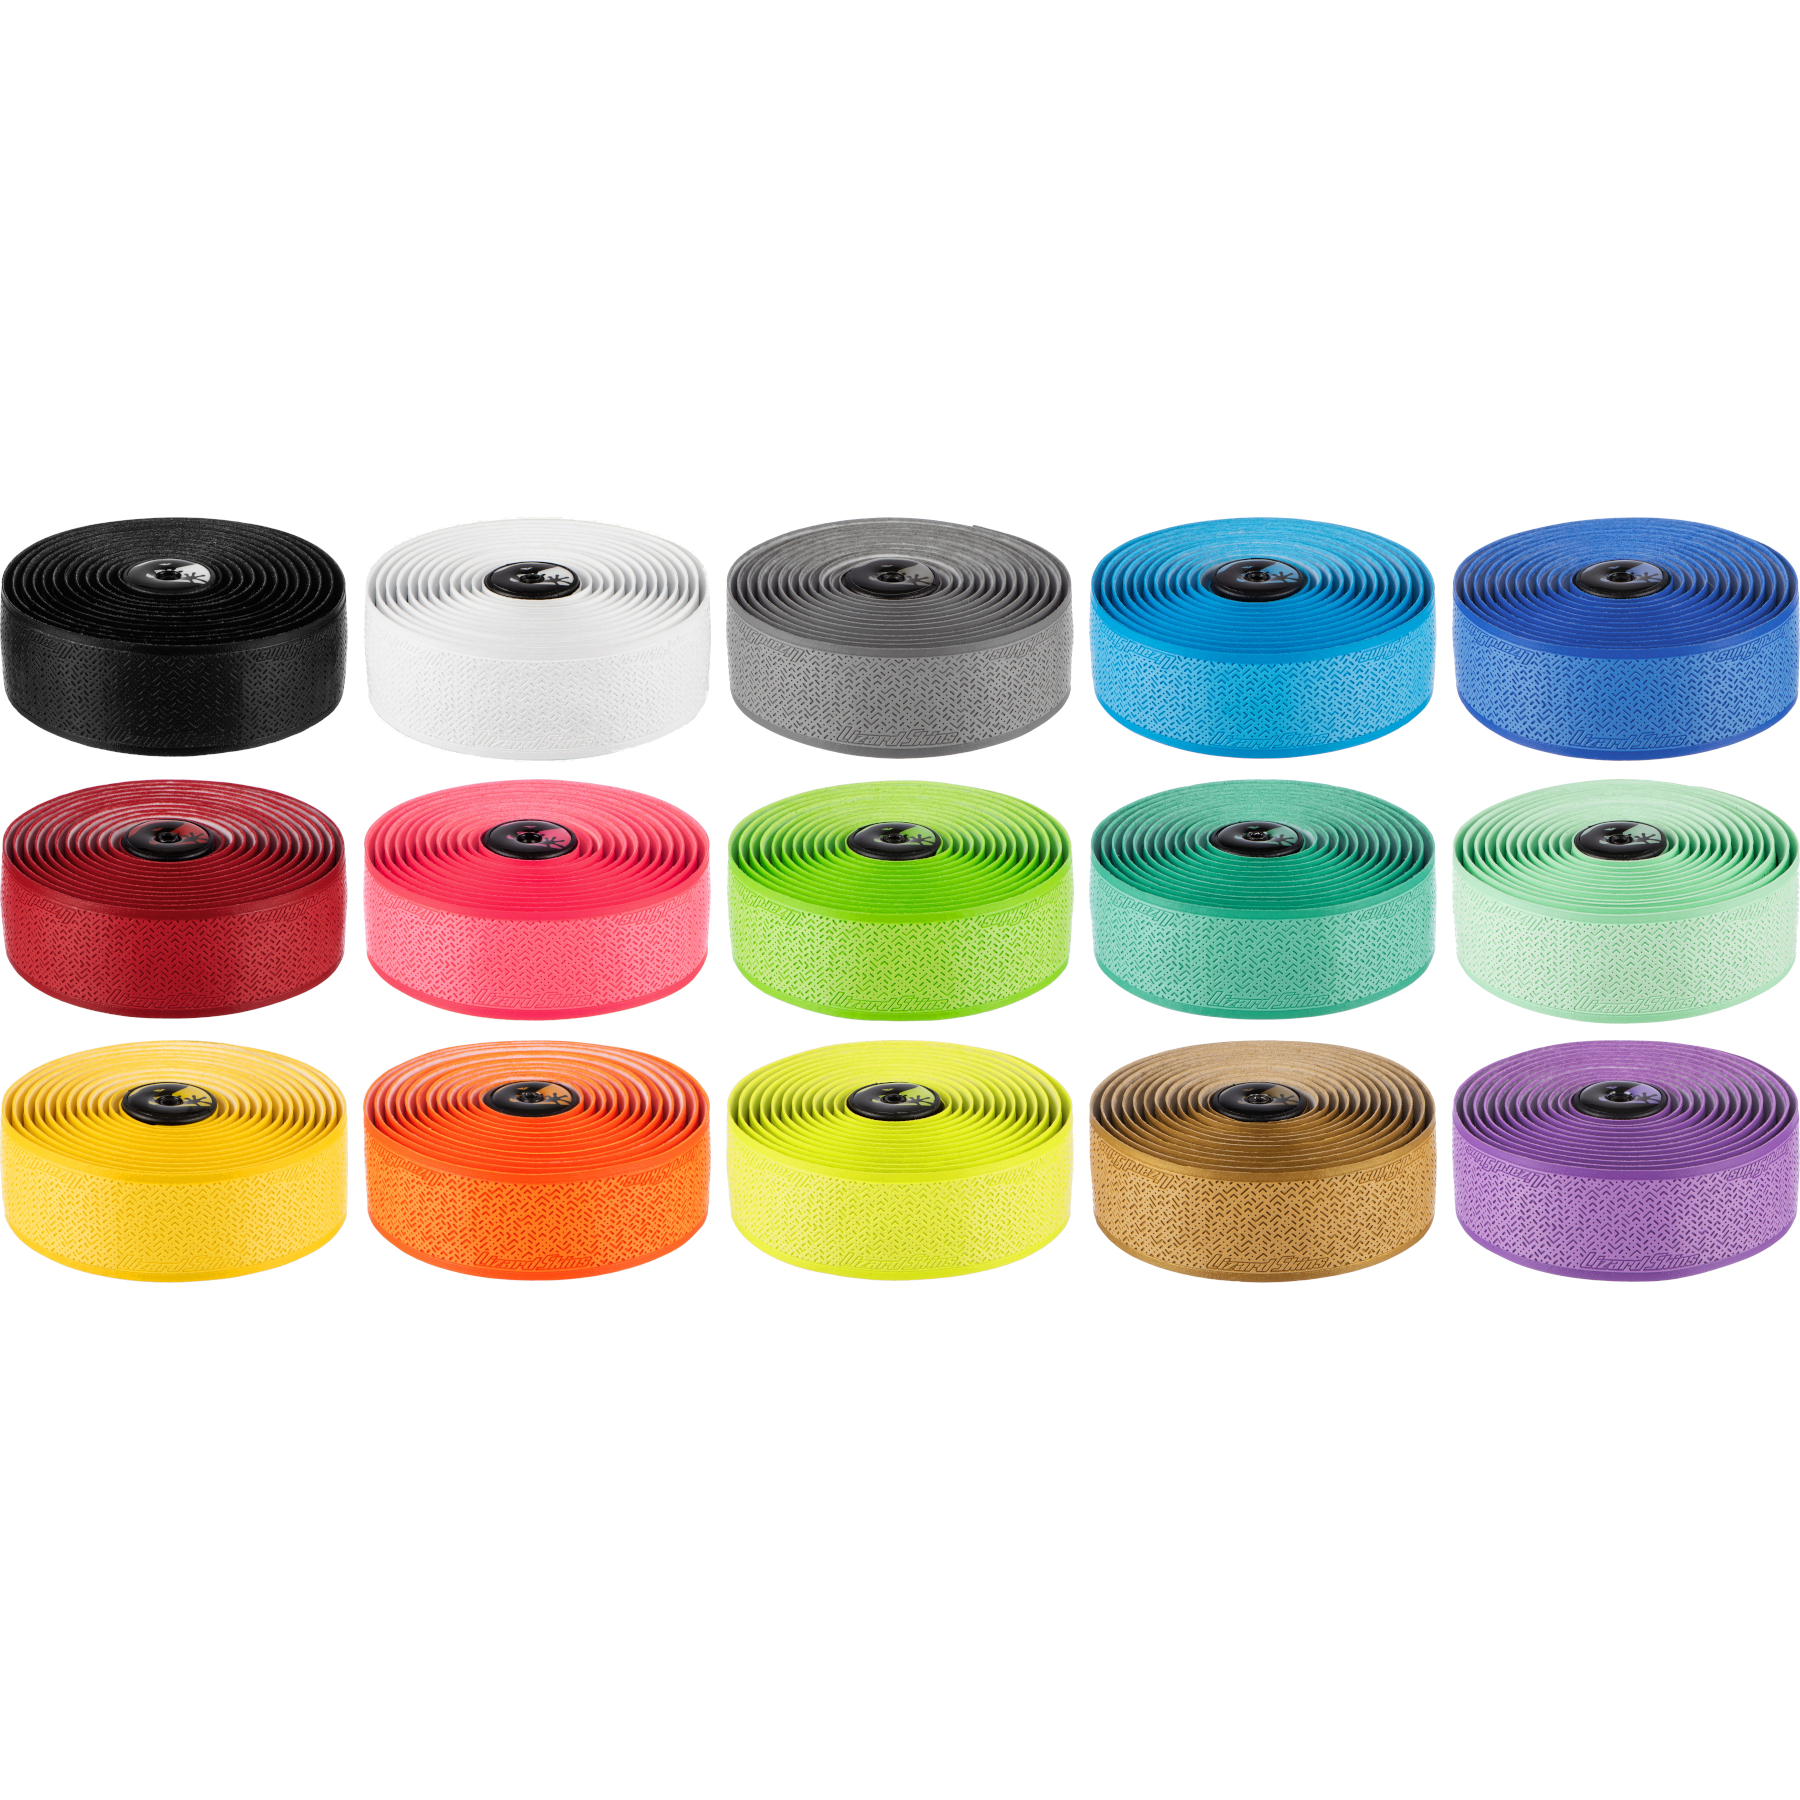
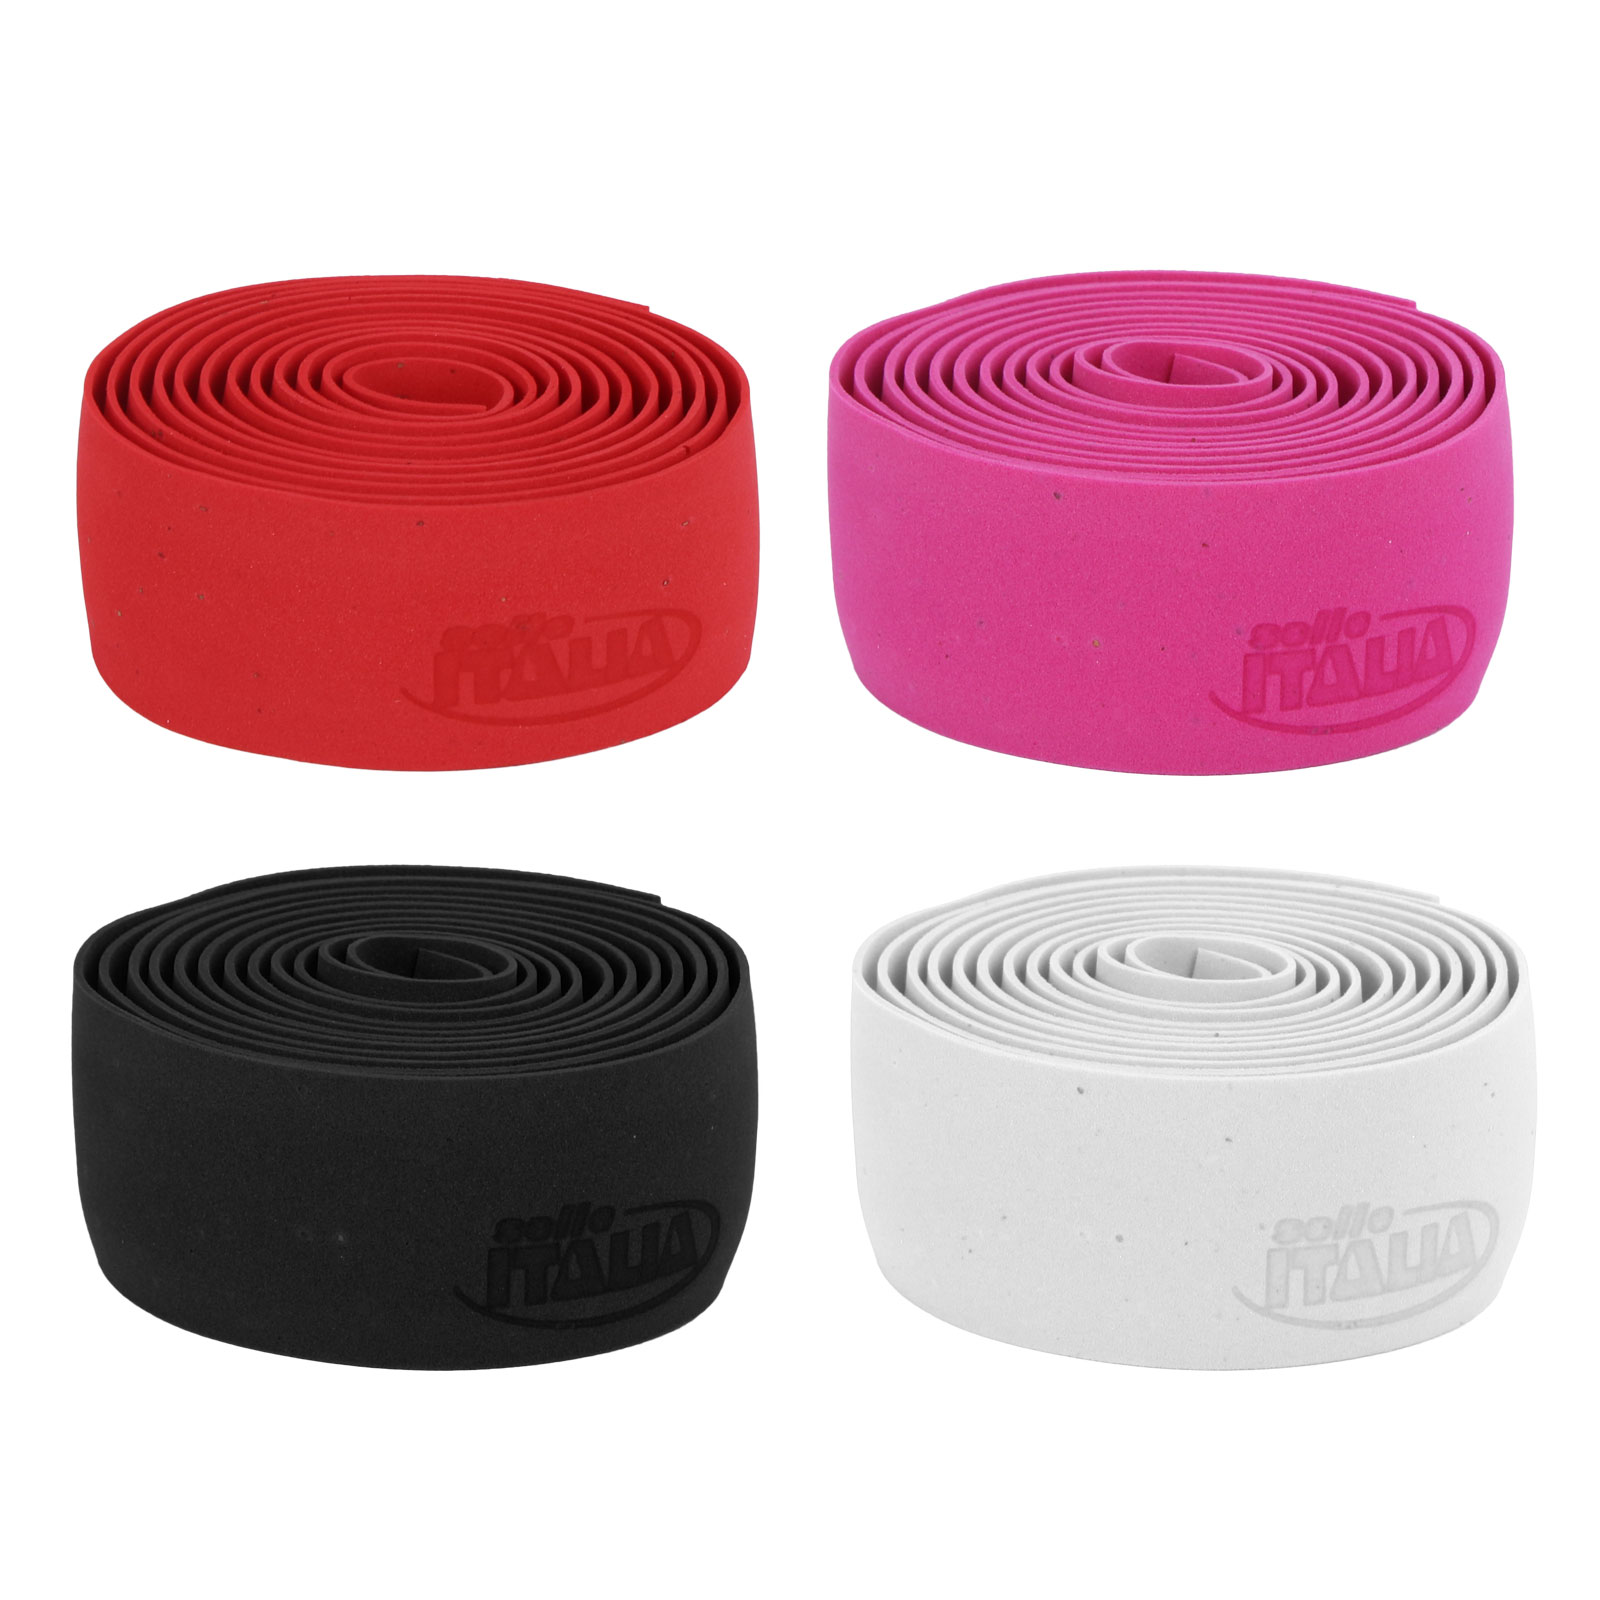
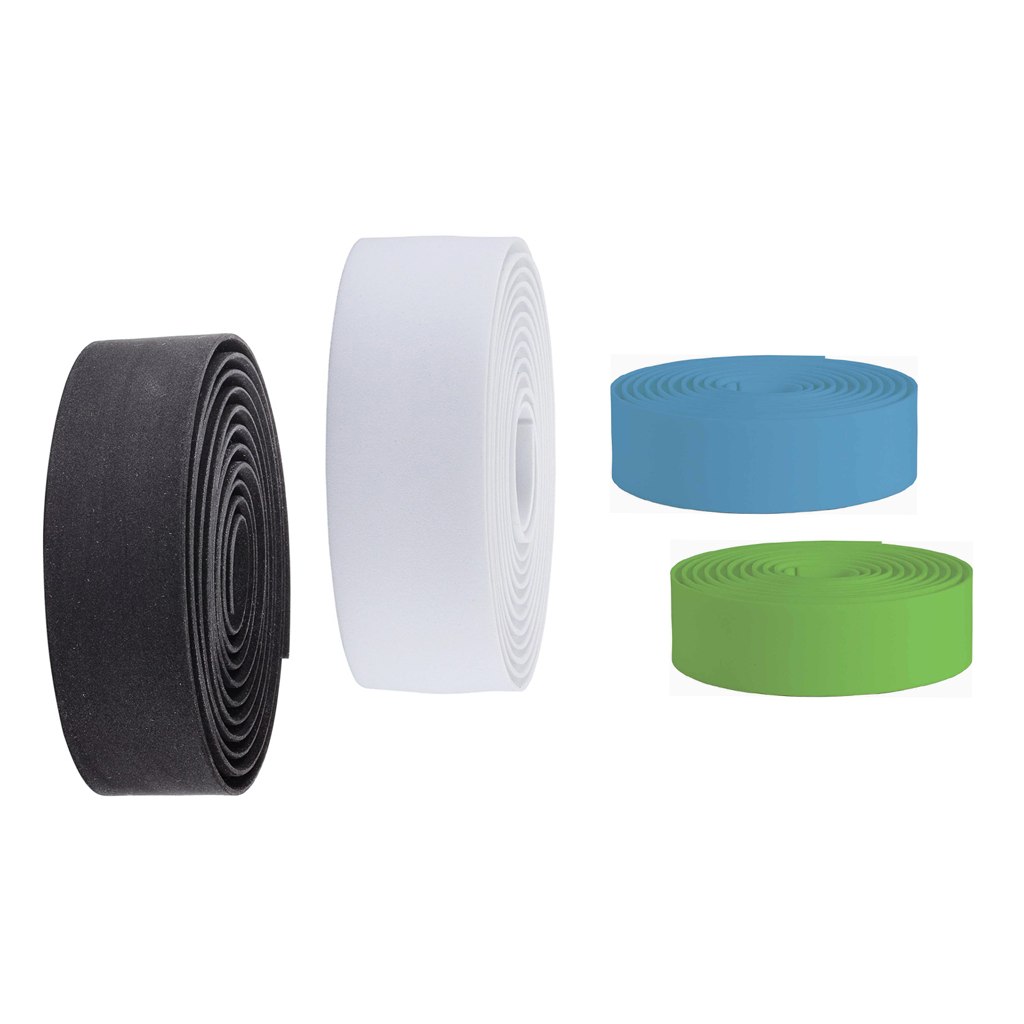
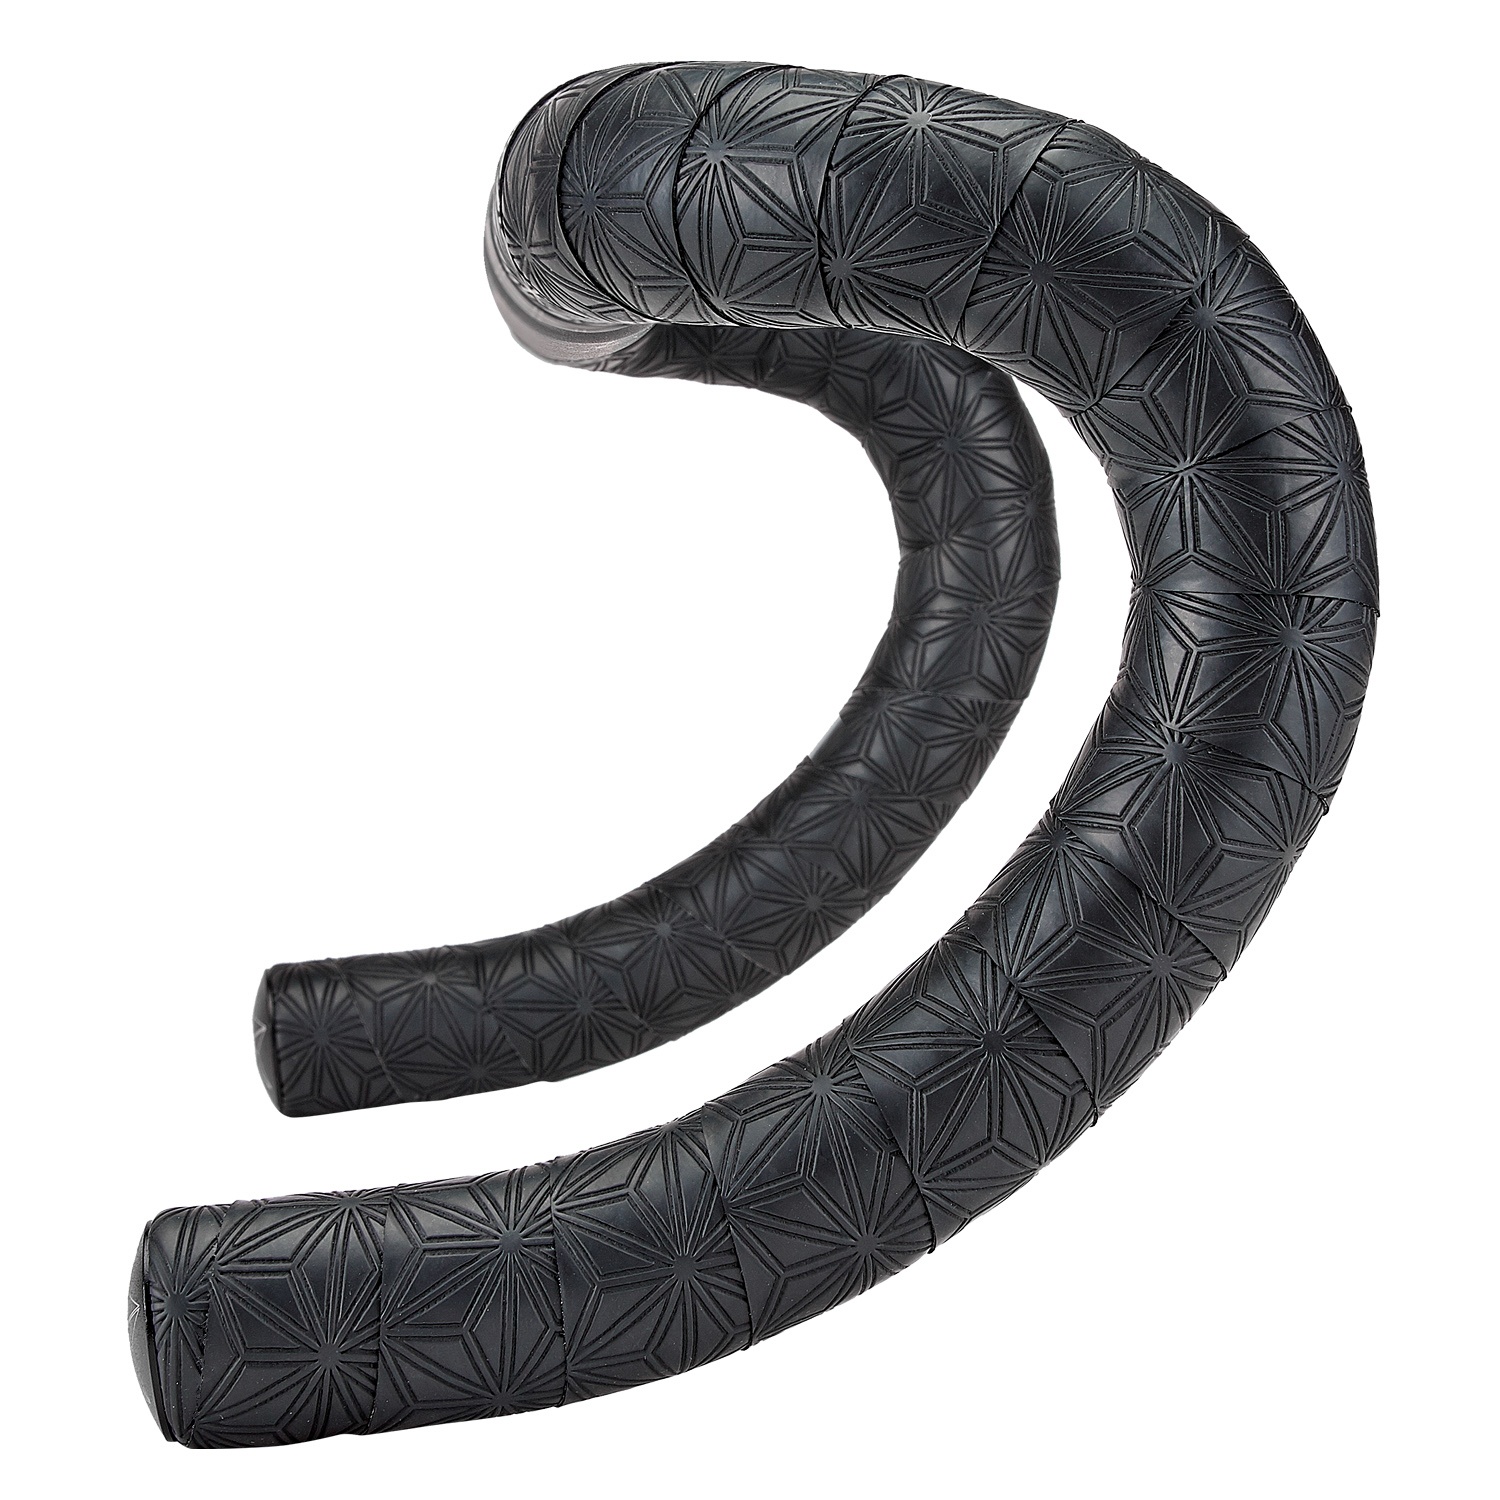
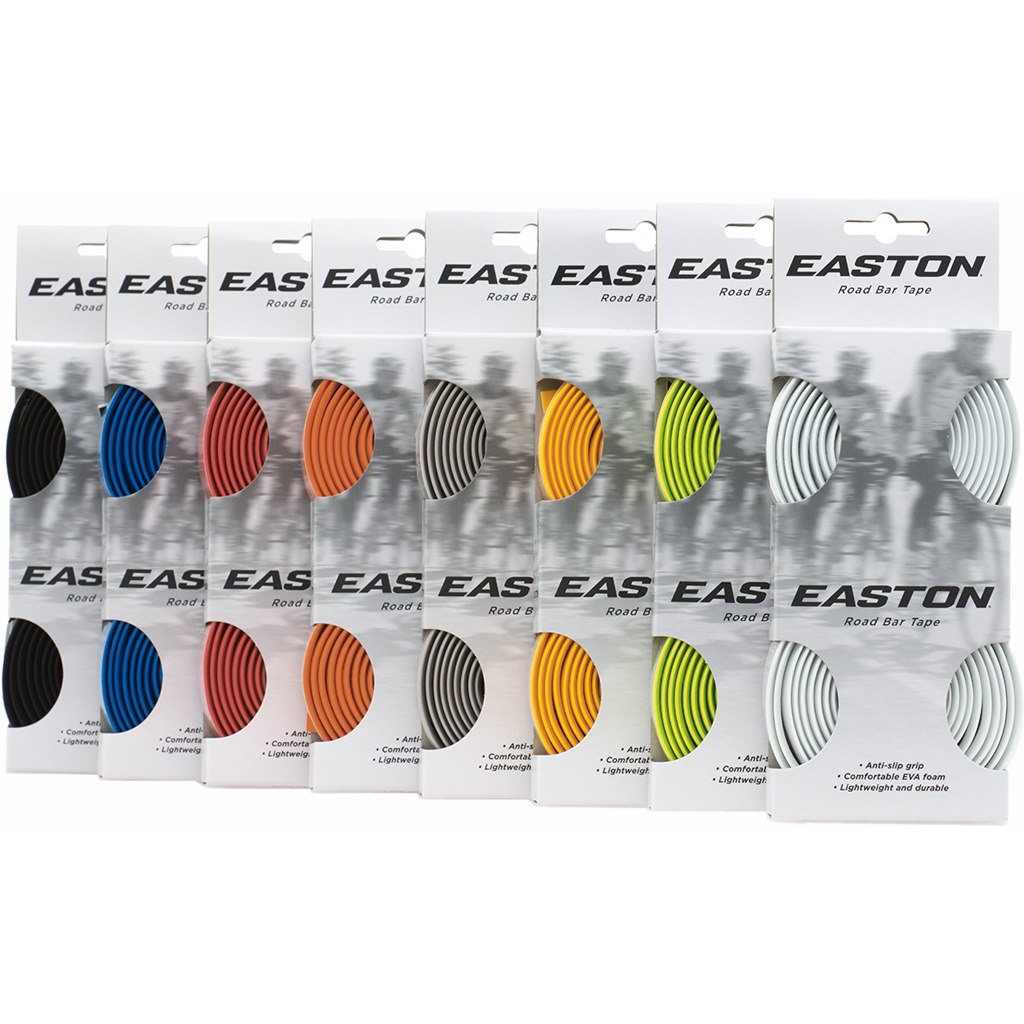
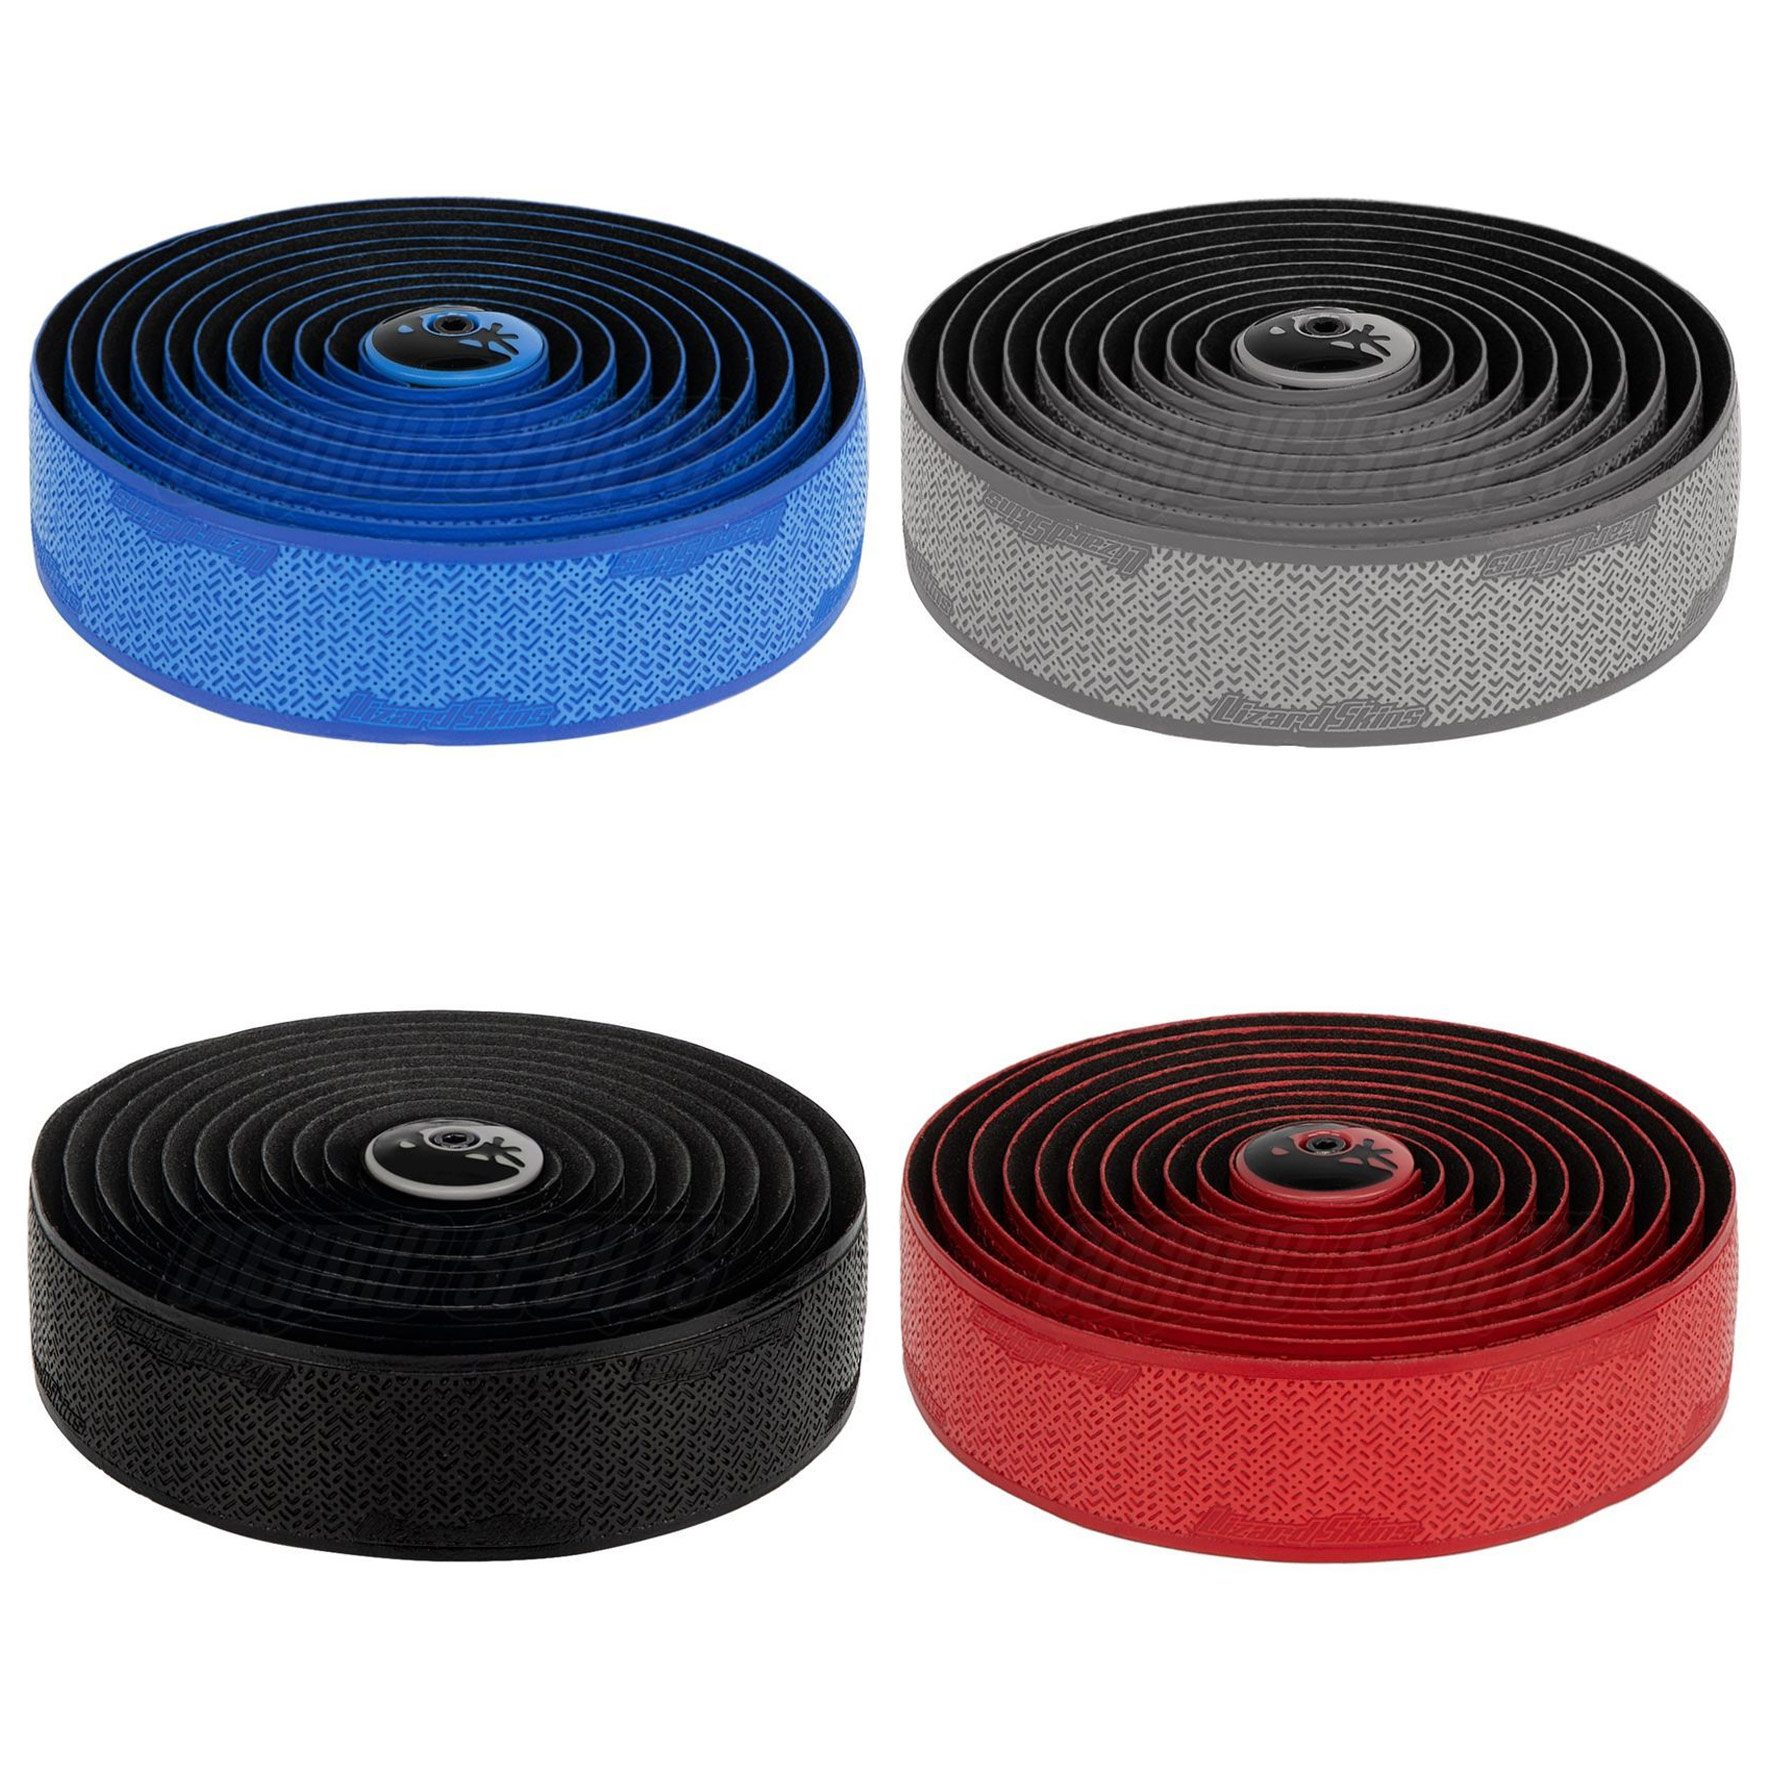
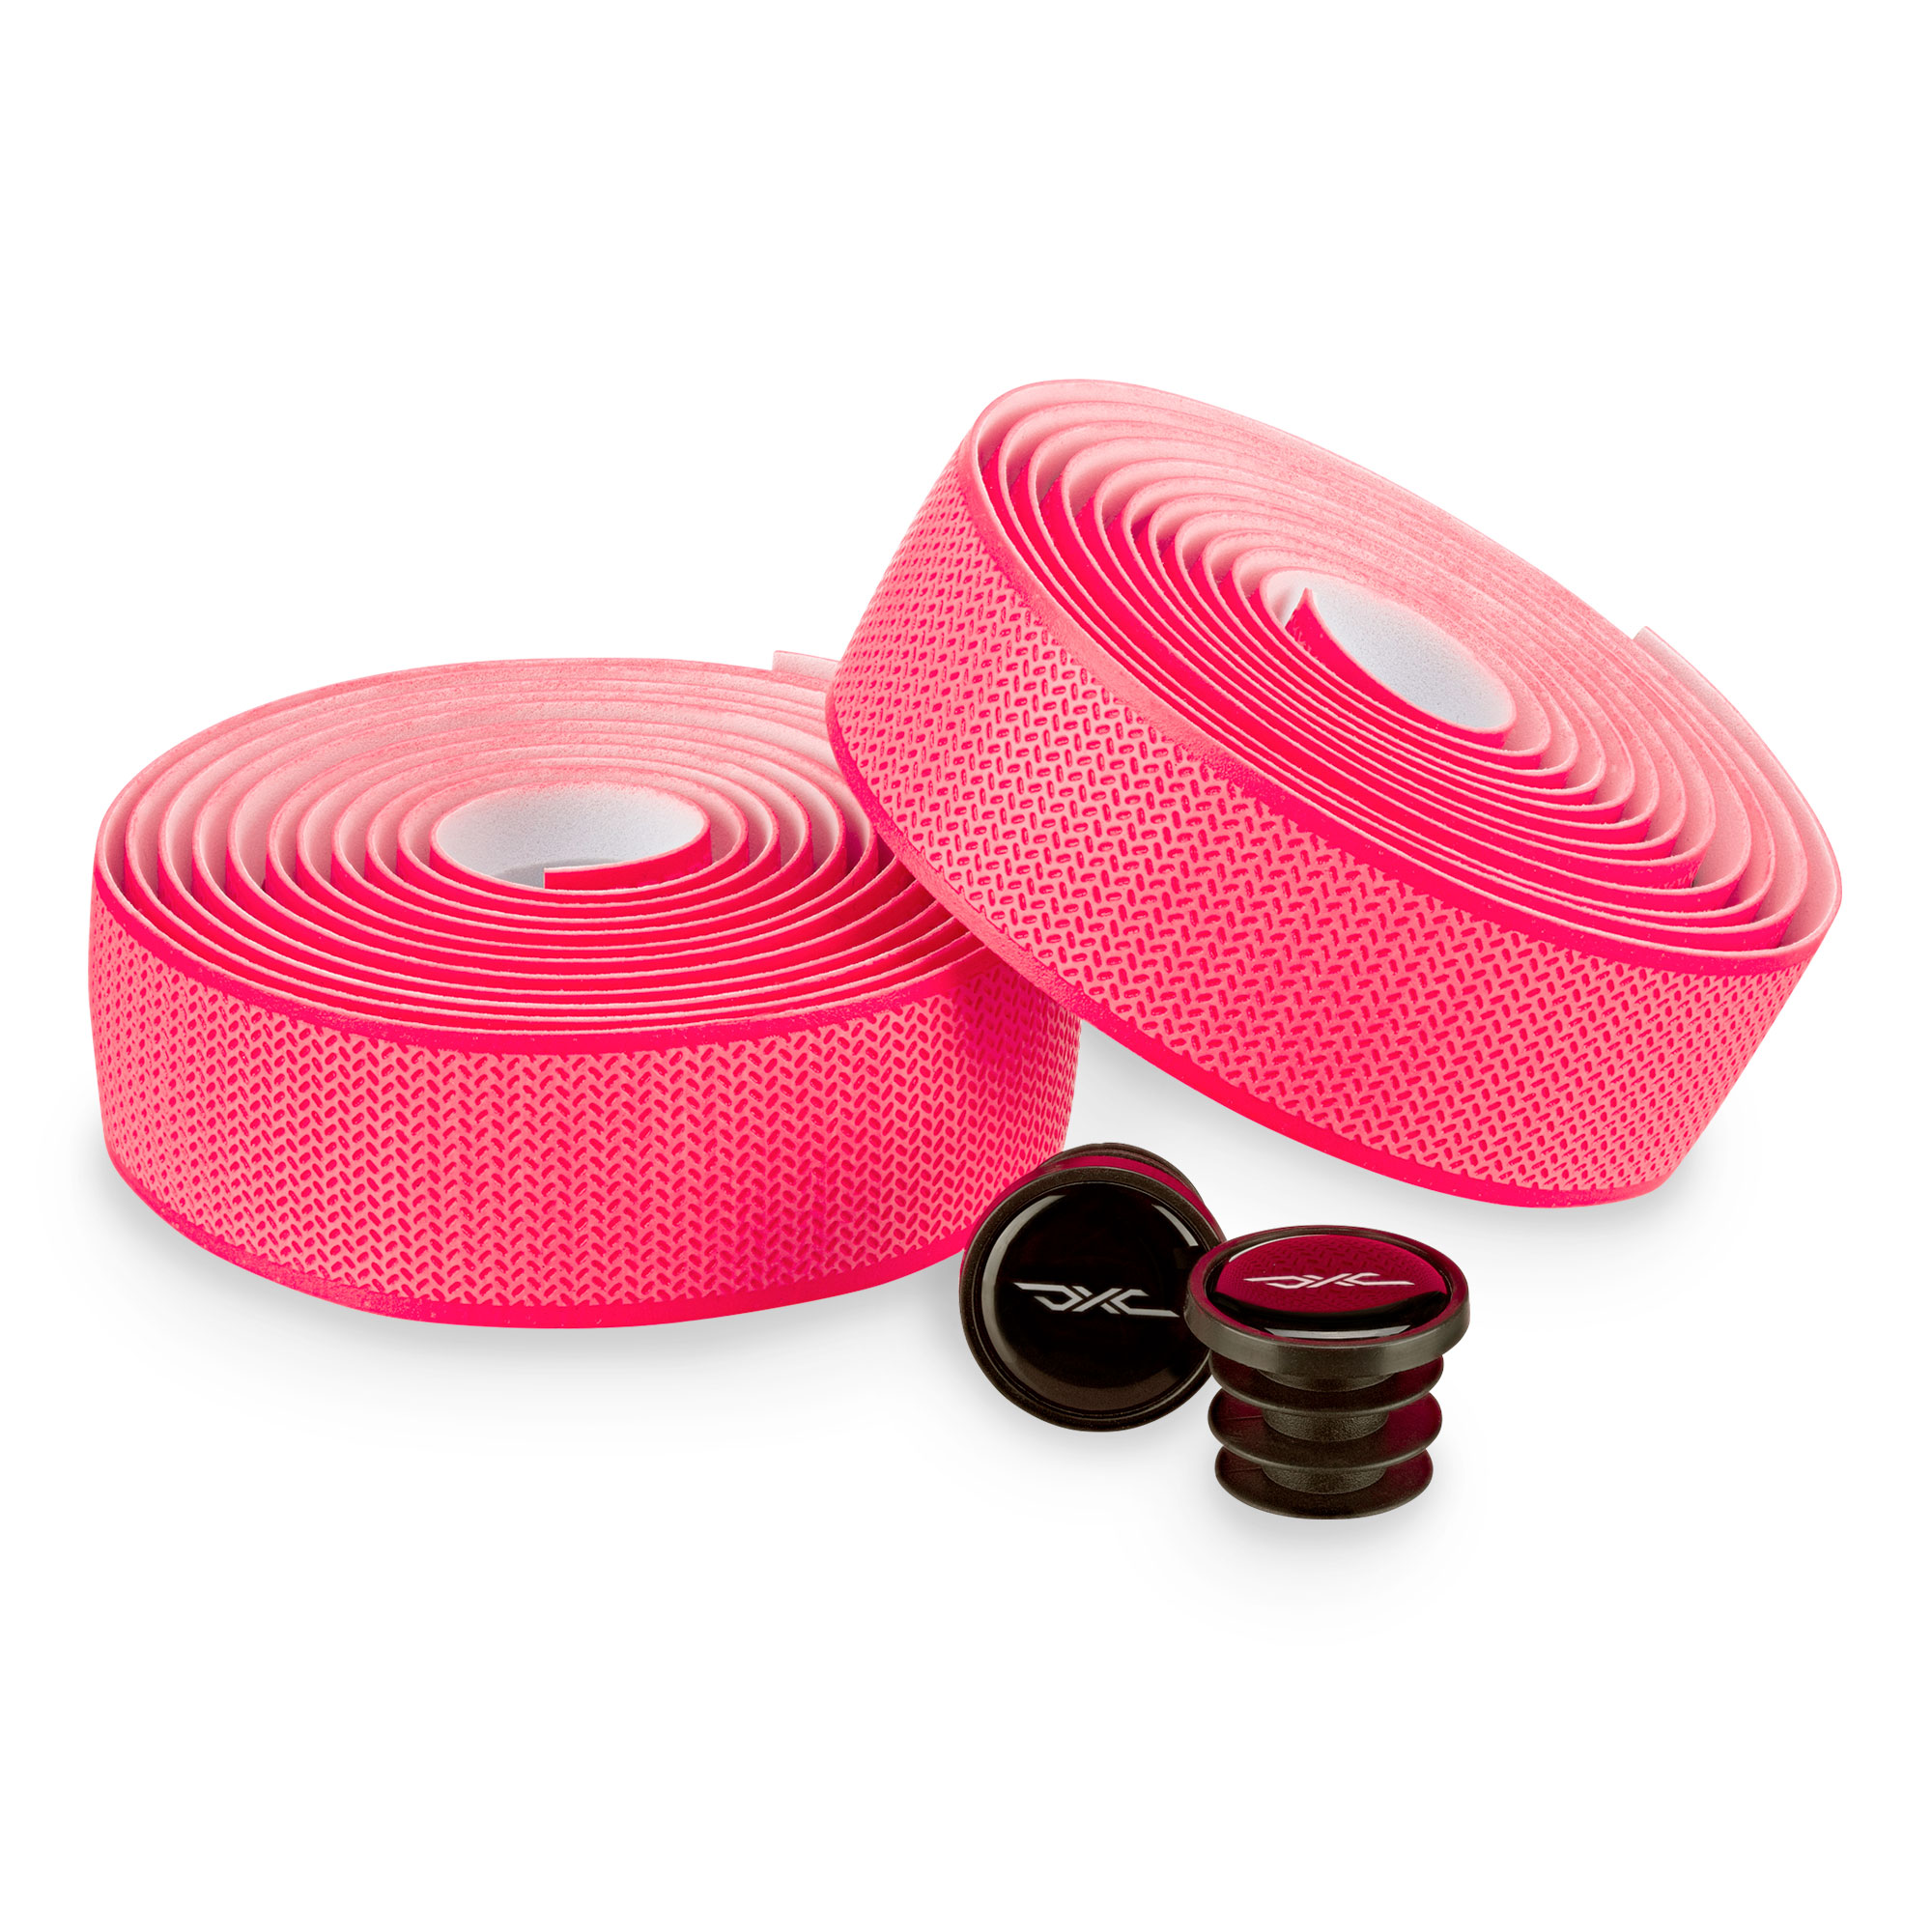
Handlebar tape is available in a wide variety of designs – from narrow to wide, with knobs or smooth, in classic black or striking red. The handlebar tape you choose is primarily a matter of taste, but there are a few things you should take into consideration: handlebar tape can be made of different materials – the most common are fabric, cork and faux leather, but it can also be made of rubber. The right handlebar tape for you depends entirely on what you need from your Bar tape and how you want to use it.
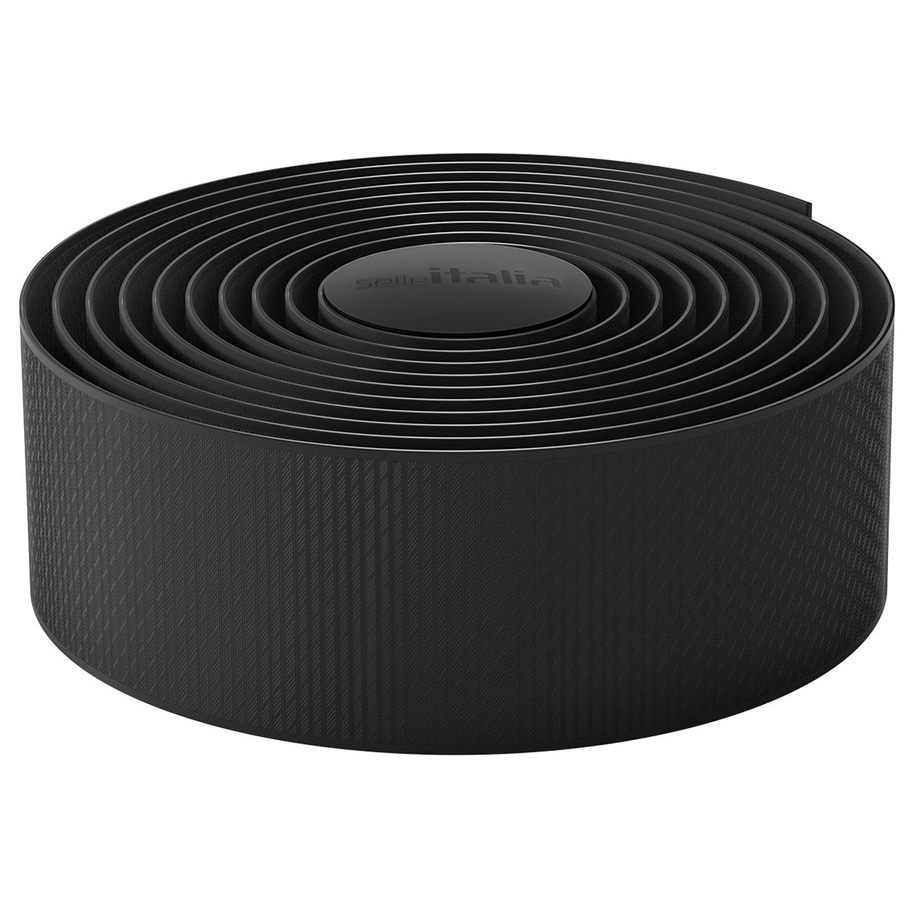
There are other things you should look out for when buying bicycle handlebar tape, over and above the material it’s made from: the first thing to mention here is the design. Since handlebar tape will cover almost all the handlebars on your bike, you should think carefully about the colour before you apply it. The most popular choice for the majority of racers is black, as this best matches other bike parts, such as the saddle, seat post, tires, stem and handlebars. However, there are also road cyclists who like to opt for handlebar tape in white or even other colours. Here at BIKE24, we have handlebar tape in a wide range of colours and patterns. In addition to its design, how easy handlebar tape is to clean also makes a difference. Light colours, in particular, can become dirty quickly, so you should opt for handlebar grip tape that’s easy to clean so that it retains its colour over a longer period.
Road Bike Handlebar Tape – The Criteria for Making Your Purchase at a Glance
- Grip: handlebar tape should provide as secure a grip as possible and be non–slip – even when wet.
- Shock absorption: handlebar tape should provide protection against shocks and vibrations – thus increasing comfort.
- Durability: bar tape should be robust so that it can withstand multiple rides in adverse conditions or with sweaty hands without becoming damaged.
- Feel: cycling bar tape should feel good when you’re holding the handlebars. NB: you should not feel like you are stuck to the handlebars.
- Stretch: the stretchier and more malleable bar tape is, the easier it is to wrap. Stiff handlebar tape, for example, needs to be put under significantly more tension than flexible tape when being wrapped.
- Design: handlebar tape should match the look of your bike – or at least be eye–catching in itself.
- Cleanability: how easy is it to clean dirt off the handlebar tape?
What Handlebar Tape Do the Pros Use?
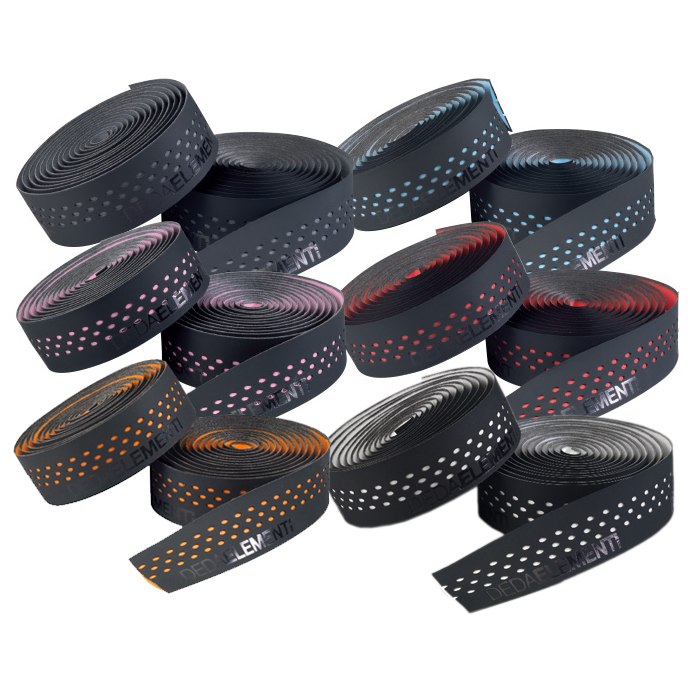
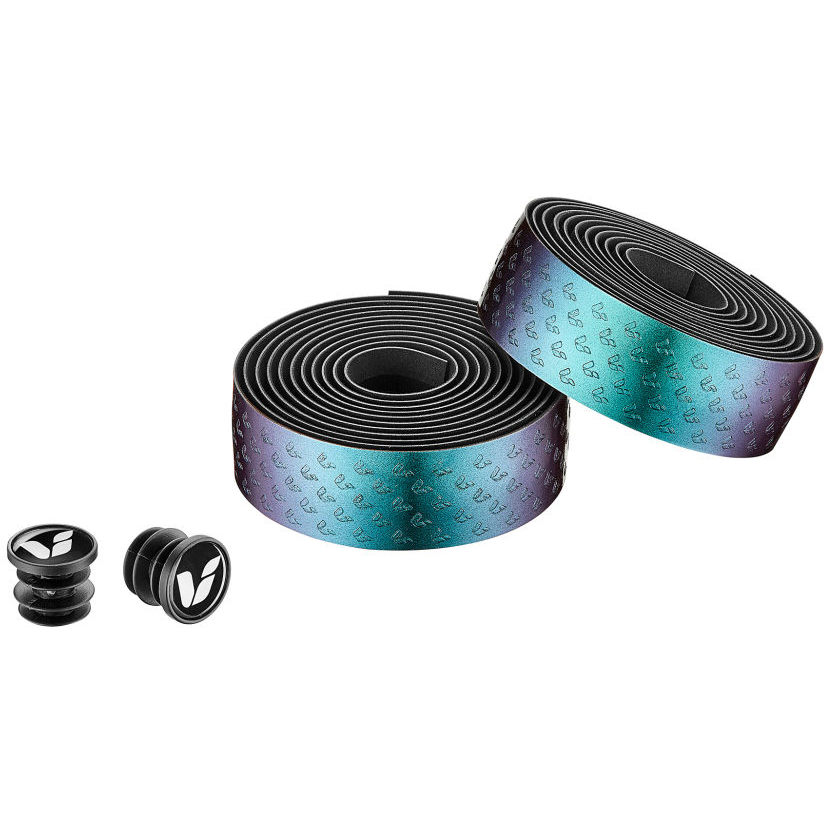
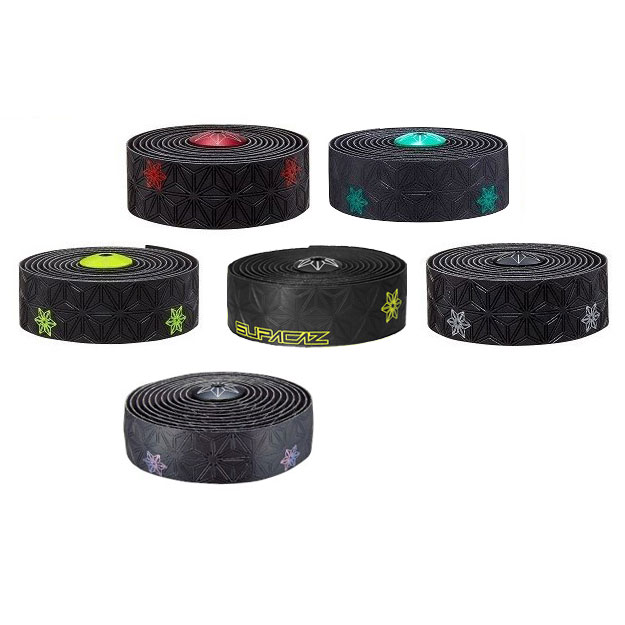
Since handlebar tape stems from road cycling, many fans want to emulate their role models. A frequently asked question, therefore, is: which handlebar tape do professional cyclists use? This depends entirely on the race, as well as on what each road cyclist prefers. For example, in races on cobbled roads like the spring classic Paris–Roubaix, most pros use handlebar tape which is very heavily padded. Some cyclists even ride with two layers of handlebar tape wrapped around the bars. And the team sponsors also play a part. BIKE24 has a large selection of handlebar tape, including designs that are also used by professionals in the peloton. For example, our range includes tape from companies such as Deda Elementi, Fizik, Silca and Supacaz.
Wrapping Bicycle Cycling Bar Tape – Ten Top Tips
- Before wrapping your handlebars with tape, you should first remove the old cycling bar tape as well as any adhesive residue. Make sure that you wash your hands thoroughly as well, because oily or greasy fingers can have a negative effect on how the tape sticks to the handlebars.
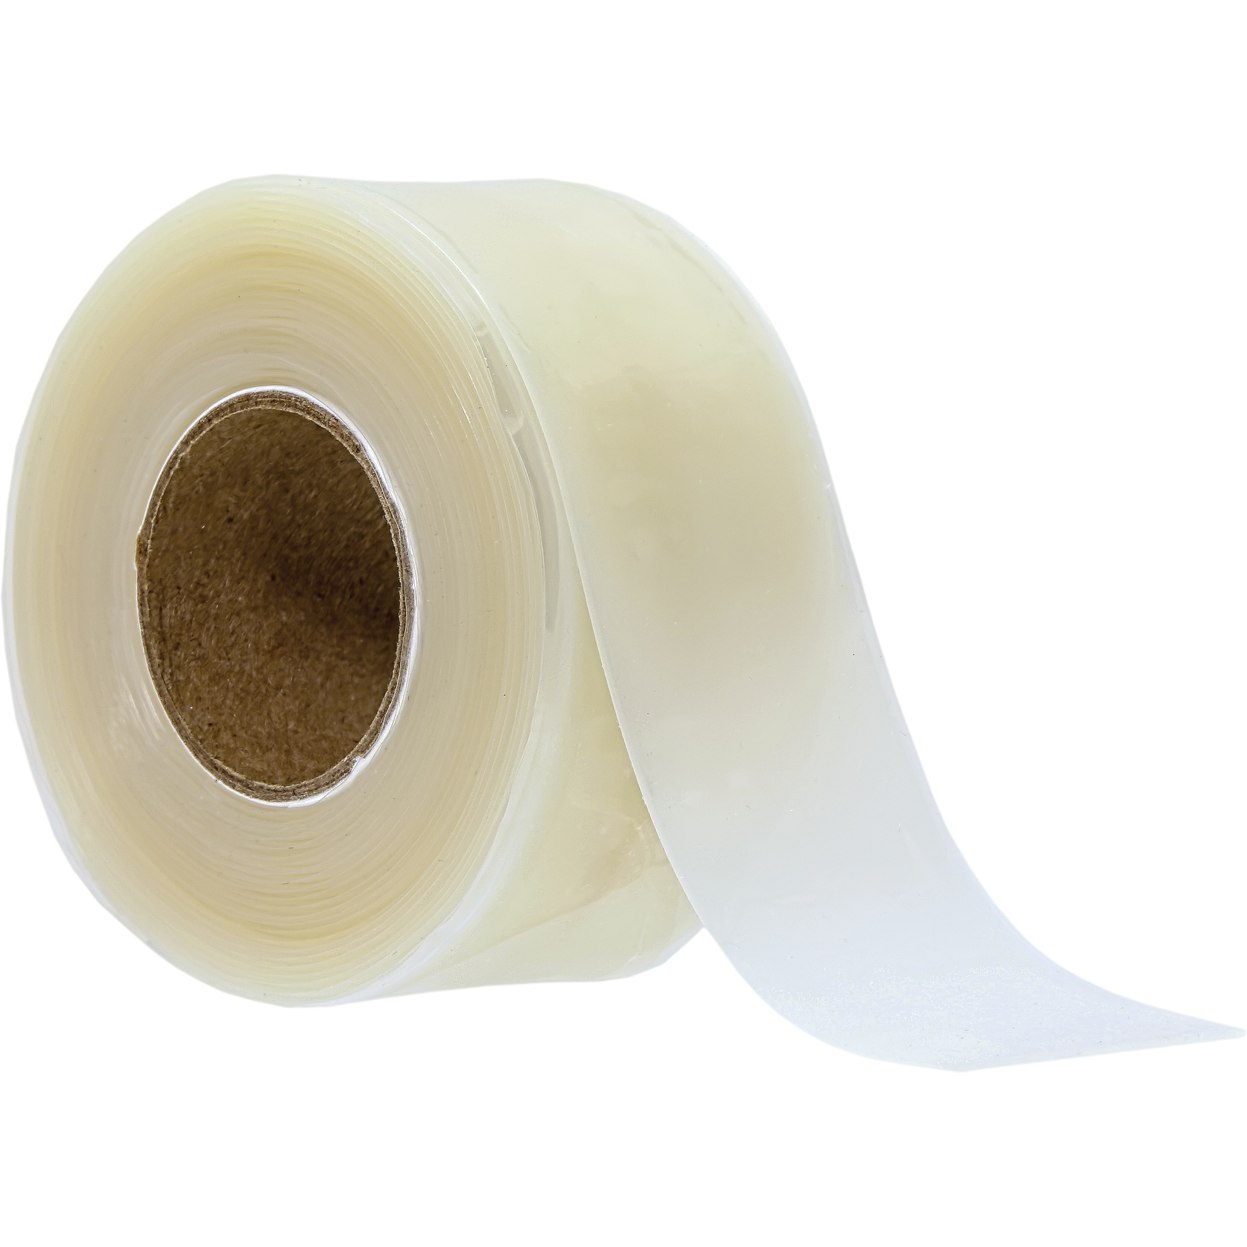
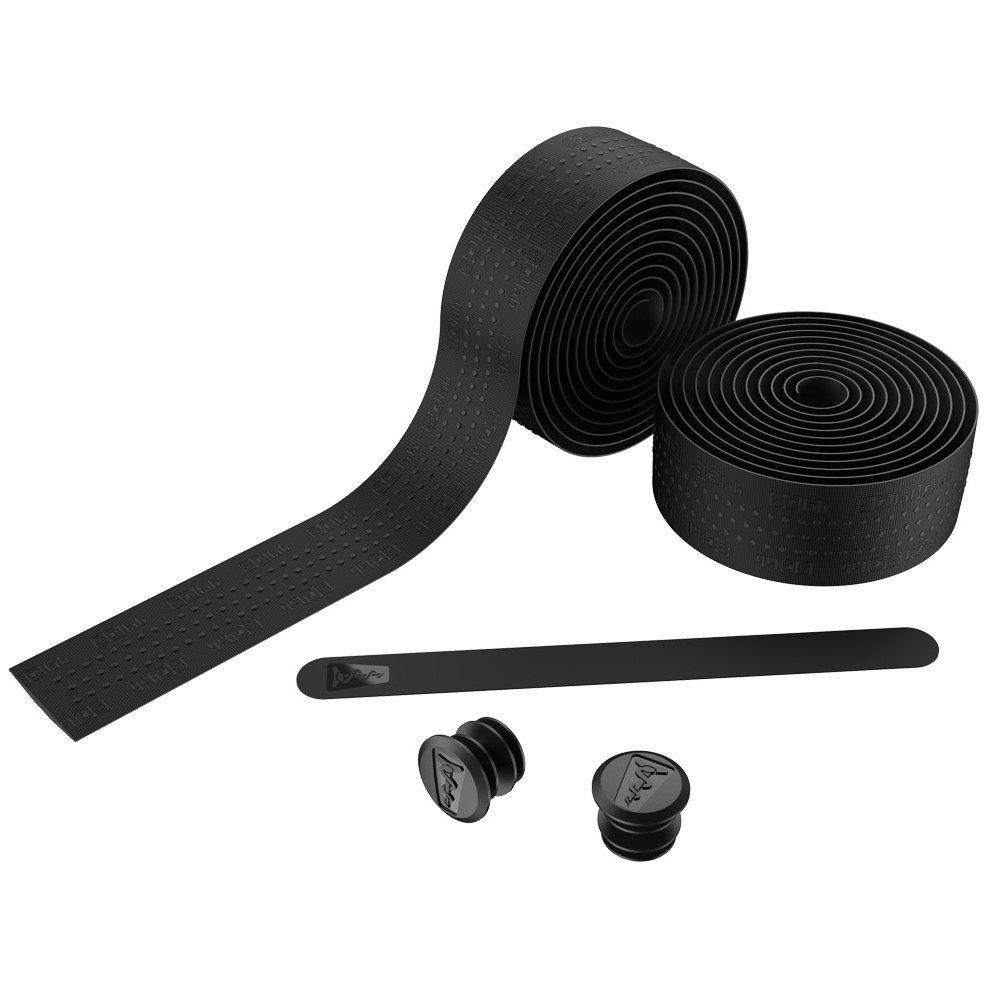
- When it comes to tools, you’ll need a pair of scissors to cut the bar tape to size. You’ll also need end plugs to clamp the tape to the end of the handlebars, as well as some finishing tape to fix the tape to the top of the handlebars. Both, however, are usually supplied by the handlebar tape companies themselves.
- Handlebar tape is usually supplied in two rolls – one roll for each handlebar.
- You may need to cut a short piece, about 10–15 centimetres in length, for the area around your brake levers, but there are some suppliers who provide these extra pieces pre–made.
- It’s best to roll the rubber to the left around your brake levers so that you can tightly wrap the handlebar tape around the actual grip.
- Handlebar grip tape should overlap the end of the handlebars. You can inset this part into the handlebar and fix it in place with an end plug. You can now start wrapping.
- Make sure that it always slightly overlaps and keep it under high tension.
- Particular care is required when it comes to the brake levers, especially as handlebars are curved here. Wrinkles should be avoided at all costs.
- Cycling bar tape should reach to the centre of your handlebars so all that your hand touches is tape when cycling.
- Having difficulties attaching the tape to your handlebars? Applying a small piece of double–sided sticky tape to the handlebars can come in handy.