


Bike Tire Repair – What Do I Need?
Having a bicycle repair kit on you to get your bike back into action can, in some cases, save your life, or at least salvage your ride, because there’s nothing more annoying than ending your ride early due to a flat tire. Whether you’re riding a road, mountain or trekking bike, it makes no difference – a bicycle repair kit will always come in handy for patching up an inner tube or two.
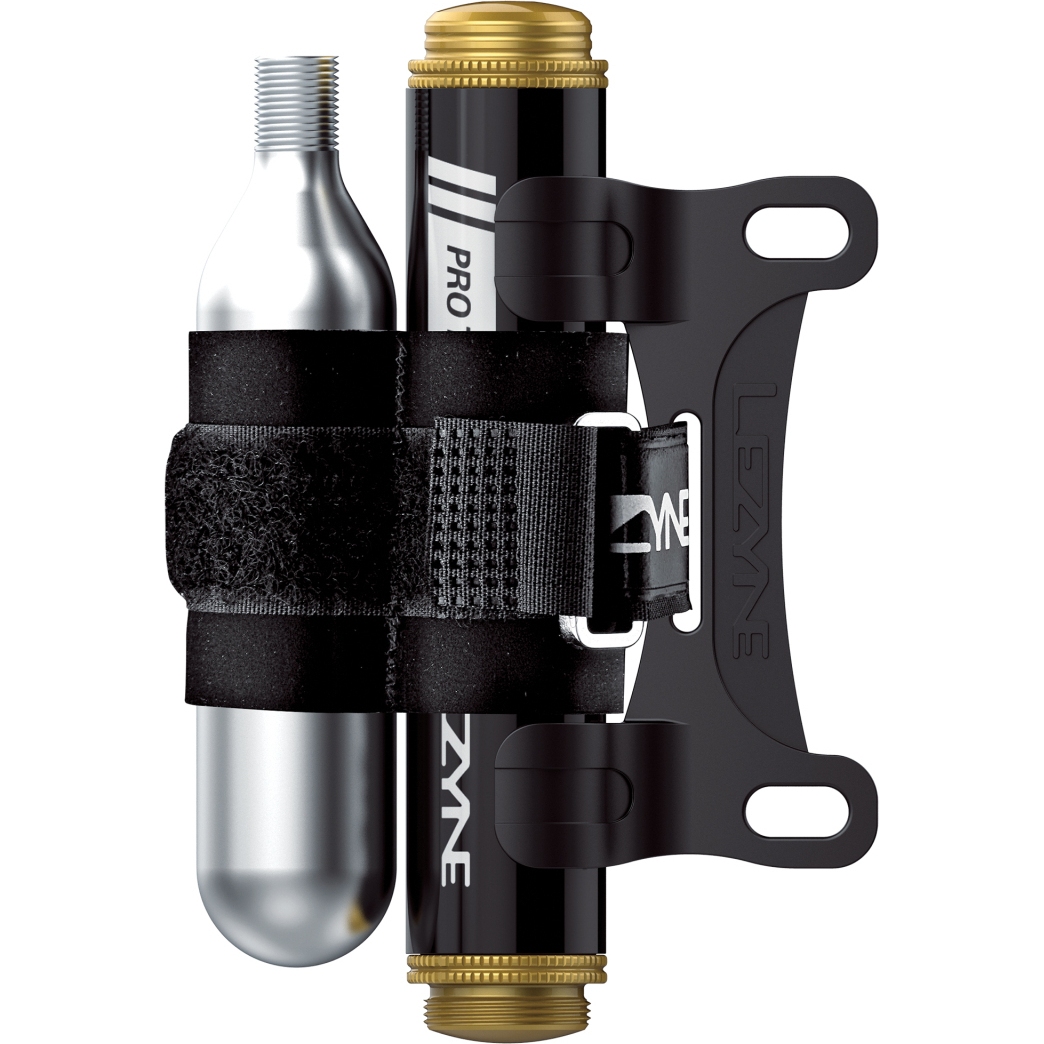
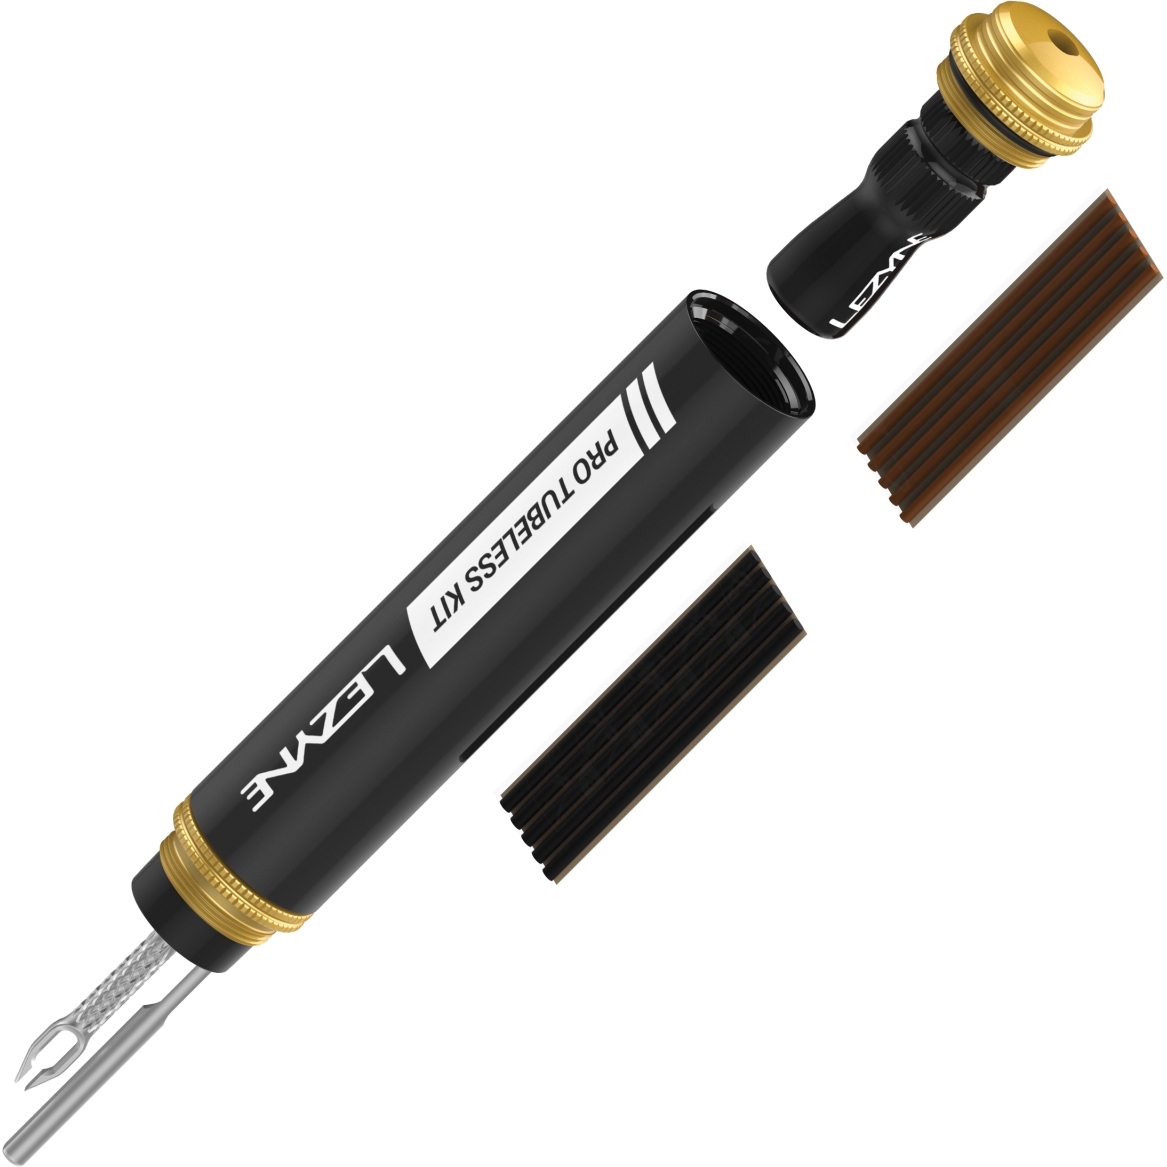
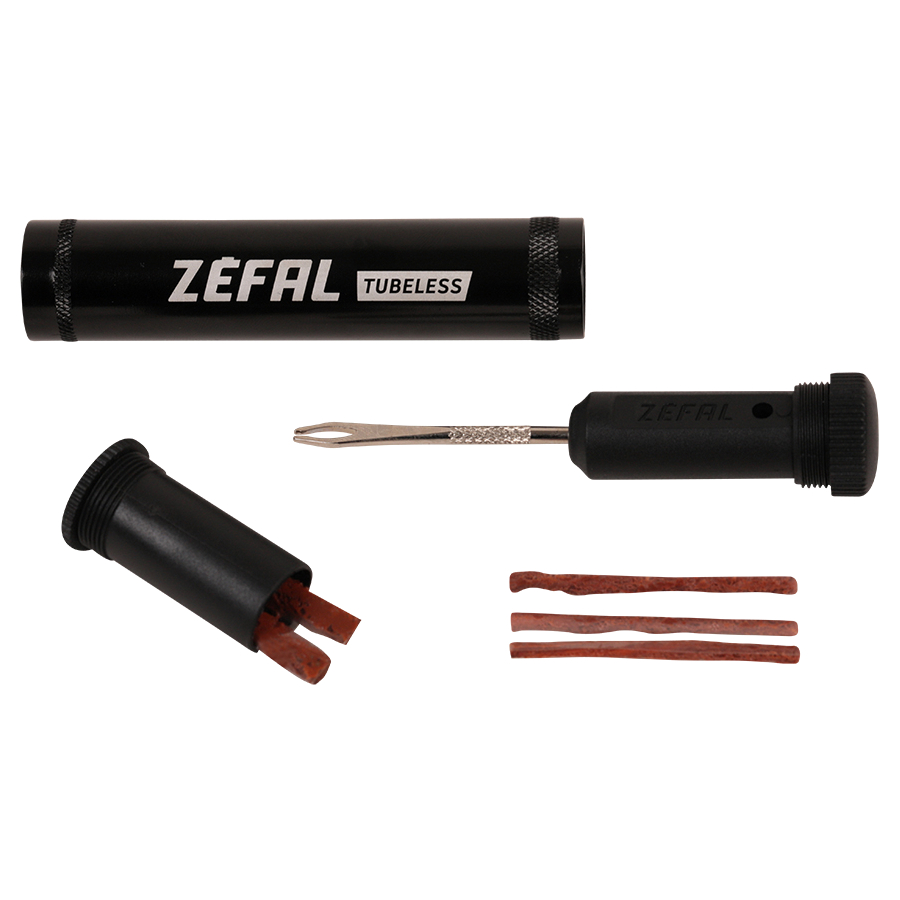
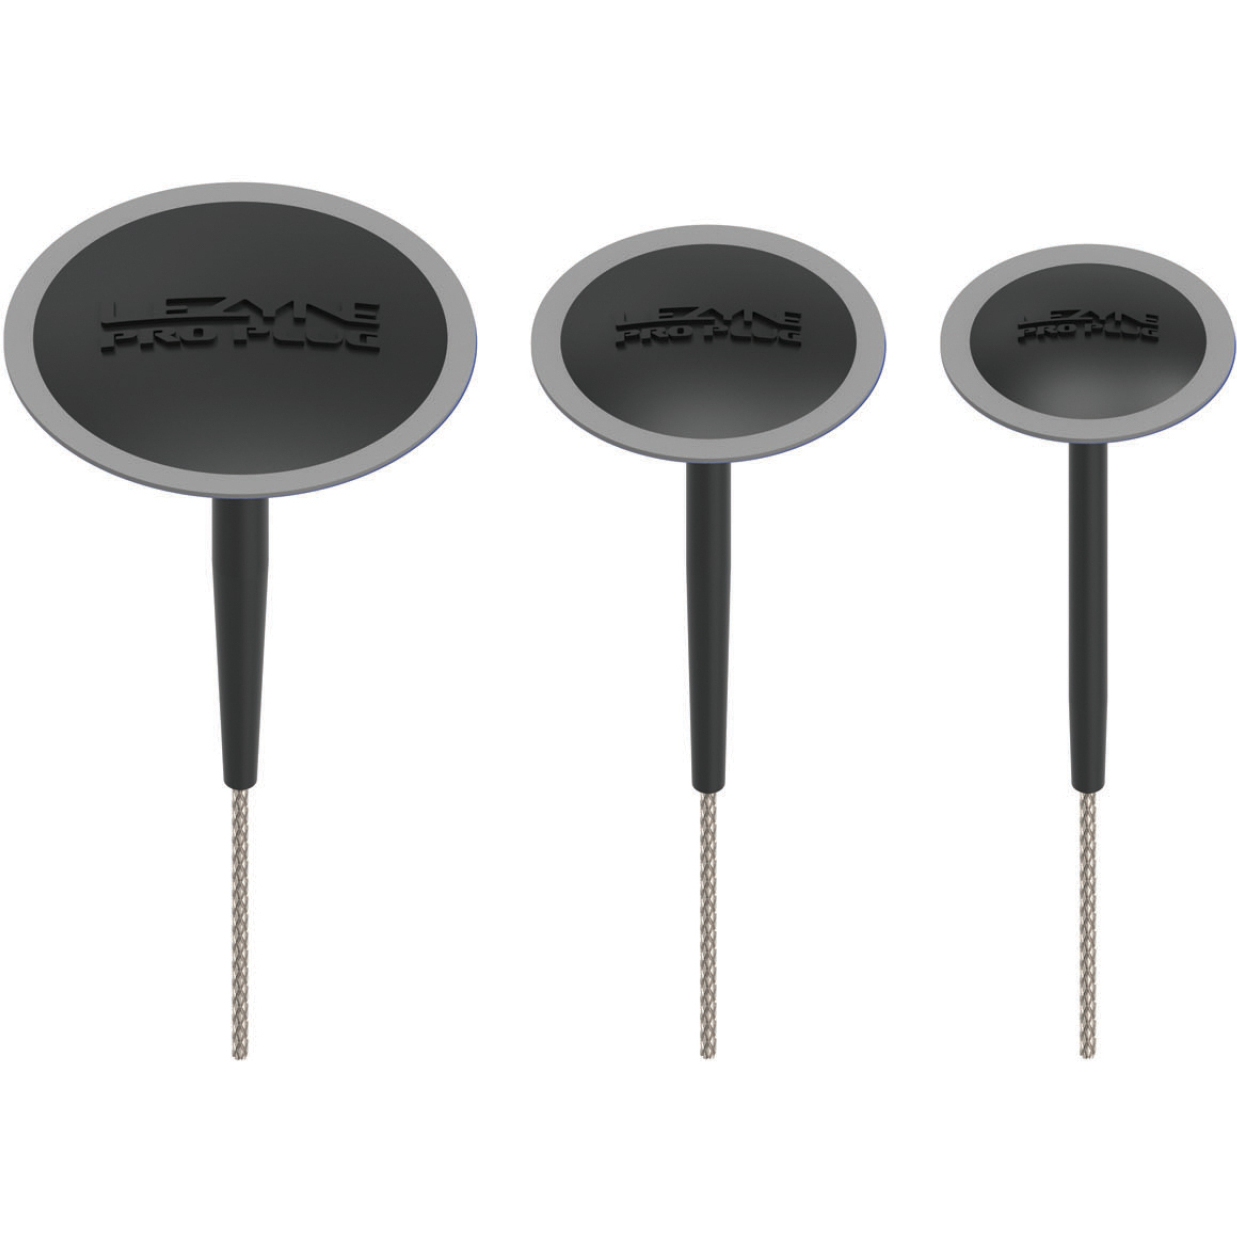
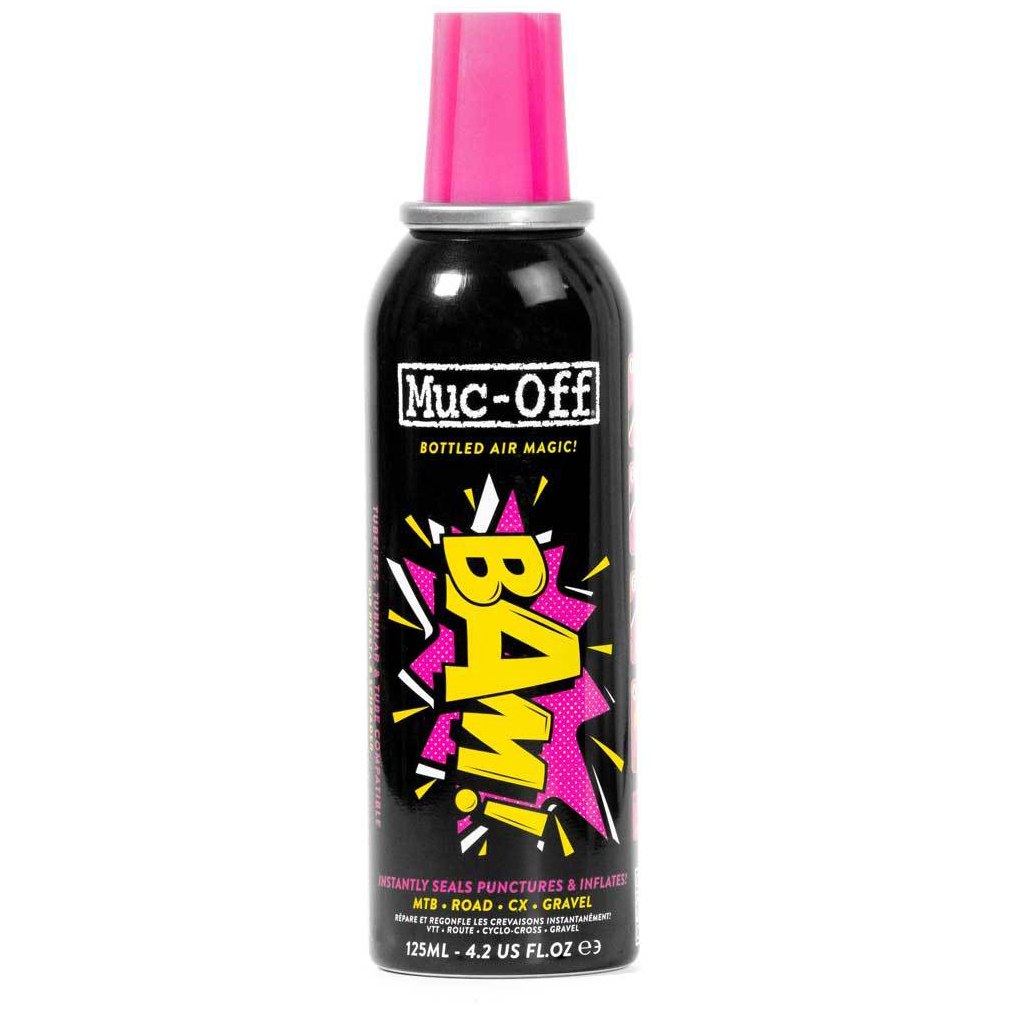
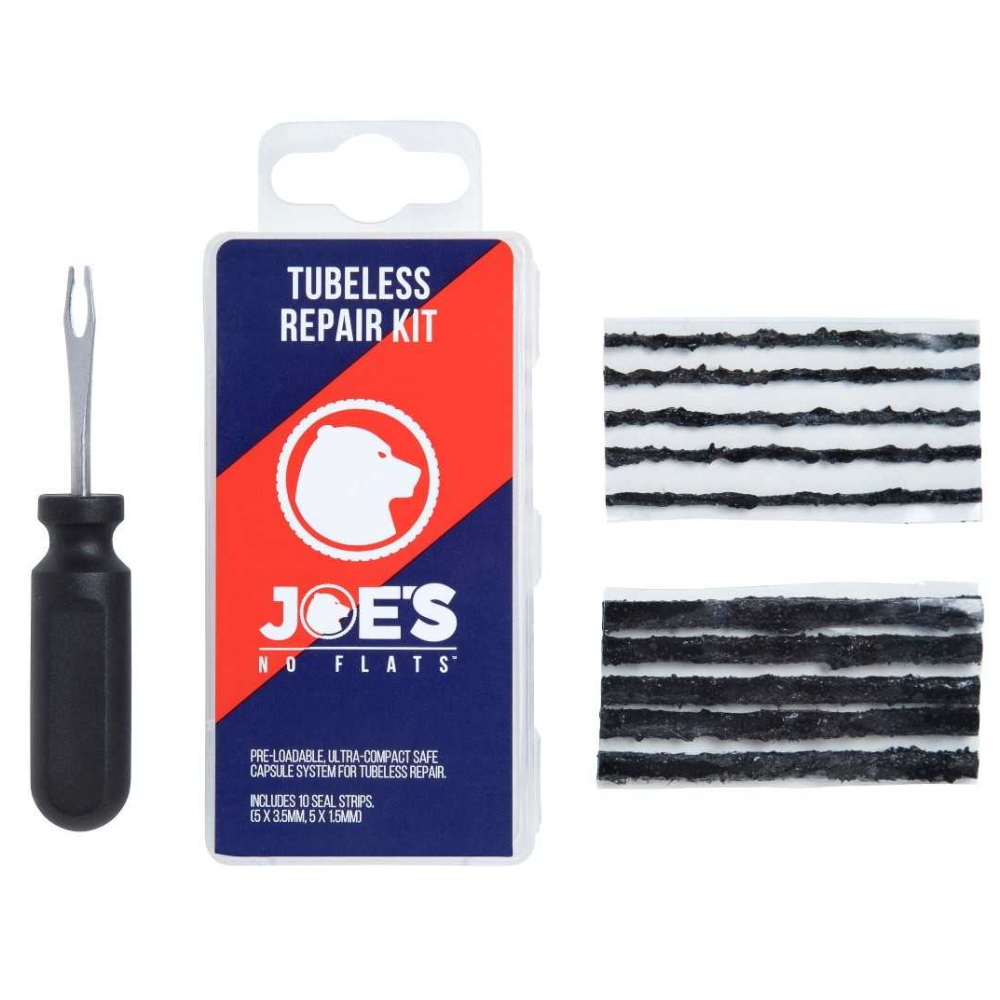
Bicycle repair kits can basically be divided into two categories: emergency puncture repair kits that contain only the essentials for patching up your tires and full sets of bike repair kits for bigger maintenance, also including further tire and tube accessories or e. g. a mini pump, for example. Standard bicycle puncture repair kits usually contain the following items:
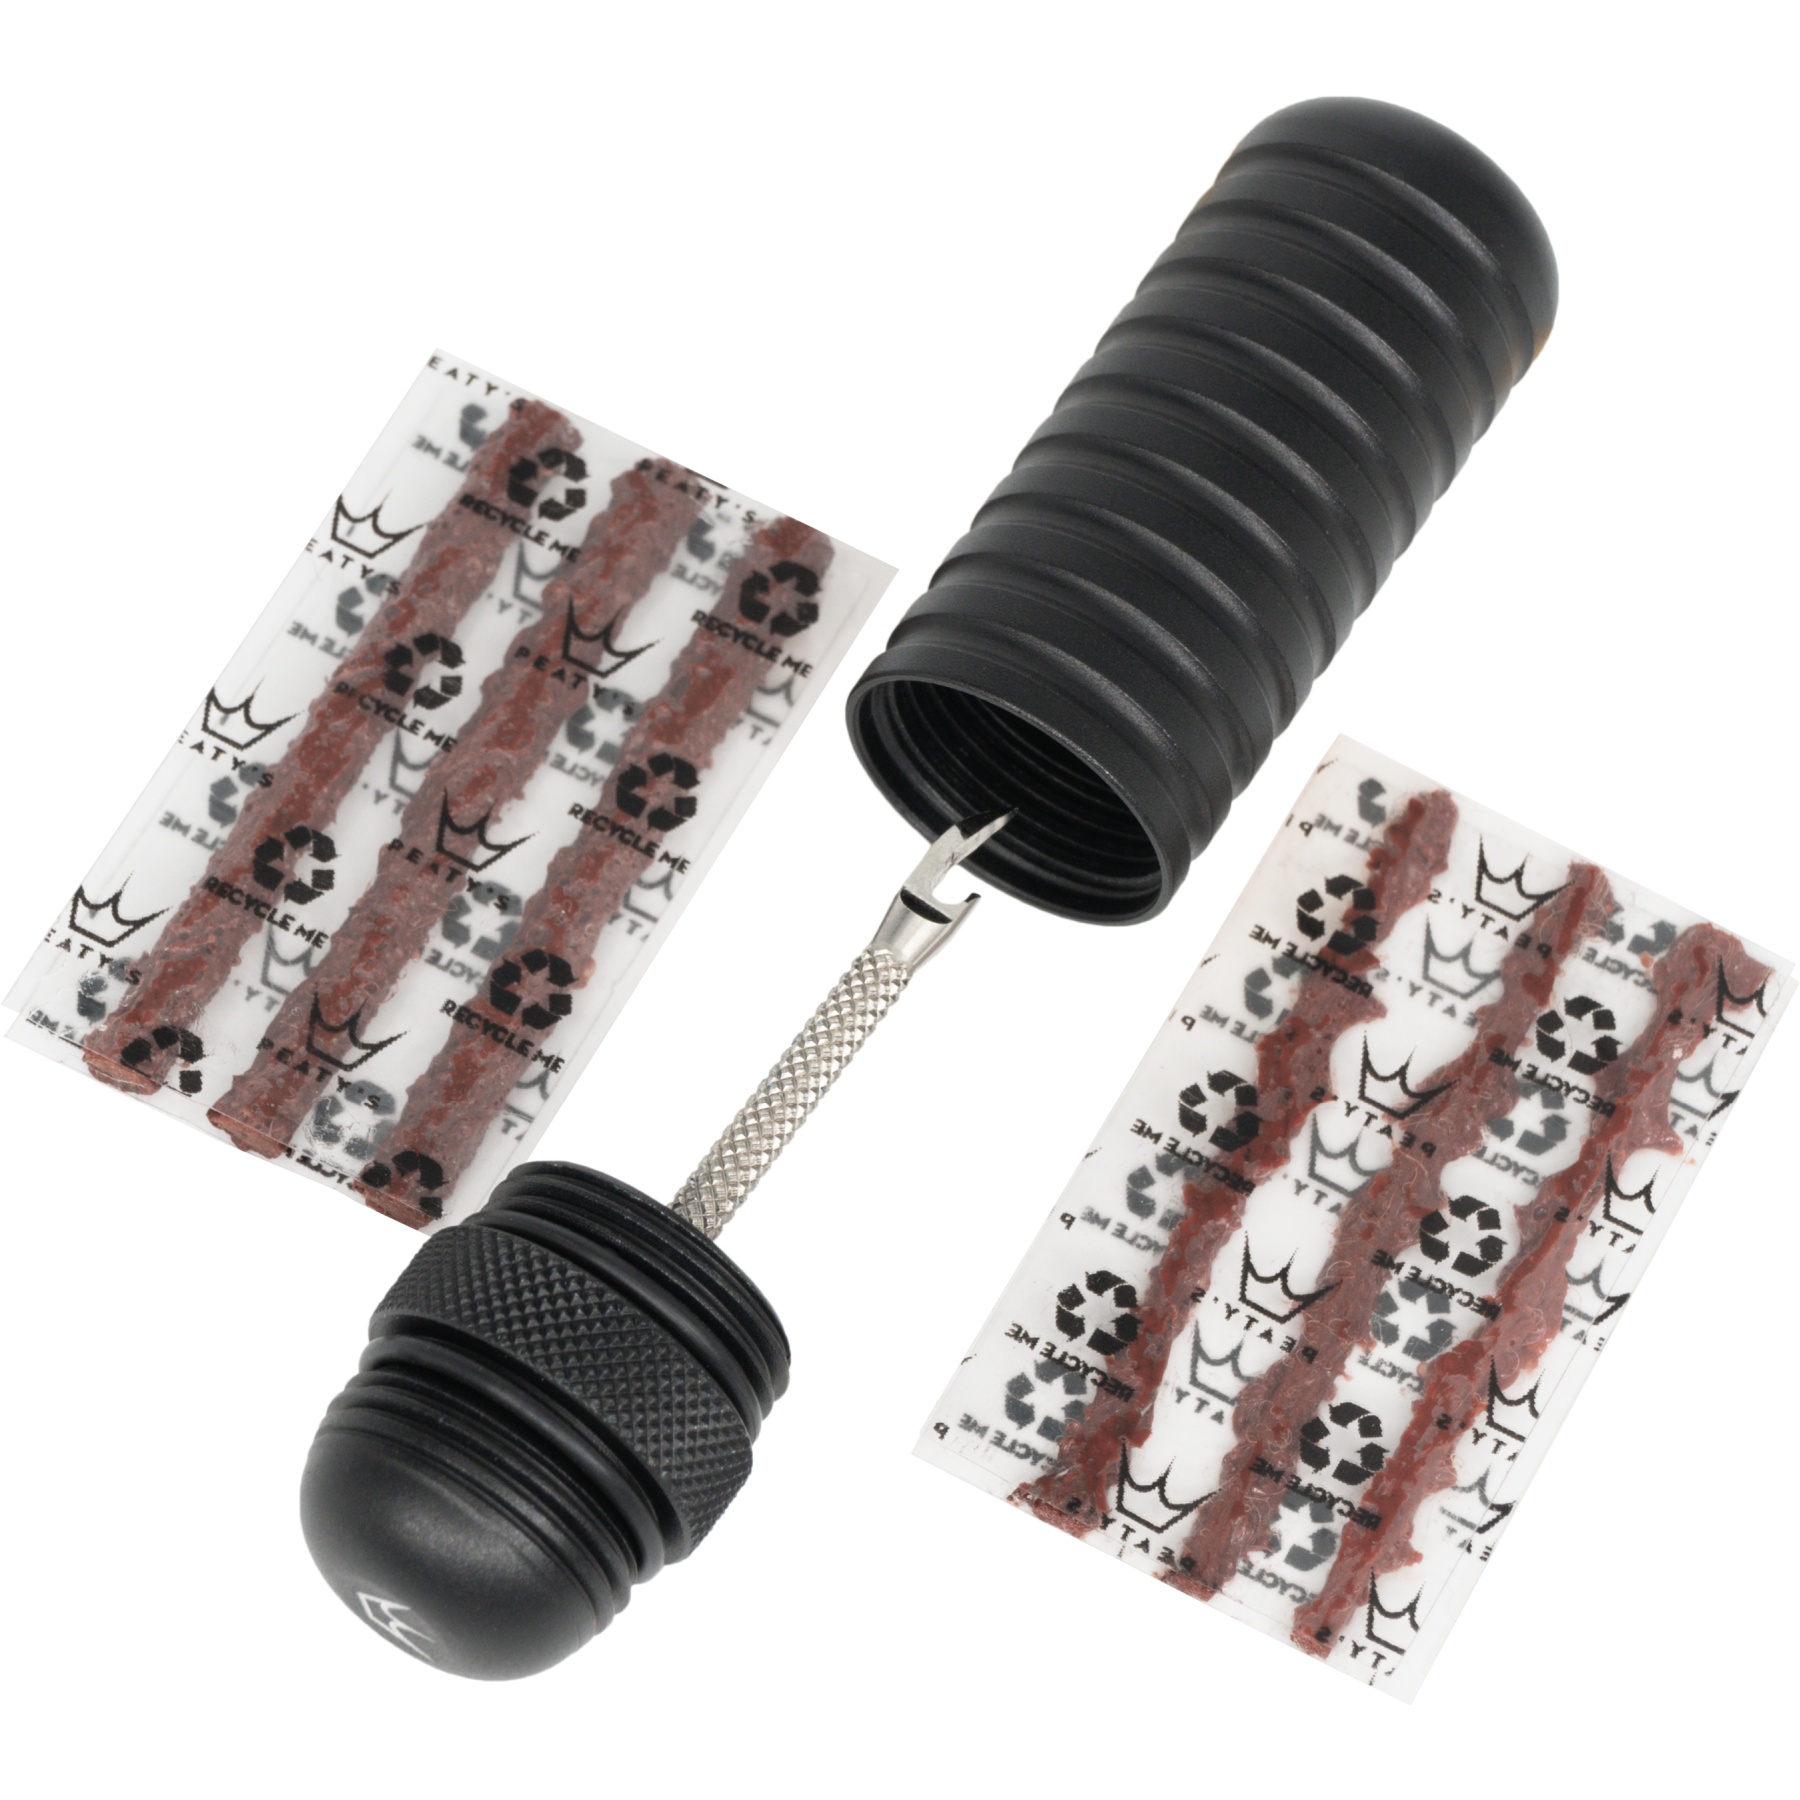
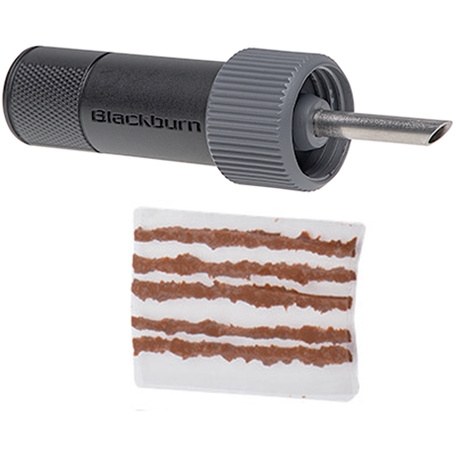
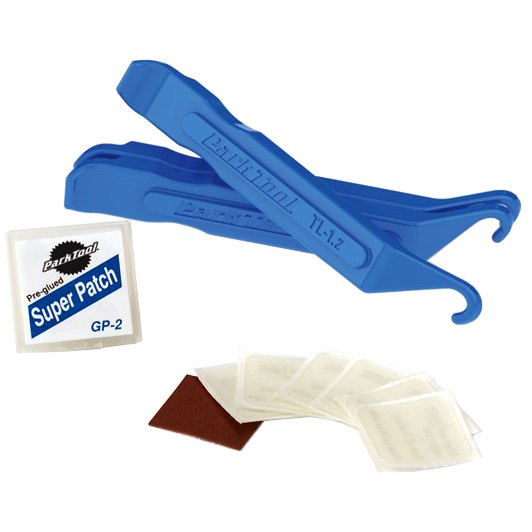
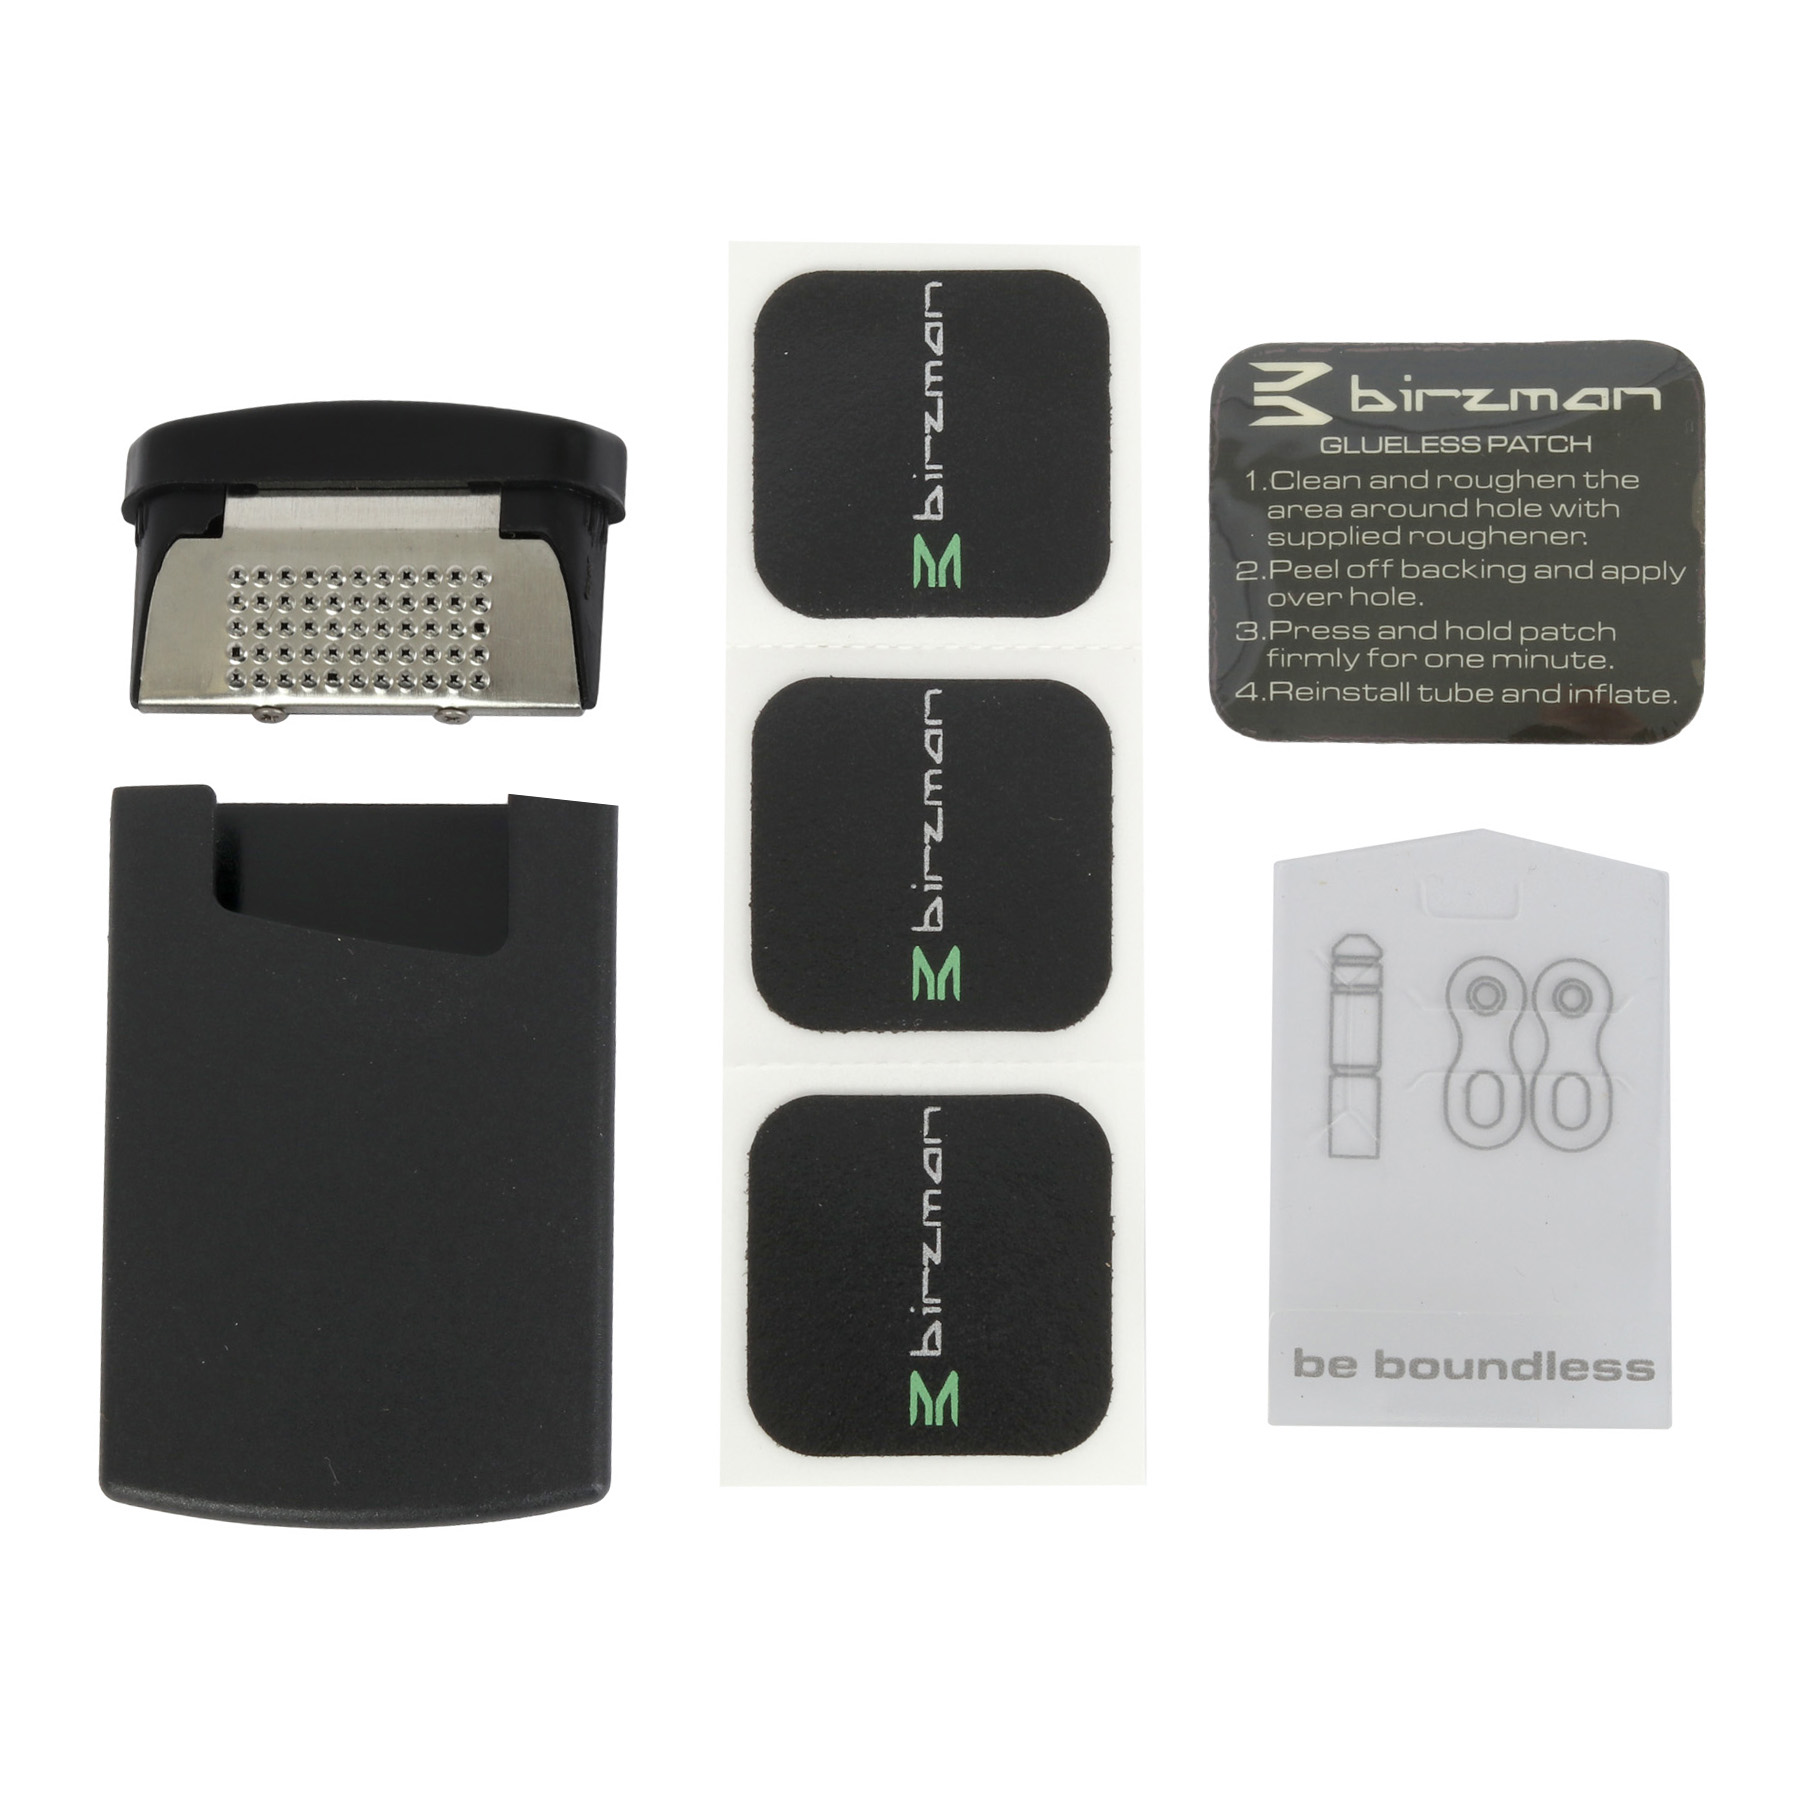
- Patch: a rubber patch to cover the hole in the tube. Such sets usually contain patches in different shapes and sizes.
- Sandpaper or rasp: some sandpaper or a rasp is essential for roughening up the damaged area and preparing the tire for repair.
- Adhesive: this solution is used to stick the patch over the hole. FYI: some manufacturers also sell self-adhesive patches so you won't need to use any glue here.
Patches, sandpaper, rasp and adhesive are the basic parts of most bike puncture repair kits. To properly repair your tire and carry on cycling, however, there are a few more things you’ll need, which we have also listed below.
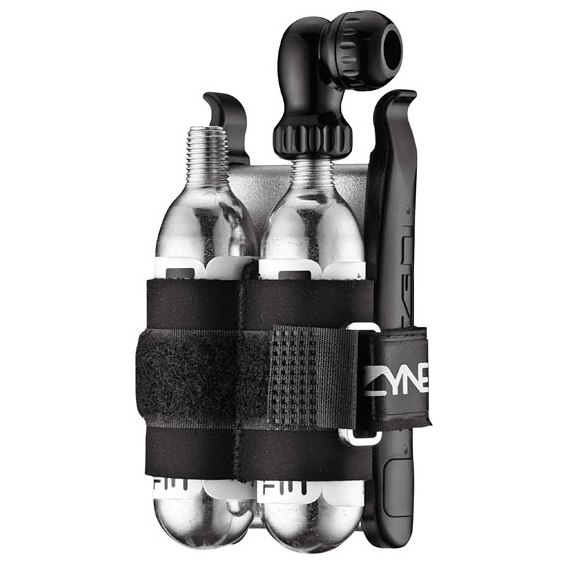
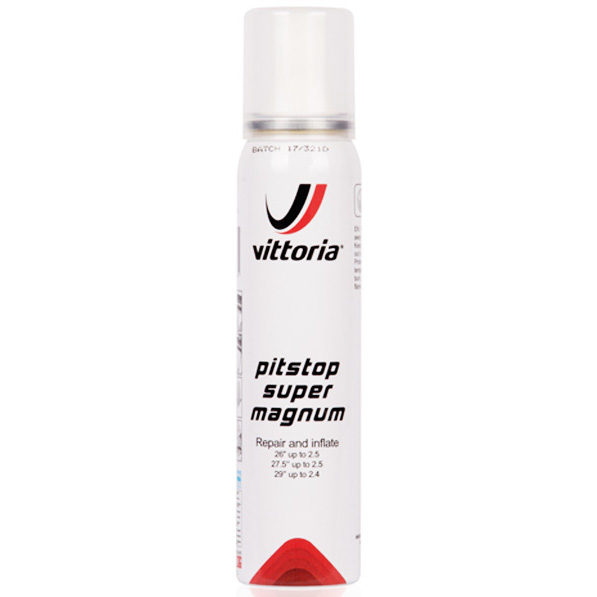
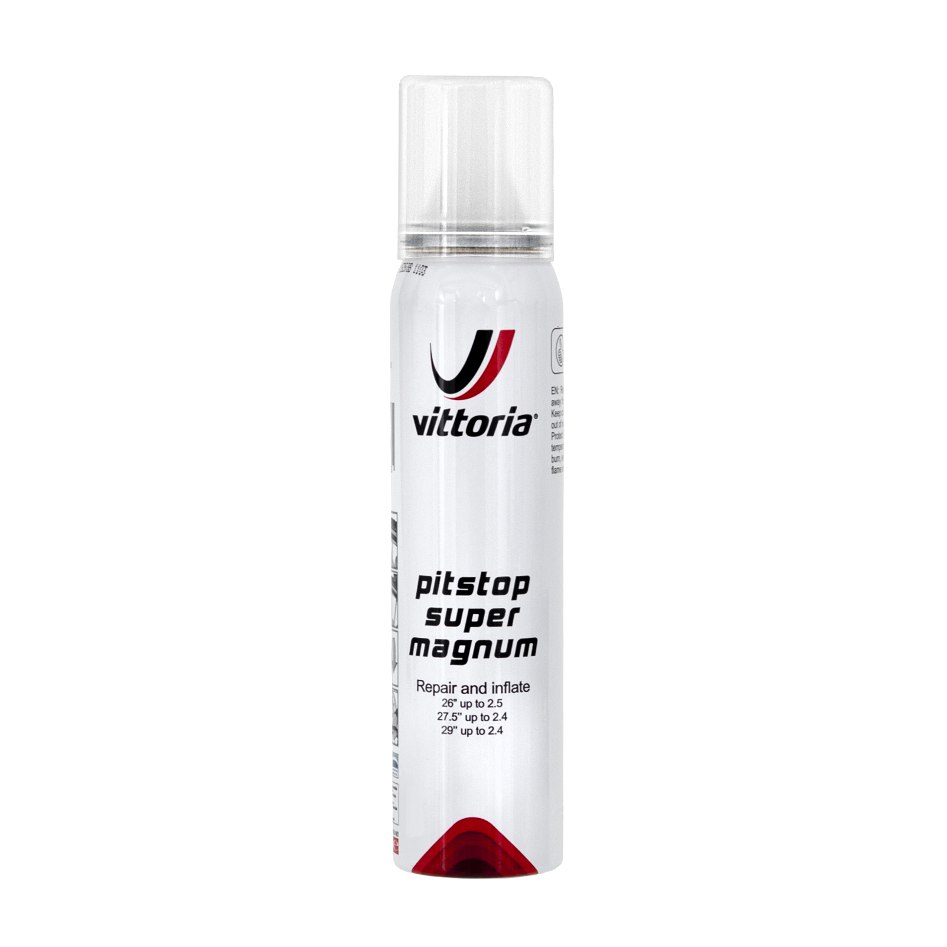
- Mini pump: even if you do the best job repairing your tire, it won’t be of any use without air. That’s why a full bicycle repair kit should always include a tire pump. Lightweight mini pumps are ideal for on the go.
- Tire lever: your tire is flat, but you can’t get it off the rim? Here’s where a tire lever comes in, a handy tool to carry with you on your rides. In fact, from our experience, it’s always advisable to have two tire levers in your saddle bag. This makes it much easier for you to remove your tire and mount it back on the rim.
- Spare tube: even the best repair kit reaches its limits at some point, for example, if the hole is too large or the tube has been damaged in some other way. In these cases, your only option is to change your tube. In addition to a repair kit, you should always have a spare inner tube with you, and you should make sure this fits your tire.
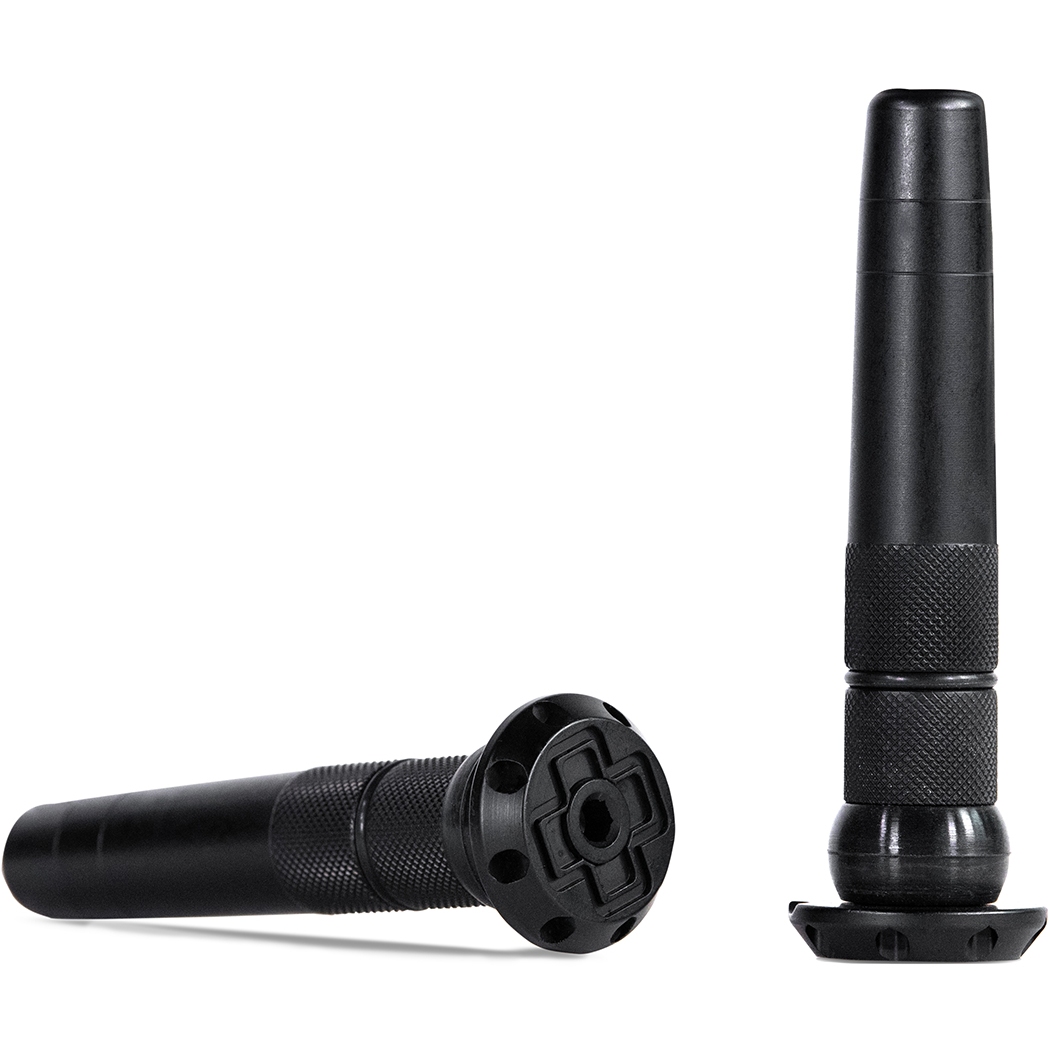
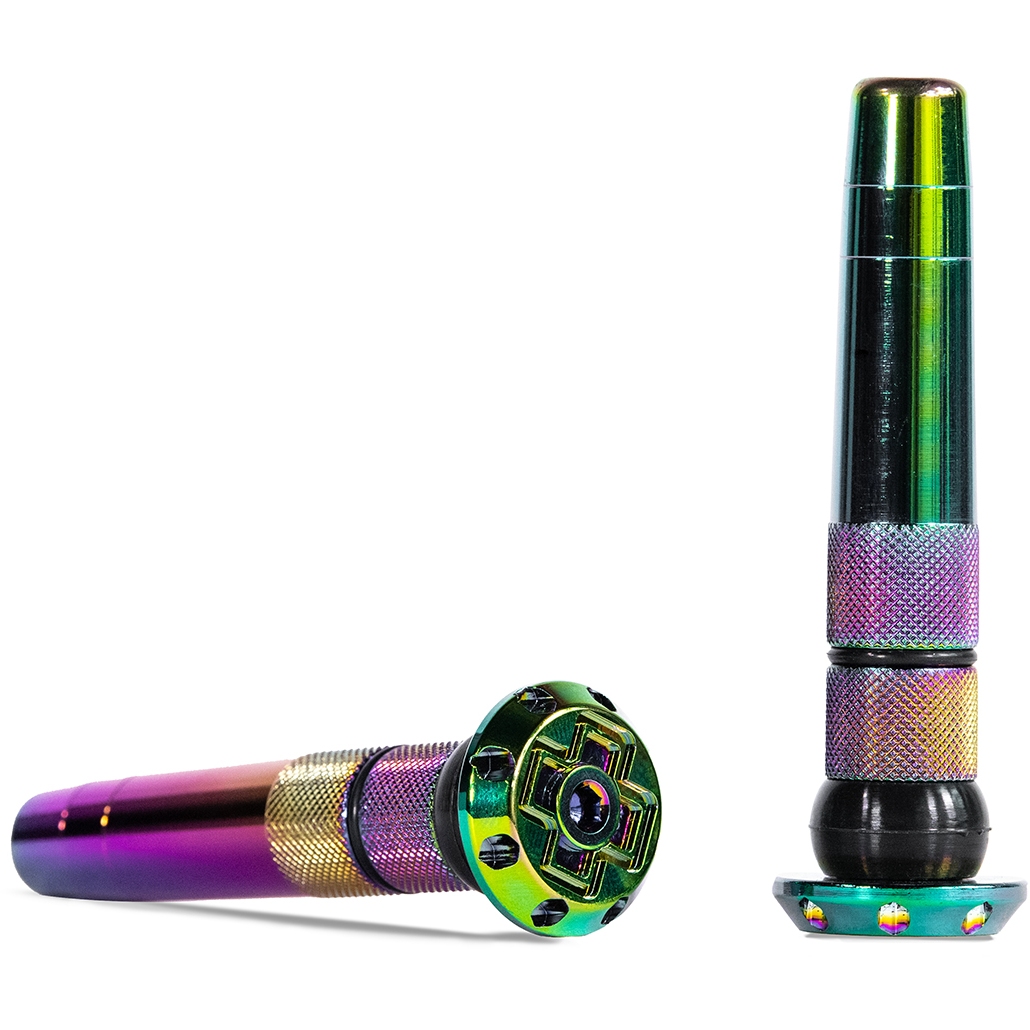
- Multi-tools and more: many cyclists prefer to be on the safe side and carry additional bicycle tools with them. These include a chain rivet tool for fixing the chain or a multi-tool that combines different tools into one compact piece of kit. At BIKE24 we have a large selection of tools for on-the-go repairs, making for perfect additions to your bike repair kit.
Repairing Your Bike Tires – Step-by-Step Instructions
- Remove the tube: it’s happened. You’re standing on the side of the road with a flat tire. First of all, you have to remove the wheel, take the tire off and then take out the inner tube.
- Find the puncture site: the second step is to find and check the puncture site. The size of the hole determines what size patch you need to apply.
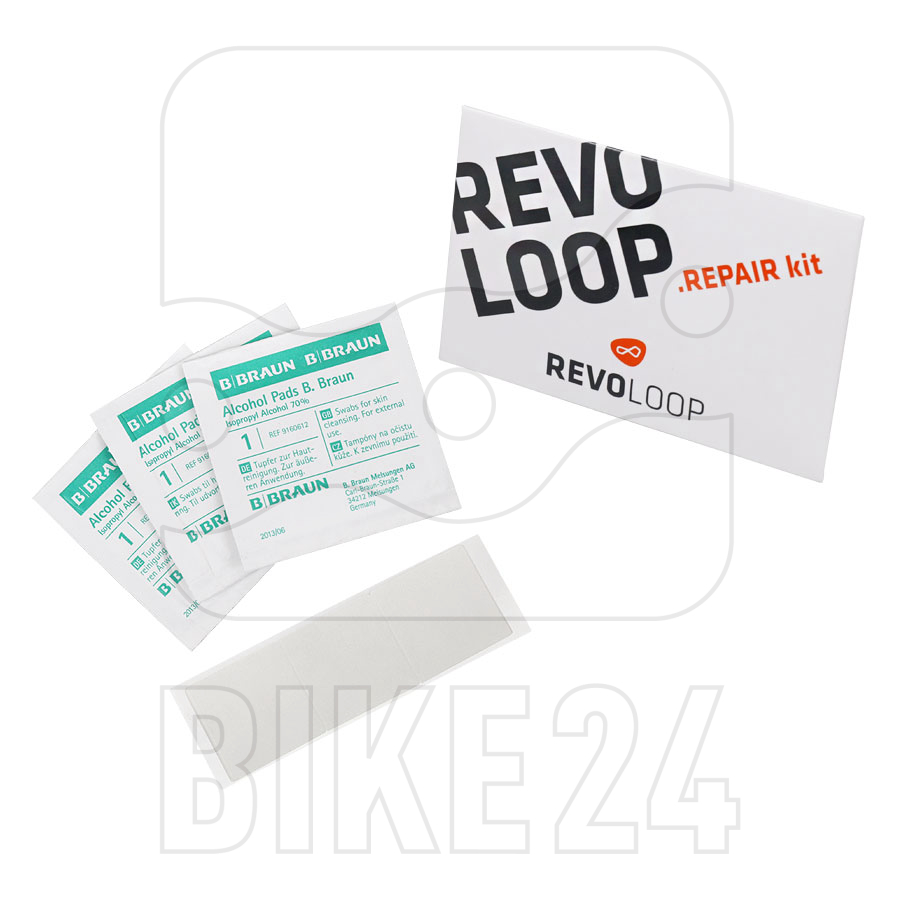
- Clean: now it’s on to cleaning the inner tube and checking to see if your tire is damaged. If there are bits of glass in your tire, for example, you have to remove them.
- Roughen the puncture site: now you can roughen up the puncture site. Do this with the piece of sandpaper provided in the repair kit.
- Apply adhesive: many patches require a special rubber adhesive or puncture repair glue to stick on properly, but there are also some patches which are self-adhesive and can be pressed onto the roughened area without any additional solution.
- Put the patch on: now you can stick the patch onto the roughened area.
- Inflate the tube: and there you have it, your tube is fixed. To finish off, you should put some air into your tube and see whether it stays inflated. If so, you can put the tube, tire and wheel back onto your bike again.
Inner Tube Repair Kits – A Summary
In an emergency, bicycle repair kits can help you to continue your ride, or at least find a way to the nearest bike shop or home. It’s entirely up to you which cycling tools and accessories you take out with you. The important thing is that you familiarise yourself with them before you head out and learn how to repair your tires so you are well prepared if you do get a puncture.