

How to adjust your bike saddle
Three ways to adjust your bike saddle
> Jump to recommended tools
> Jump to step-by-step guide
> Jump to tips for choosing a saddle

Why correct saddle adjustment matters
Setting your saddle correctly helps you perform better on long road rides and demanding MTB tours. A proper saddle setup also reduces the risk of knee pain and helps you ride more comfortably and efficiently.
Adjust your saddle to ride in a more ergonomic position and stay comfortable, even on longer rides.
What you’ll learn
In this guide, you’ll learn how to set the correct saddle height and adjust the saddle angle and fore-aft position using the right tools.

WHAT YOU'LL NEED
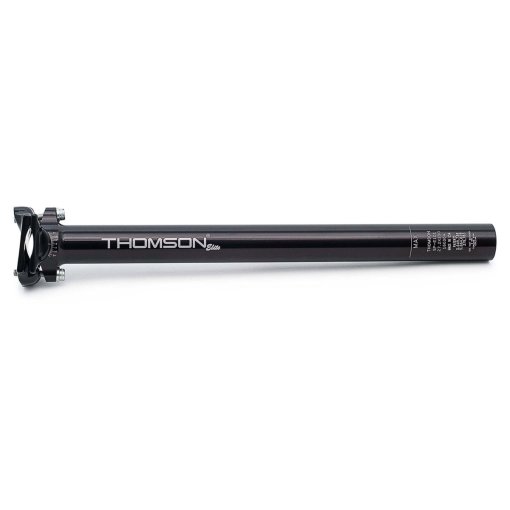
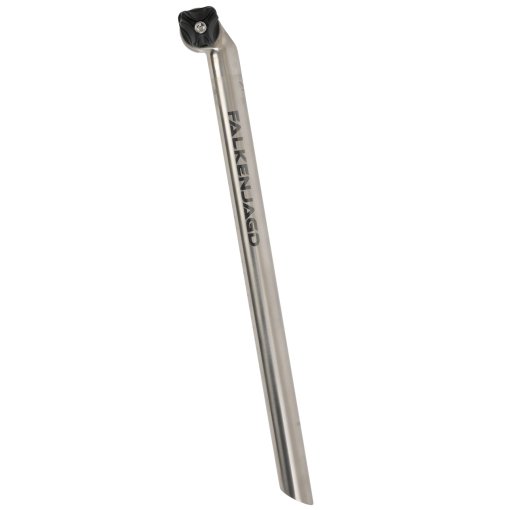
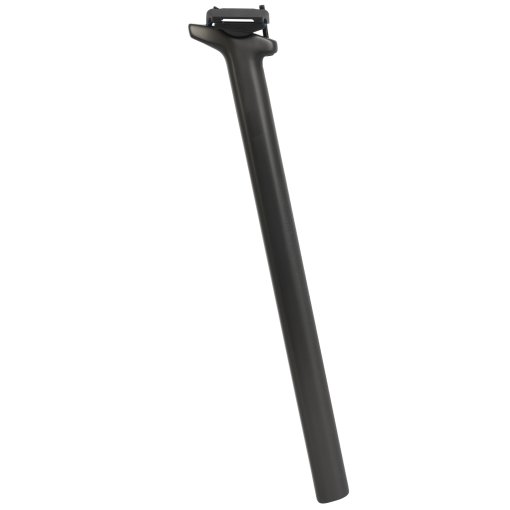
Recommended tools
- Allen key (hex key)
- Spirit level
- Plumb line
- Mini tool for adjustments on the go
- Torque wrench (optional)
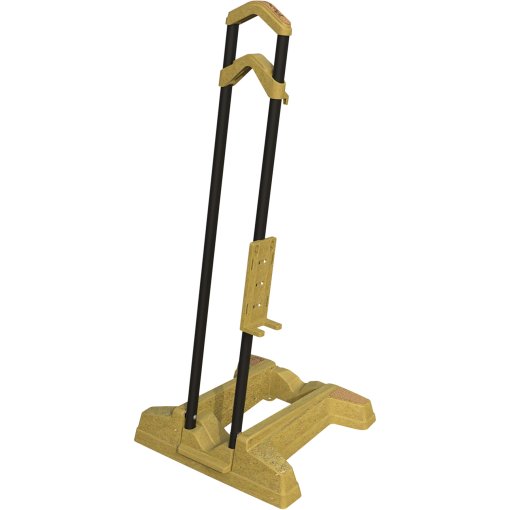
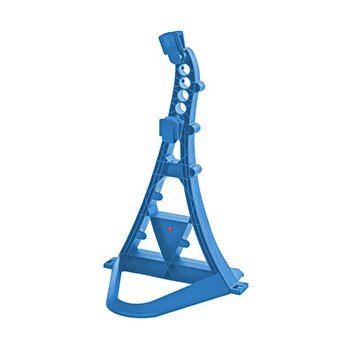
- Repair stand (optional)
Have everything you need for your bike saddle adjustment? Let’s get started.
Before you start
A few basic tips will help you set up your bike saddle adjustment correctly.
- Always use a torque wrench and carbon assembly paste when tightening carbon seatposts.
- Make adjustments when the bike is securely supported, ideally in a repair stand.
- Ask someone to help so you can check your riding position while sitting on the bike.
- Make one adjustment at a time and test the result straight afterwards.
- Check all bolt connections again after about 200 km.
Pro tip: The easiest way to adjust your saddle position is with a repair stand. It keeps the bike stable and allows you to make adjustments and check your position safely.

STEP 1
How to set bike saddle height
You can determine the basic saddle height using the following method:
If you'd prefer to start off with predefined values, you can also use this saddle height calculation table as a reference.
- Get on your bike wearing your usual cycling gear, including padded shorts and cycling shoes.
- Place your heels on the pedals, then rotate the crank until one pedal is at the 6 o’clock position (the lowest point).
- If your leg is fully extended while your hips remain level, the saddle height is correct. If your knee is still bent, raise the saddle slightly.
- Once you’ve found the correct height, tighten the seatpost clamp using the recommended torque.
Pro tip: For quick and easy adjustments, keep the seatpost and seat clamp lightly lubricated. Use all-purpose grease for aluminum parts and assembly paste for carbon components.

STEP 2
Adjusting the bike saddle angle
To adjust the saddle angle, use a spirit level.
- First check that your bike is level.
- Place the spirit level lengthwise on the saddle so it extends slightly beyond the nose and rear of the saddle.
- Check whether the saddle is perfectly horizontal.
- If it isn’t, adjust the angle using the bolt(s) on the seatpost clamp.
- Finally, check the tightening torque of all bolts, preferably with a torque wrench.
Pro tip: Some riders prefer slight adjustments to the saddle nose. Women often sit more comfortably with the nose pointing slightly upward, while many men prefer a slightly downward angle. In any case, adjust the saddle so your sit bones carry most of your weight.

STEP 3
How to adjust bike saddle fore-aft position
To adjust the fore-aft position of the saddle, you’ll need a plumb line and a helper.
- First, sit on the bike with your feet in your normal riding position.
- Rotate one crank so the pedal is at the 3 o’clock position.
- Your helper should hold the plumb line just below the kneecap at the top of the shin. The line should pass through the pedal axle.
- If you need to adjust the position, loosen the bolts on the saddle clamp.
- Slide the saddle forward or backward along the rails within the marked range.
- Finally, tighten all bolts again using the recommended torque.
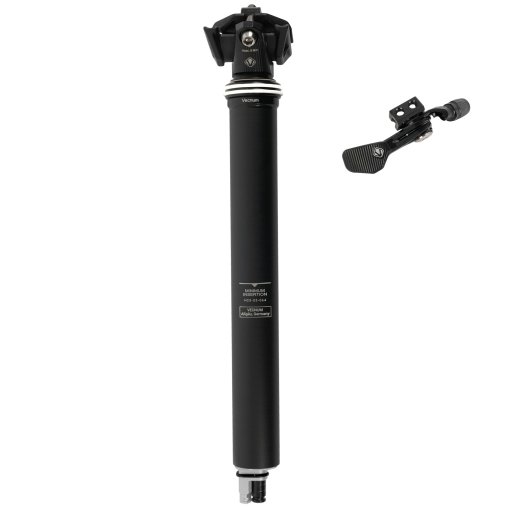
Pro tip: If you can’t achieve the correct fore-aft position within the rail markings, consider using a seatpost with a different offset (setback) to help protect your knees.
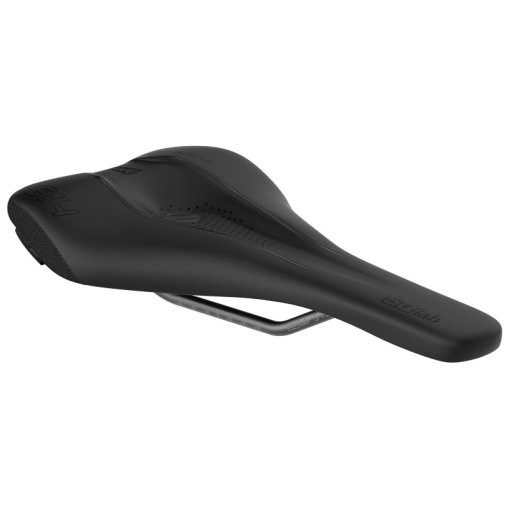
Tips for choosing a saddle
Even with the correct adjustments, your saddle may still feel uncomfortable on longer rides. Here are three common reasons why a saddle may not fit properly and what you can do about it.
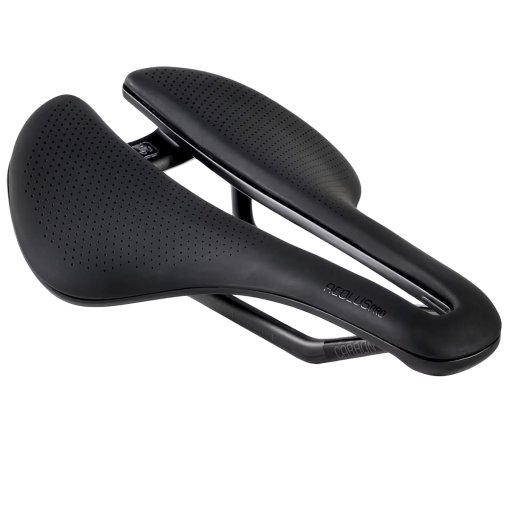
The right saddle width
Problem: If the saddle is too narrow, your sit bones won’t rest properly on it. This can put pressure on sensitive areas such as the perineum and cause discomfort or numbness.
Solution: Choose a saddle with the correct width based on the distance between your sit bones. You can measure this distance yourself using the corrugated cardboard method.
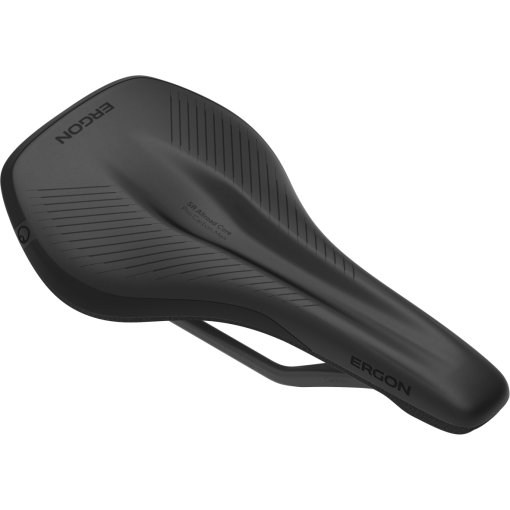
The right saddle shape
Problem: Even with the correct saddle width, you may feel discomfort between the sit bones and the perineal area on longer rides.
Solution: If you have wider hips, a V-shaped saddle with wider sides may provide better support. Riders with narrower hips often feel more comfortable on a T-shaped saddle with narrower sides.
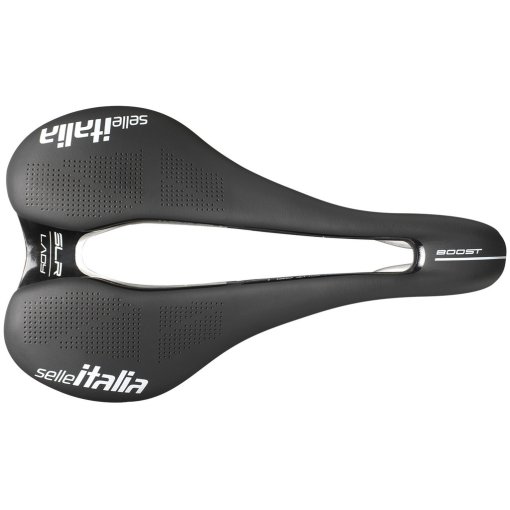
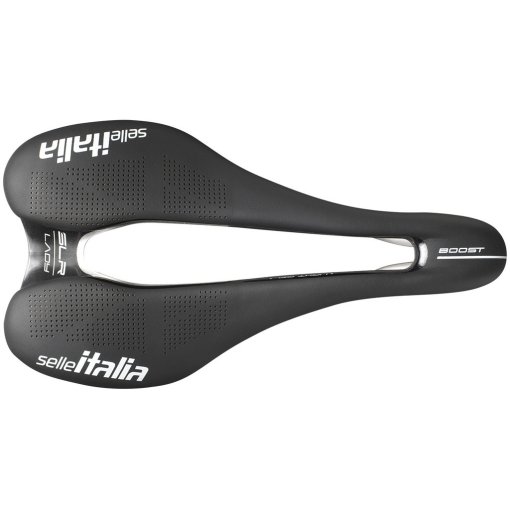
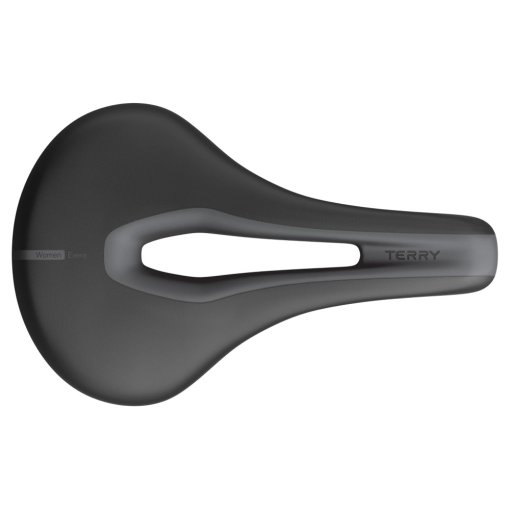
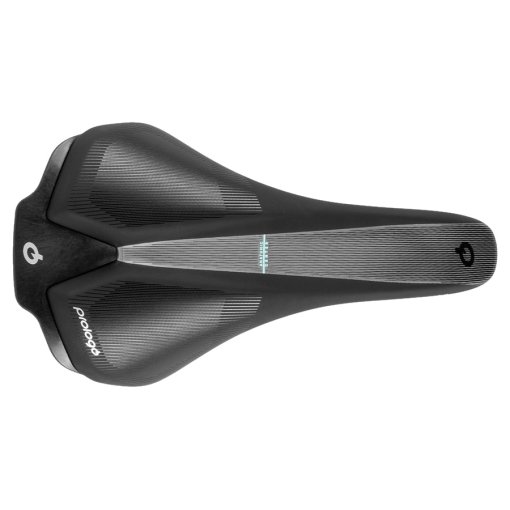
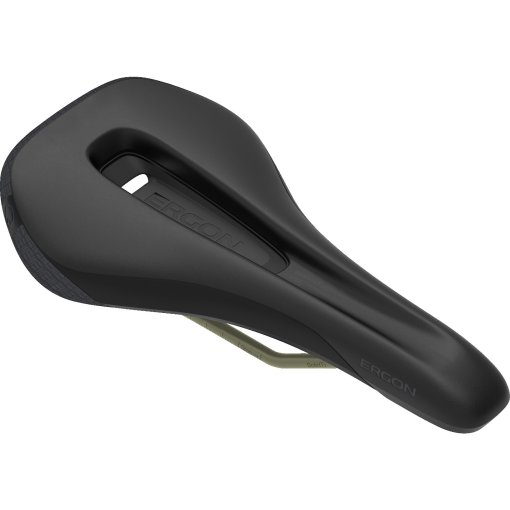
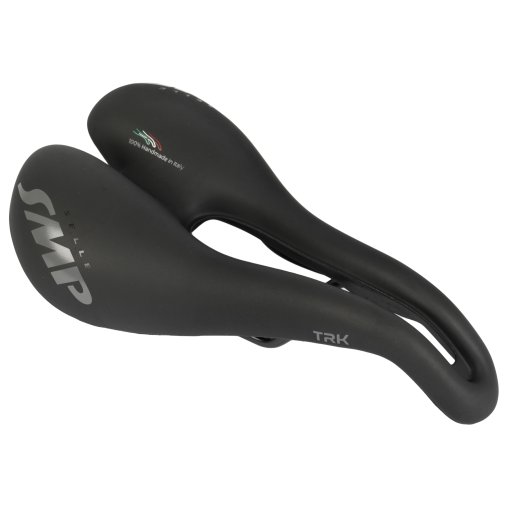
Saddle with cut-out
Problem: Excess pressure on the perineum can cause numbness or discomfort.
Solution: Try a saddle with a relief channel or a full cut-out. A relief channel is a recessed groove running along the saddle, while a cut-out is a full opening through the saddle shell.


Need Help with Your Next Project?
Then simply get in touch with our customer service team. Our experts know the answer and will be happy to help you.
Want to stay up to date?
Be the first to hear about great deals, news, and trends – delivered straight to your inbox.
