

How many speeds does my drivetrain have?
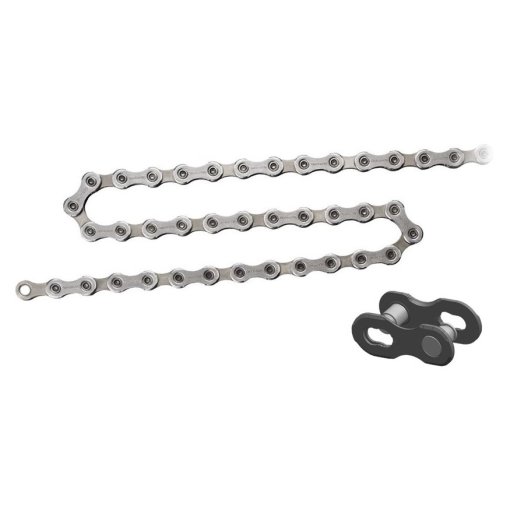
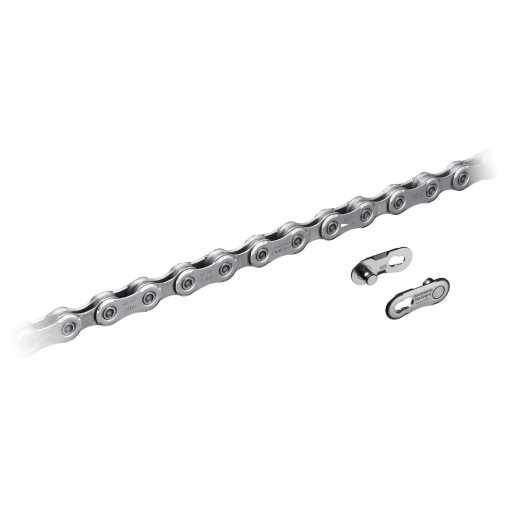
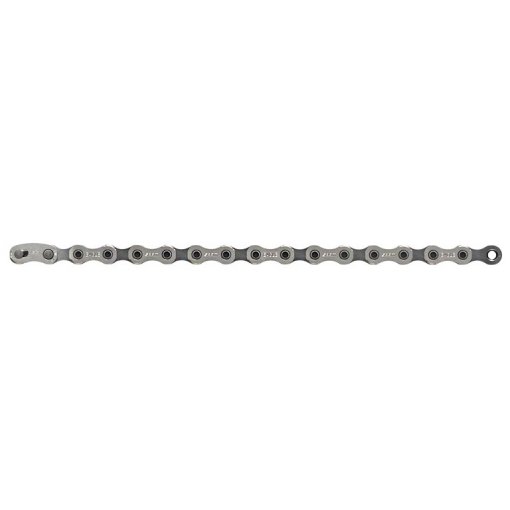
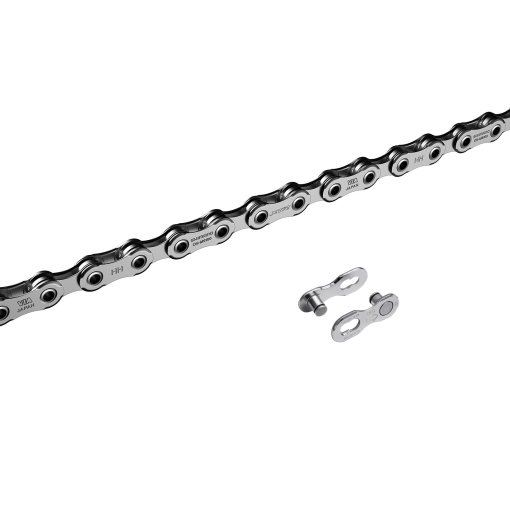
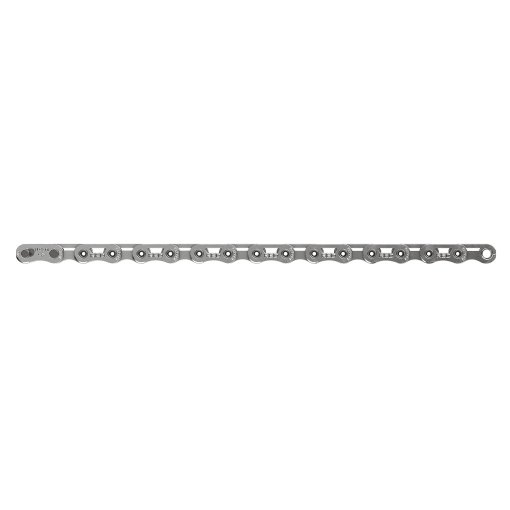
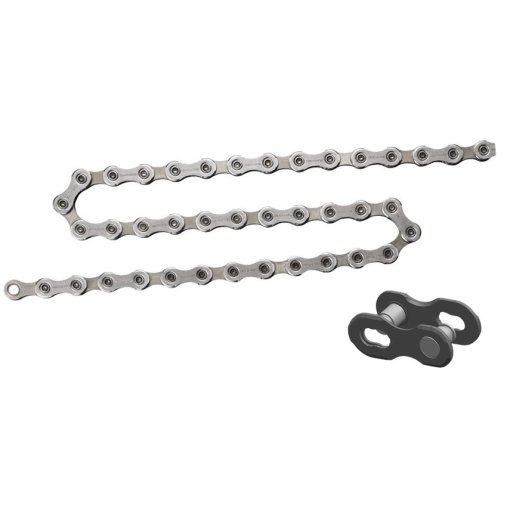
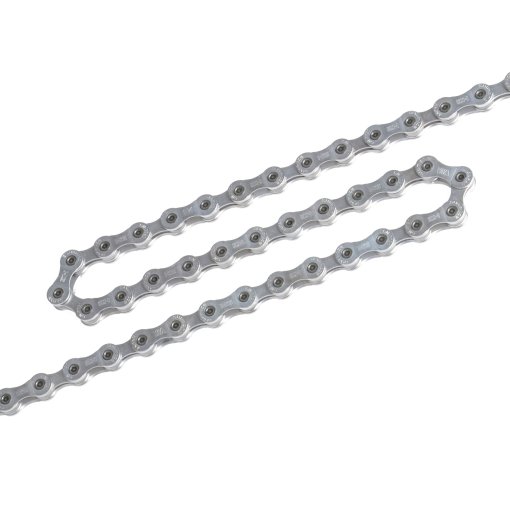
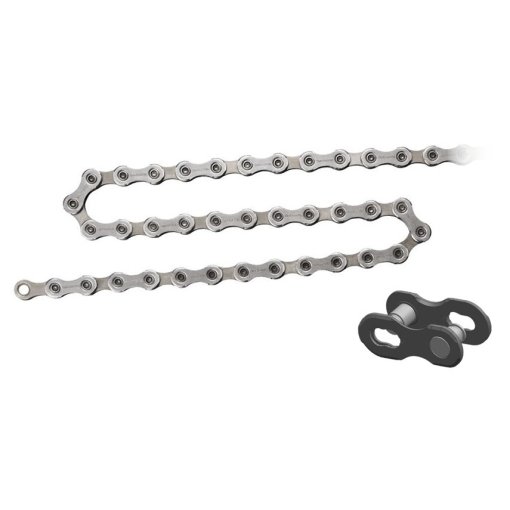
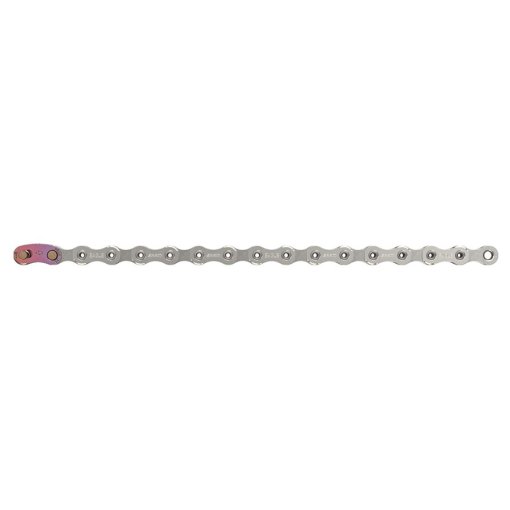
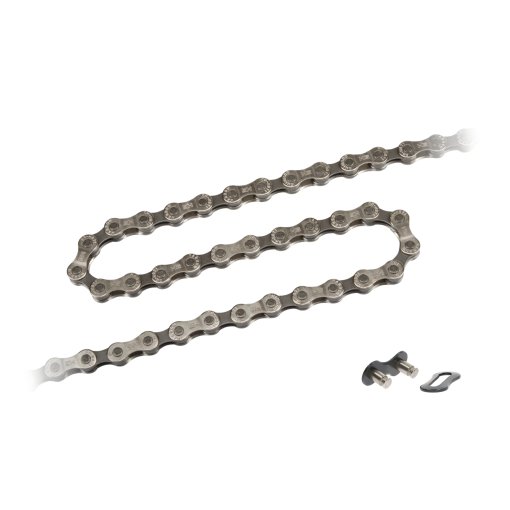
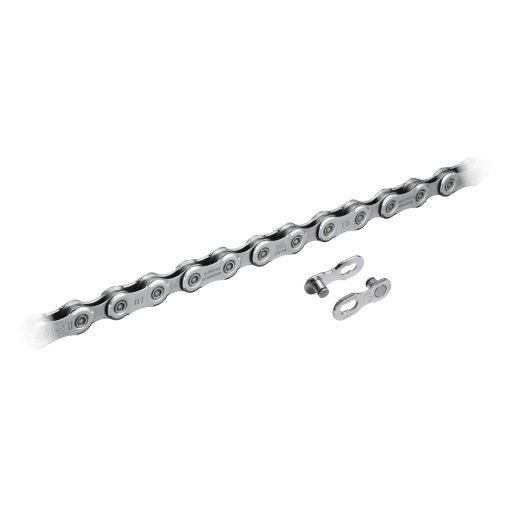
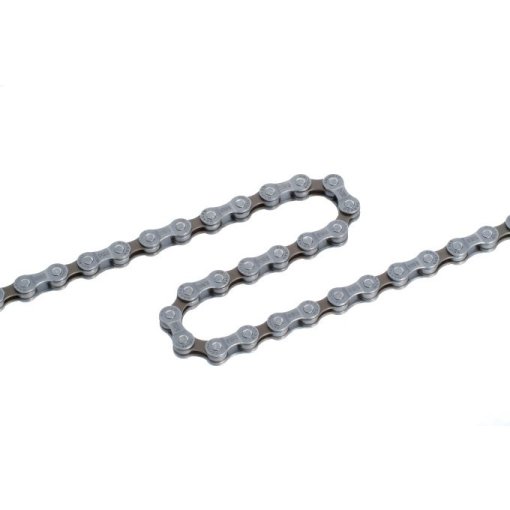
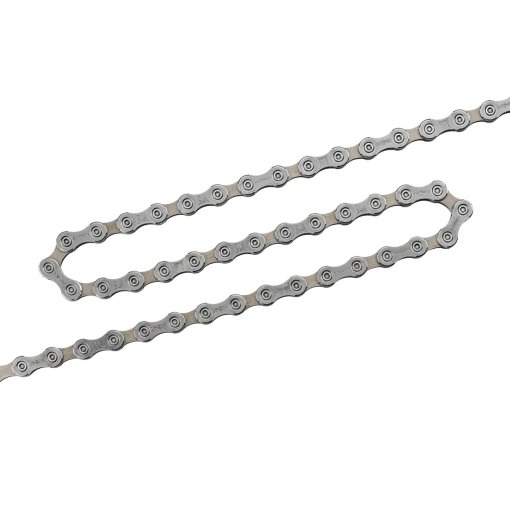
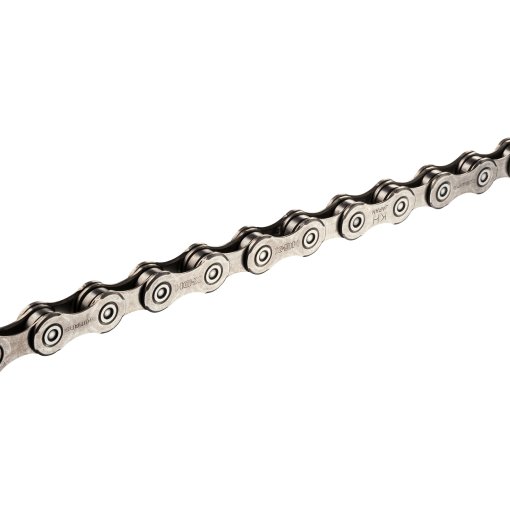
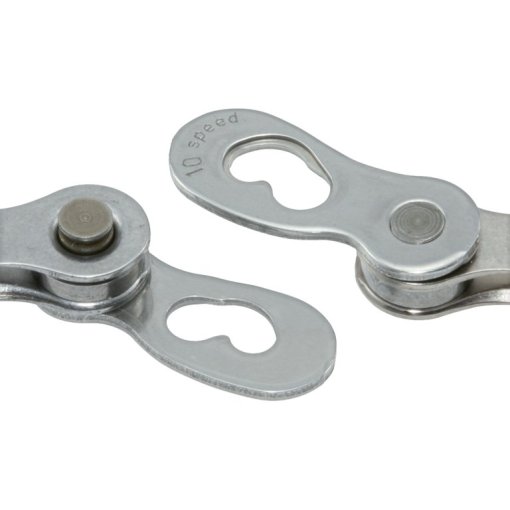
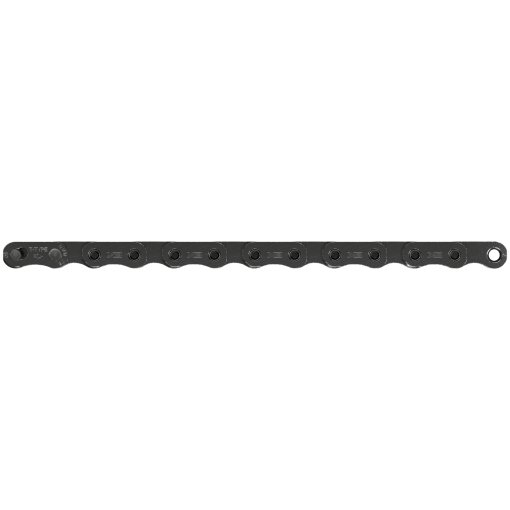
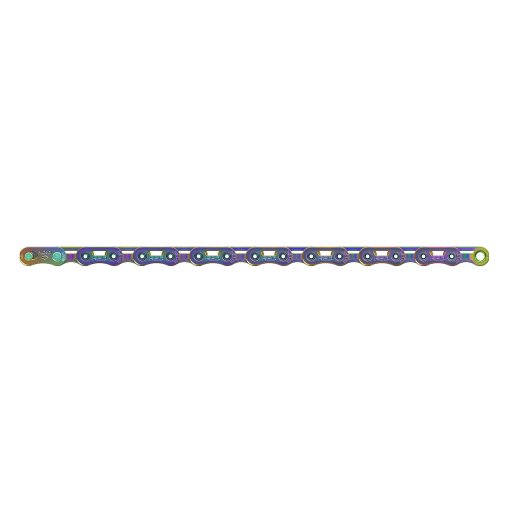
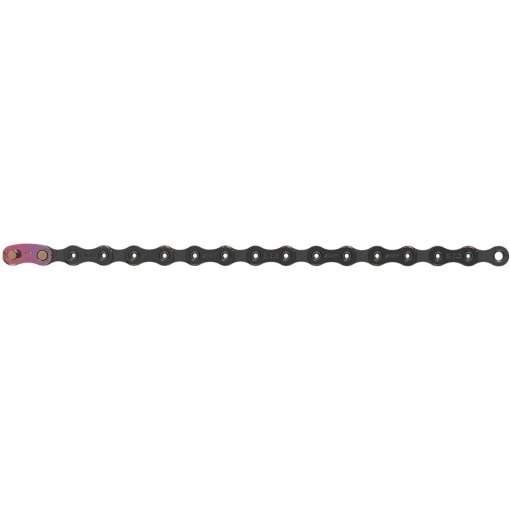
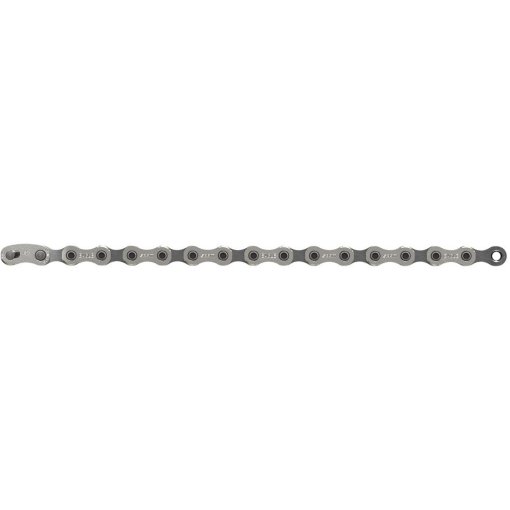
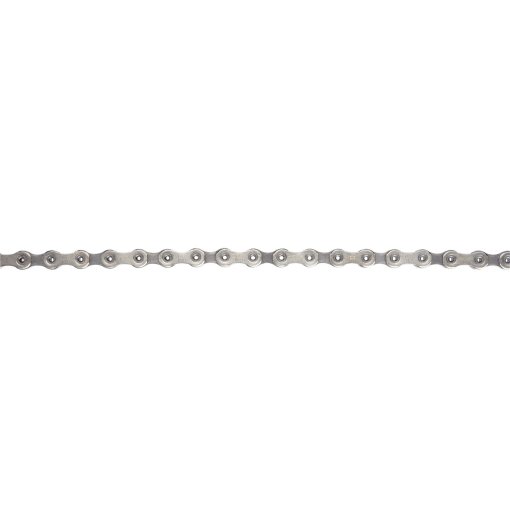
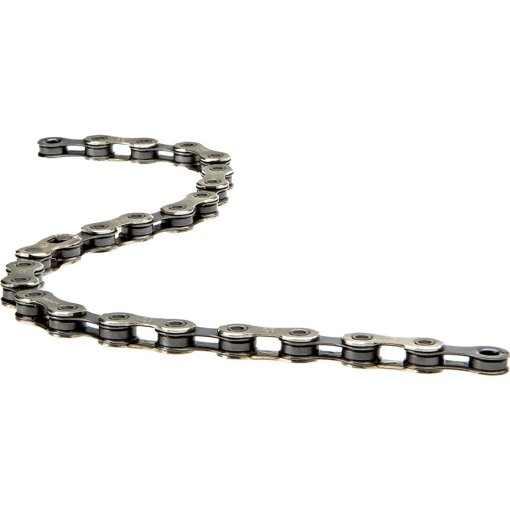
The number of speeds determines chain width. Count the sprockets on your cassette: 9, 10, 11, or 12 sprockets define the speed rating, such as 11-speed. The more gears you have, the narrower your chain needs to be. Using the wrong width can cause poor shifting and may damage your cassette and chainrings.