

How to Adjust Internal Hub Gears
Suddenly the gears on your everyday bike jump. But before you make a workshop appointment, we have some good news for your hub gears: you can fix jumping gears yourself with the right know-how.

Hub Gear Adjustment on the Bike – In a Short
Your hub gears are not working properly? With our guide, gears will soon engage correctly again.
When Do You Need to Adjust a Hub Gear
Prepare Tools
1. Find the Correct Setup Gear
2. Check the Cable Tension
3. Adjust the Setting
4. Final Check and Test Ride
When Do You Need to Adjust a Hub Gear
Durability, robustness and low maintenance – hub gears have many advantages. However, signs of wear and tear such as the length of the cables, deformed end caps or a wheel change after a puncture can throw the hub gear setting out of balance over time. This can result in disturbing noises, jumping gears or even unintentional gear changes. Correctly adjusting the gear hub provides a quick remedy.

WHAT YOU NEED
Prepare Tools
For many types you don't need any tools. The installed knurled nuts can be easily operated by hand. The exception to this are gear hubs that are adjusted on the gearbox using a countered knurled screw (for example the Shimano Nexus 3-speed hub). Then you need:
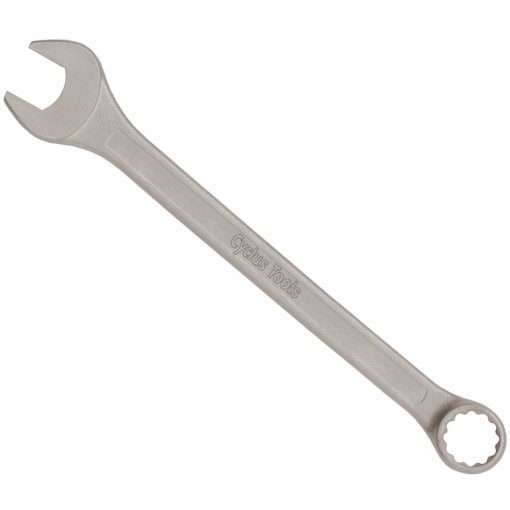
- 10 mm open-end wrench
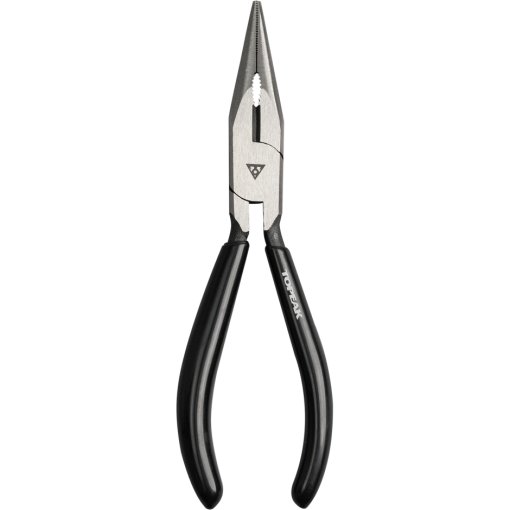
- needle-nose pliers
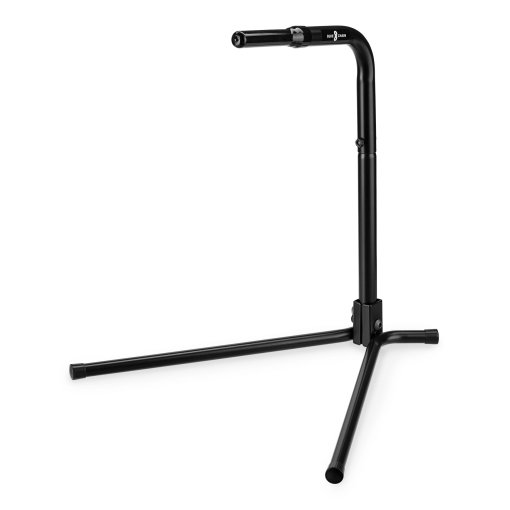
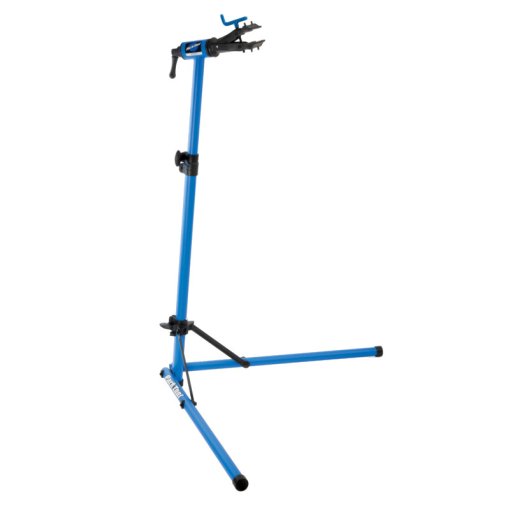
Our Expert tip: We recommend working with an assembly stand. This allows you to work independently and test the setting more easily. However, this is not necessary for a fast job.

STEP 1
Find the Correct Setup Gear
To adjust the gear hub correctly, you first need to find the right gear. This so-called reference gear varies depending on the manufacturer and the number of gears.
- Shimano Alfine 11-speed version: 6th gear
- Shimano Alfine 8-speed version: 4th gear
- Shimano Nexus 8-speed version: 4th gear
- Shimano Nexus 7-speed version: 4th gear
- Shimano Nexus 3-speed version: 2nd gear
- SRAM 7-speed version: 4th gear
- SRAM 5-speed version: 3rd gear
Our Expert tip: Make sure that the correct reference gear is engaged before you start fine-tuning. Some shifters or twist shifters have a small arrow on the gear indicator for this purpose.

STEP 2
Check the Cable Tension
To do this, you must check the markings on the hub or on a gear actuation box attached to it. If the setting of your hub gears is correct, the markings should form a line or the setting marker is exactly between two lines. If the setting is not correct, the lines or markings are offset from each other, and you need to adjust the hub gears.

STEP 3
Adjust the Setting
Depending on the type of shifting system, you will find an adjustment screw on the shift box or shifter – sometimes this is also locked. If necessary, loosen the lock nut using the 10 mm open-end wrench and needle-nose pliers. Then carefully turn the adjusting screw to the left or right to fine-tune the shifting. Don't forget to lock it again if necessary.

STEP 4
Final Check and Test Ride
Once you have adjusted the gear hub system, it is important to check its function. To do this, shift through the different gears and then return to the reference gear. If the yellow marking lines are still aligned, the hub gears have been set successfully. We also recommend performing a test ride afterward. Make sure that all gears engage properly and that the bike is comfortable to ride again.


Need Help with Your Next Project?
Then simply get in touch with our customer service team. Our experts know the answer and will be happy to help you.
Always Want to Stay up to Date?
Be the first to hear about great deals, news and trends – free and regular in your inbox.
