

How to Wrap a Handlebar Tape
Want to re-tape the drop bar on your road bike? It's easy with the right tips and tricks. We explain step-by-step how to wrap your bar tape like the pros.

Wrapping Handlebar Tape – In a Short
You have chosen a good tape? Then let's get to work.
Preparation
1. Start at the Handlebar End
2. Wrap around the Brake Lever from Below
3. Continue Wrapping around the Brake Lever from Above
4. Wrap the End
5. Cut off, Fix & Insert Bar Plugs
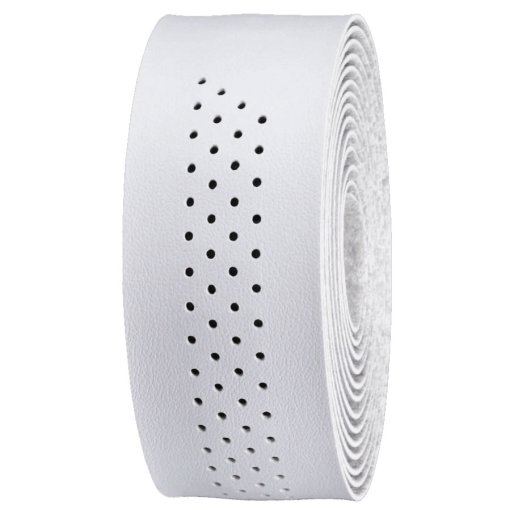
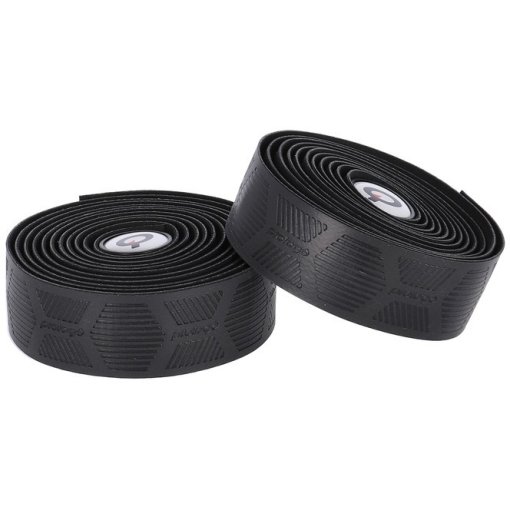
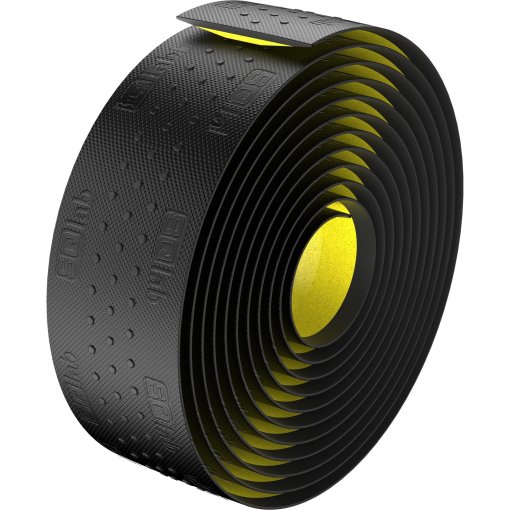
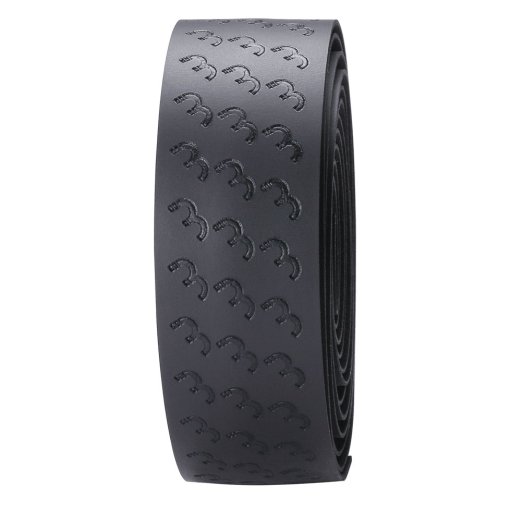
Which Handlebar Tape Is the Best – Material Check

WHAT YOU NEED
Prepare Material and Tools
- New handlebar tape
- Cleaning agent
- Cleaning rags
- Scissors
- Insulating tape (optional)
- Bar plugs (optional)
- Double-sided adhesive tape (optional)
Wrapping Handlebar Tape – Step-by-Step Guide
Learn what is important when wrapping in the following 5 steps.
Preparation
The handlebars must be prepared before winding. Turn over the hood covers, remove the old handlebar tape and clean the handlebars thoroughly. Also remove any old adhesive residue. This will ensure that the new bar tape adheres better. Furthermore, make sure that all cables are routed correctly and fixed to the handlebars with tape.
Tip: If your new handlebar tape does not have an adhesive back, you can apply a piece of double-sided tape at the drop ends and on the upper bar.
You should always start wrapping at the ends of the drops and not at the upper bar. The handlebar tape wrap direction always points outwards, i.e. anticlockwise on the left-hand side and clockwise on the right-hand side. So start at one end and leave half of the strap width protruding. This is important so that you can create a clean finish by inserting the bar plug.

STEP 1
Start at the Handlebar End
Now you can start wrapping the bar tape. As you work your way towards the brake lever at a slight angle, it is advisable to overlap by around five millimeters with each turn, or overlap in such a way that the adhesive surface adheres to the surface. Keep the handlebar tape moderately taut so that it adapts to the shape of the bends and stays firmly in place.
Our expert tip: For the best possible winding on the bends, you only need to ensure that the bar tape overlaps evenly on the outside of the bend.

STEP 2
Wrap around the Brake Lever from Below
The most challenging part is applying the tape around the brake levers. Many tape manufacturers supply two short additional pieces of bar tape for the brake levers so that you can also cover the bar surface including the clamps in the area of the brake levers. Wrap the tape just under the brake lever. Then wrap it tightly from the inside of the handlebars upwards and outwards over the brake lever.

STEP 3
Continue Wrapping around the Brake Lever from Above
Wrap the tape, which is still held tight, back down around the grip and the front of the drop. The tape should now run on the outside below the top link. With the next clockwise wrap around the top link, the most difficult part is already done. If everything fits, wrap it back underneath the brake lever, place the additional piece and repeat the wrapping around the handlebar.
Tip: If the handlebar tape is long enough, you can alternatively wrap it in an "Italian figure of 8". Here you wrap the tape around the brake lever in an "8" shape so that there are no gaps and it fits evenly.

STEP 4
Wrap the End
Now you can continue winding the bar tape above the brake lever. Due to the position of the brake lever and the shape of the handlebars, the winding direction above the lever changes in an anti-clockwise direction. Wrap until the desired grip area is covered.

STEP 5
Cut Ends, Fix & Insert Bar Plugs
At the end – while standing in front of your bike – cut the exceeding tape at an angle so that it is perpendicular to the bar. This ensures a straight finish. Now you can fix the bar tape in place with the included piece of adhesive tape or using your own insulating tape. Finally, press the excess handlebar tape into the bar end and fix it with the bar plug.
Tip: The tape at the end of the handlebars can be pressed inwards more easily if you warm it up a little with a hairdryer beforehand.
Which Handlebar Tape Is the Best – Material Check
Cork containing or fully synthetic? Not all handlebar tape is the same. It has different characteristics depending on the material composition. In addition, the thickness plays an important role in terms of damping comfort and the surface texture in terms of grip. To find the right product, it is worth taking a look at the advantages and disadvantages of the respective materials and the available variants.
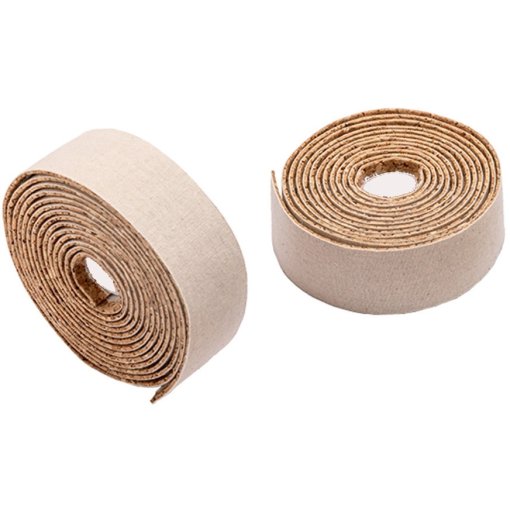
Cork Bar Tape
- Variants: -
- Advantages: fundamentally soft to the touch - good vibration damping, non-slip surface
- Disadvantages: not as durable as other materials, harder to clean, absorbs moisture
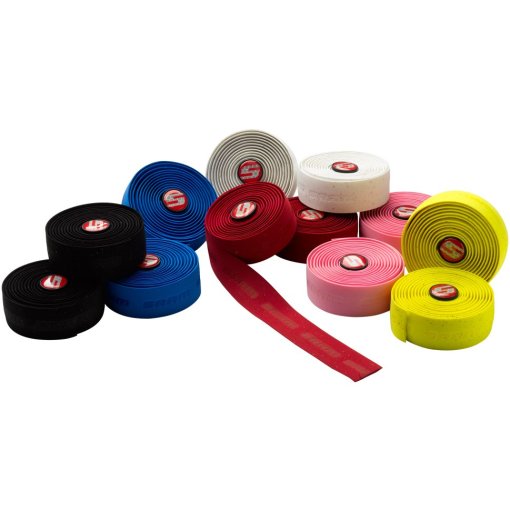
Synthetic Bar Tape
- Variants: large selection of different thicknesses and surface textures
- Advantages: high durability, easy to clean, water-resistant, good grip when dry
- Disadvantages: can be slippery in cold or wet conditions


Need Help with Your Next Project?
Then simply get in touch with our customer service team. Our experts know the answer and will be happy to help you.
Always Want to Stay up to Date?
Be the first to hear about great deals, news and trends – free and regular in your inbox.
