
How to replace a bike chain
Does your bike chain need replacing? With the right tools and a bit of know-how, it’s a job you can easily do at home. This guide walks you through the process step by step and shows you how to replace a bike chain correctly and safely.

What you’ll learn
When does a bicycle chain need to be replaced?
For your drivetrain to work smoothly, the bike chain has to mesh cleanly with the chainrings and cassette. Over time, this changes. As the chain wears, the pins and links slowly elongate under constant load. The result is a chain that no longer sits properly on the teeth.
Typical signs of a worn chain include rough running, imprecise shifting, slipping under load, or increased drivetrain noise. Once this happens, replacing the chain is strongly recommended. Riding too long on a worn chain can also accelerate wear on the cassette and chainrings.

WHAT YOU'LL NEED
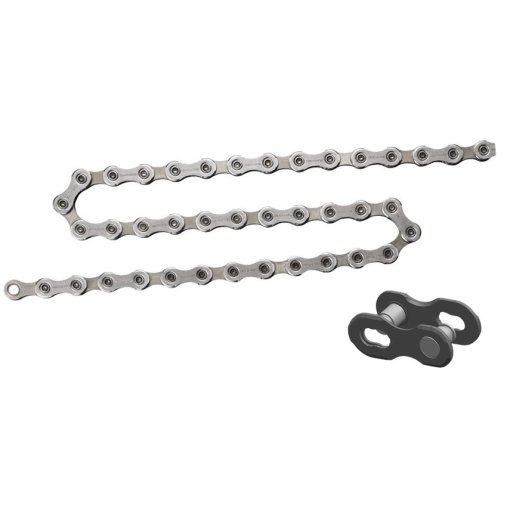
Tools and materials
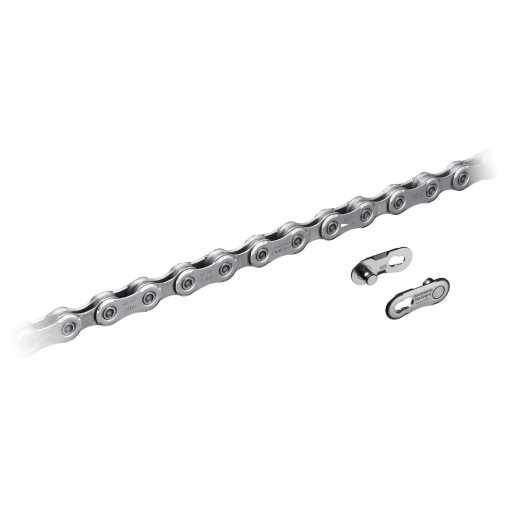
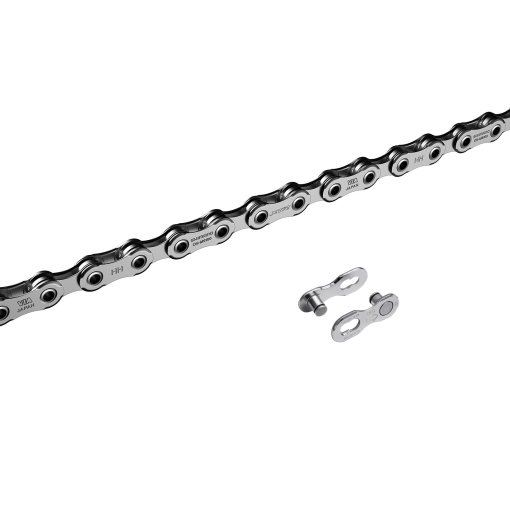
- New bike chain
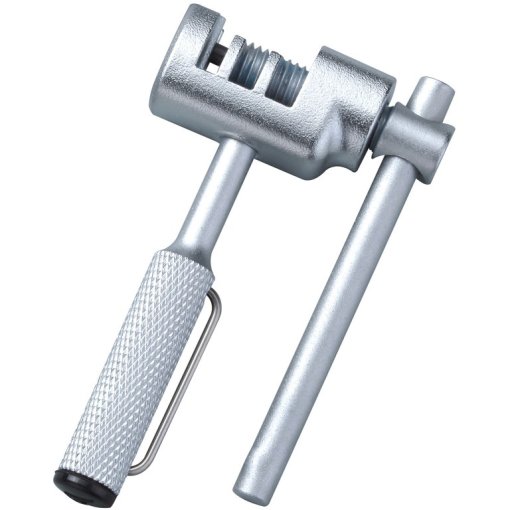
- Chain tool
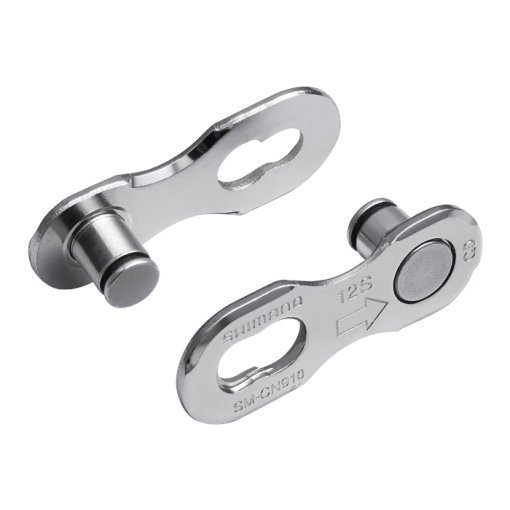
- Chain lock pliers (optional, if using a chain lock)
Whether you’re replacing a chain on a road bike, MTB, or e-bike, the tools required are the same.
Got everything ready? Let’s get started!

STEP 1
Remove the old chain
Before installing the new chain, you’ll need to open and remove the old one. There are two common methods.
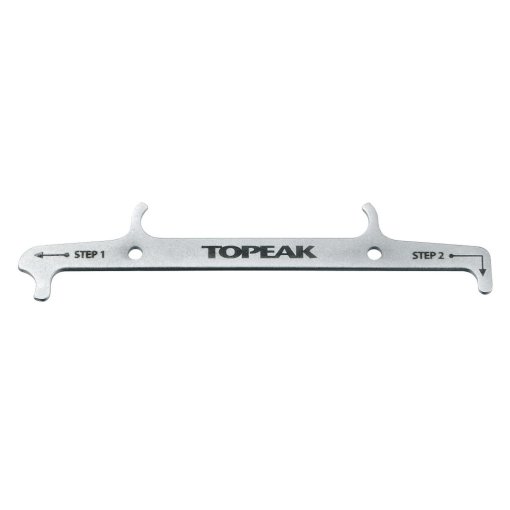
Opening a chain with a chain lock: A chain lock is easy to spot: it’s slightly longer than a standard outer link and has elongated slots on both sides. To open it, position the chain lock pliers on either side of the lock and squeeze until it releases.
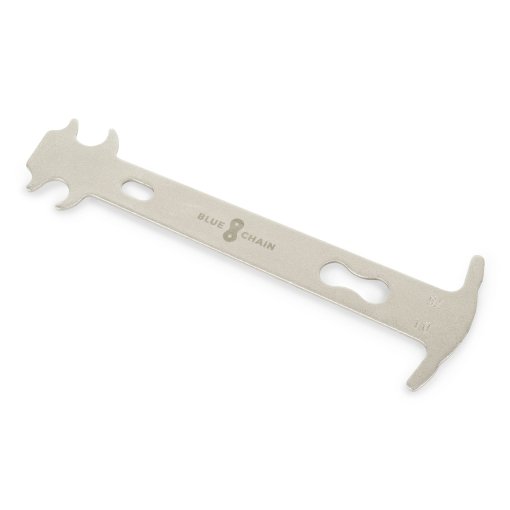
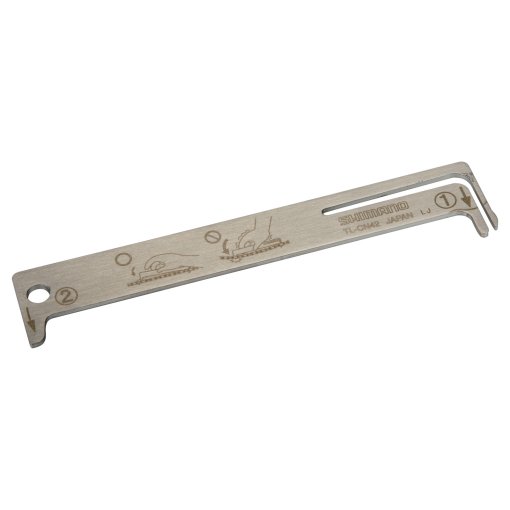
Opening a chain with a pin: If the chain doesn’t have a lock, use a chain tool. Place a chain link into the tool and turn the handle until the pin is pushed far enough out to separate the chain.
Expert tip: You can check chain wear accurately with a chain wear indicator. If the tool drops fully into place, it’s time to replace your bike chain.

STEP 2
Inspection and cleaning
Before fitting the new chain, take a moment to inspect the rest of your drivetrain. If the teeth on the cassette or chainrings are heavily worn or hooked, they may also need replacing. You’ll find detailed instructions in our guide on how to replace a bike cassette.
If everything still looks good, it’s a great opportunity to clean the drivetrain thoroughly. A clean drivetrain improves performance and extends component life. Our guide on how to clean and lube a bike chain shows you how to do it properly.

STEP 3
Determine the chain length
Before installing the new chain, you’ll need to determine the correct length. There are three common methods:
- Using the same number of links as the old chain
- Using the chainring-and-sprocket method
- Calculating the number of links
If you want a detailed explanation of each method, our guide on how to size a bike chain walks you through the process step by step.

STEP 4
Shorten the chain
Once you’ve determined the correct length, you can shorten the new chain as needed.
- Count the required number of links and mark the cutting point
- Place the link to be removed into the chain tool
- Turn the handle until the pin is pushed out
Expert tip: If you’re closing the chain with a chain tool, one end must have an outer plate and the other an inner plate with a roller. If you’re using a chain lock, both ends need to be identical inner links with rollers.

STEP 5
Install the chain
Now you can install the shortened chain. Thread it carefully through the derailleur and guides, making sure it follows the correct path. Shifting to the smallest chainring and smallest sprocket reduces derailleur tension and makes installation easier. Once installed, the chain should run cleanly through the derailleur pulleys without rubbing on the frame or derailleur cage.

STEP 6
Close the chain
Bring the two chain ends together and connect them using one of the following methods.
Closing the chain with a connecting pin: Use the chain tool to press the special connecting pin through both chain ends. Once the pin is flush with the outer plate, break off the guide section using pliers.
Closing the chain with a chain lock: Insert each half of the chain lock into the rollers of the inner links, making sure to follow the direction indicated by the arrow. Pull the two halves together and lock them in place using chain lock pliers or by applying firm pedal pressure while the bike is on the ground. A clear click confirms the lock is secure.
FAQs about replacing a bike chain


Need help with your next project?
Get in touch with our customer service team. Our experienced cyclists are happy to help.


Want to stay up to date?
Be the first to hear about great deals, product updates, and cycling tips – delivered straight to your inbox.
