

How to Adjust The Front Derailleur
Do you want to adjust the front derailleur on your bike? With the right know-how and the appropriate tools, you can do it quickly. We will explain step-by-step how to make all adjustments on an assembled model.

When Should You Adjust the Front Derailleur on Your Bike
Quick shifts from the small chainring to the large one are essential for smooth gear changes, especially on a road bike. Therefore, it's crucial that the front derailleur is perfectly adjusted. If its function is disrupted, for example, by unusual noises during shifting or if the chain comes off, it's time to adjust it. And with our guide, it's much easier than you might think.
Front Derailleur Adjustment – In a Short
Learn how to adjust your front derailleur with the right tools in just a few steps.
Preparation – Tools and the Principle of Limit Screws
1. Adjust the Lower Limit Screw
2. Set the Correct Cable Tension
3. Adjust the Upper Limit Screw
Quick Tips for Trimming an Electronic Front Derailleur
Mechanical vs. Electronic Front Derailleurs Adjustment
Depending on your bike's groupset, either a mechanical or an electronic front derailleur is mounted. Two conditions for precise gear changes are always the same: the height and alignment of the front derailleur must be correct, and both the upper and lower derailleur limits must be set. The control differs: mechanical derailleurs require the correct cable tension, while electronic ones involve trimming.
While the process for mechanical groupsets is similar, electronic groupsets like SRAM AXS, Shimano Di2, and Campagnolo EPS can differ. These three steps will make the basic front derailleur adjustment a breeze.
Note: This guide focuses on setting the limit screws, the cable tension, and providing general trimming tips.

WHAT YOU NEED & SHOULD KNOW
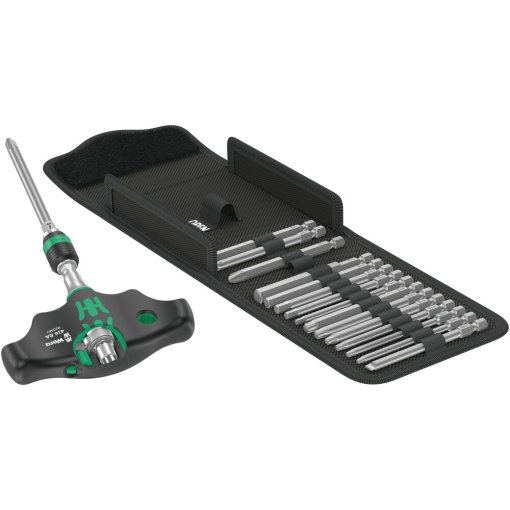
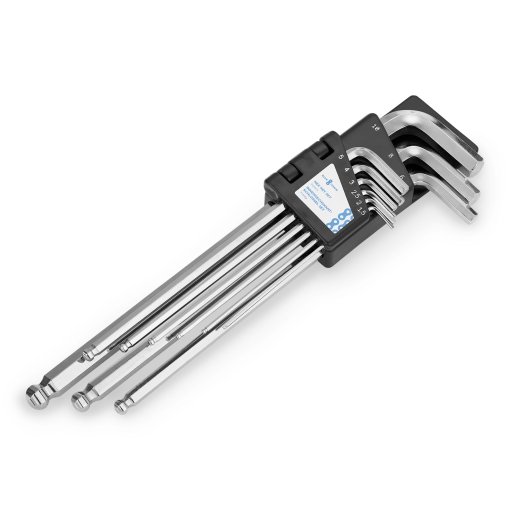
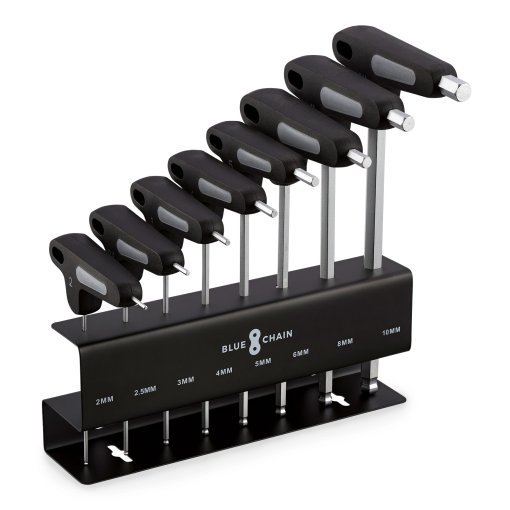
Tools and Limit Screw Principle
You don't need special tools to adjust the limit screws. A suitable screwdriver for the adjustment screws is enough. Usually, this is a 2mm Allen key or a PH2 Phillips screwdriver for older models.
The two screws for adjusting the limits are called the L-screw (L = low) and the H-screw (H = high). The L-screw regulates the lower limit, while the H-screw regulates the upper limit. To set the desired limit, turn the corresponding screw clockwise or counterclockwise. The following list will help:
- L-Screw (turning right): Derailleur moves away from the frame
- L-Screw (turning left): Derailleur moves towards the frame
- H-Screw (turning right): Derailleur moves towards the frame
- H-Screw (turning left): Derailleur moves away from the frame

STEP 1
Adjusting the Lower Limit Screw
Now it's time to start adjusting! We begin with the lower limit screw, the L-screw. Shift the chain to the small chainring in the front and the largest cog in the rear. The goal is to have a gap of approximately 1mm between the inner cage of the derailleur and the chain. The chain should run freely.
To achieve this, turn the L-screw either to the right (clockwise) or to the left (counterclockwise). Turning it right increases the distance between the derailleur and the frame, while turning it left decreases this distance.

STEP 2
Setting the Correct Cable Tension
Checking the cable tension is crucial for precise shifting. Shift through all the front gears once. If the chain doesn't smoothly transition from the smaller to the larger chainring, this indicates that you need to increase the cable tension. Do this by turning the barrel adjuster on the shifter counterclockwise. If the chain doesn't fall cleanly back to the smaller chainring, the tension is too high. Loosen it by turning the adjuster clockwise.

STEP 3
Adjusting the Upper Limit Screw
The principle for the upper limit is the same as for the lower limit. Adjust this using the H-screw, first shifting the chain to the large chainring and the smallest cog. The goal is to have a gap of about 1 mm between the chain and the outer cage of the derailleur. To achieve this, turn the H-screw either right (clockwise) or left (counterclockwise). Turning it right decreases the distance between the derailleur and the frame, while turning it left increases this distance.
Quick Tips for Trimming an Electronic Front Derailleur
With electronic groupsets, you can set the distance to the derailleur cage very precisely using the trim function for even crisper gear changes. With our tips, this can be done with a few button presses:
- For SRAM AXS, press the button on the inside of the left shift/brake lever to enter the trim mode.
- For Campagnolo EPS, you can access the setting mode via the mode buttons on the inside of the shift/brake levers.
- For Shimano Di2, switch to trim mode permanently using the +/- button on the junction box.
- As long as the chain runs without rubbing, you can trim down to about 0.5 mm using the shifters.
Finally, shift through all gear combinations again and correct if necessary.


Need Help with Your Next Project?
Then simply get in touch with our customer service team. Our experts know the answer and will be happy to help you.


Want to be Always up to Date?
Be the first to hear about great deals, news and trends – free and regular in your inbox.
