

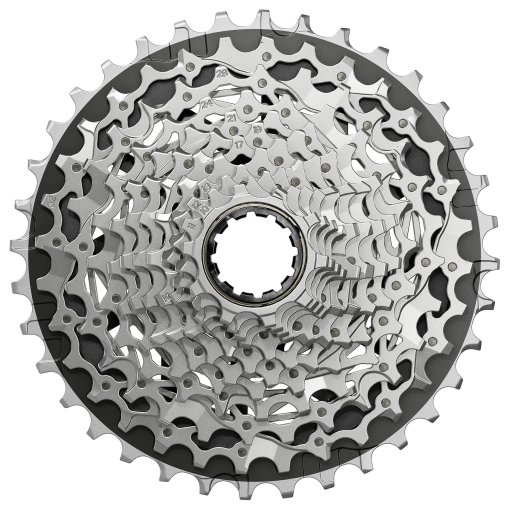
How to replace your cassette

Is your cassette worn out, or are you looking to change your gearing for steeper climbs? This guide shows you how to replace a bike cassette at home, using the right tools and a straightforward step-by-step approach.
What you'll learn
We'll show you how to replace your cassette in just a few steps using the right tools.
How to prepare for the cassette replacement
How to remove the rear wheel
How to remove the old cassette
How to install the new cassette
How to reinstall the rear wheel

WHAT YOU'LL NEED
Tools and materials
- Chain whip or cassette pliers
- Cassette removal tools (socket-style or complete tool)
- Torque wrench (optional)
- Grease (optional)
- Cleaning cloth (optional)
Do you have everything you need to replace your cassette? Let’s get started!
How to prepare for the cassette replacement
Before you start replacing the cassette, it’s worth checking a few things first:
- Make sure the new cassette is compatible with your drivetrain. For example, an 11-speed cassette should only be replaced with a compatible 11-speed model. Check the product descriptions for details.
- If you’re changing the gear ratio, ensure your rear derailleur can handle the new cassette range. This is especially important if you’re planning to ride in mountainous terrain. Compatibility information can be found in the product descriptions.
- Only work on your bike when it’s stable and securely supported.
- If you don’t have a workstand, you can hang the bike by the saddle, use a rear stand, or carefully turn it upside down and rest it on the saddle and handlebars.
Expert tip: The cassette and chain wear together. If you’re replacing a worn cassette, it can make sense to replace the chain at the same time. You’ll find a more detailed explanation in our guide on changing your bike chain.

STEP 1
Remove the rear wheel
- Shift the chain onto the smallest chainring at the front and the smallest sprocket on the cassette.
- If your bike has rim brakes, open the brake caliper using the quick release.
- Remove the quick release or thru axle. On very old bikes, you may need to loosen the axle nuts with a wrench.
- Pull the rear derailleur cage slightly back and lift the rear wheel out of the frame.
Expert tip: Do not operate disc brakes with the rear wheel removed. Without a rotor in place, the brake pads can be pressed together unintentionally and may need to be reset before reinstalling the wheel. Using a pad spacer helps prevent this.


STEP 2
Remove the old cassette
- Place the rear wheel on the ground in front of you so it’s stable and easy to work on.
- Position the chain whip on one of the larger sprockets so it holds the cassette in place opposite the freewheeling direction.
- Insert the lockring tool into the cassette lockring. Hold the chain whip firmly with one hand and turn the lockring tool counterclockwise with the other to loosen the lockring.
- Once the lockring is removed, slide the cassette off the freehub body. Remove any spacers located behind the cassette as well.
- Clean any dirt or old grease from the freehub body and the spacers.

STEP 3
Install the new cassette
- Apply a thin layer of grease to the freehub body to help prevent creaking noises later on.
- Reinstall any spacers onto the freehub body, if required.
- You’ll see guide splines on the freehub body that match the inner profile of the cassette. One spline is narrower than the others. Align the narrow groove on the cassette with the narrow spline on the freehub body, then slide the cassette fully into place.
- Thread the cassette lockring in by hand, turning it clockwise.
- Place the lockring tool onto the lockring and tighten it to the manufacturer’s recommended torque.
Expert Tip: If you’re working with a threaded freewheel, simply screw it onto the hub axle clockwise. Pedaling will tighten it automatically during your first ride.

STEP 4
Reinstall the rear wheel
- Guide the rear derailleur cage back and position the smallest cassette sprocket under the chain.
- Carefully slide the rear wheel into the frame dropouts.
- If your bike has disc brakes, make sure the rotor lines up cleanly with the brake caliper as you insert the wheel.
- Secure the wheel using the quick release or thru axle.
- If your bike has rim brakes, don’t forget to reconnect or close the brake caliper.


Need help with your next project?
Get in touch with our customer service team. Our experienced cyclists are happy to help.


Want to stay up to date?
Be the first to hear about great deals, news, and trends – delivered straight to your inbox.
