

How to change an inner tube
Change your bike inner tube yourself in just a few simple steps.

Got a flat or switching to a lighter TPU tube? This guide shows you how to change an inner tube – for road, MTB, gravel, or commuter bikes.
Replacing your tube – what you'll learn
Jump to the step you need and get back on the road faster:
- How to release the air
- How to remove one side of the tire
- How to remove the inner tube
- Inspection and preparation
- How to insert the new tube
- How to mount the tire
- How to inflate the tire

WHAT YOU'LL NEED
Tools and materials
- Two tire levers
- Hand pump with the right valve head
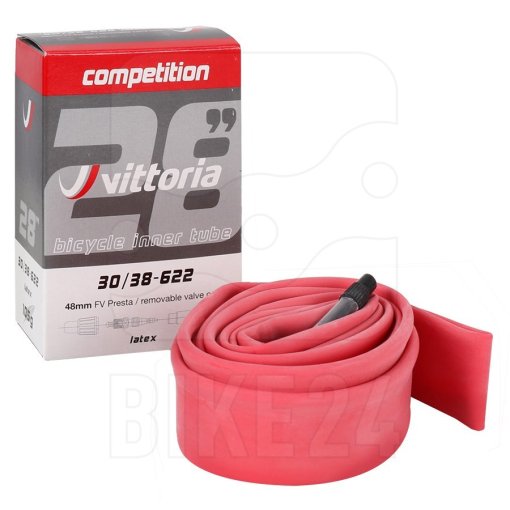
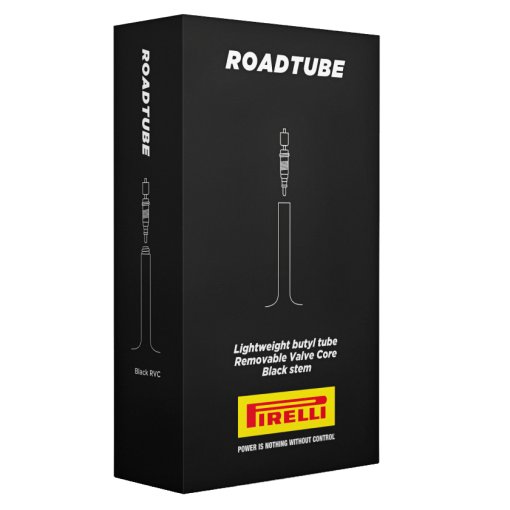
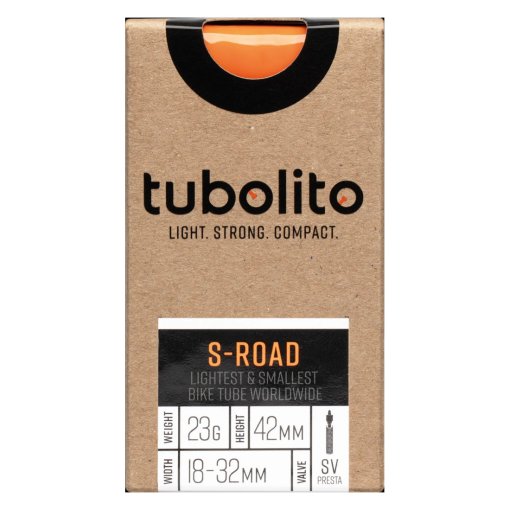
- New inner tube in the right size with the correct valve type
- Optional: floor pump, electric or CO₂ pump, tire mounting fluid
All set? Let’s get started.


STEP 1
Let the air out
First, remove the wheel. Then let all the air out of the tire. For a Presta valve, unscrew the valve tip and press it in. For Schrader and Clik Valve, press the pin with a screwdriver. For Dunlop, loosen the valve nut and pull the valve out. Then push the tire bead into the center channel of the rim all the way around.

STEP 2
Remove one side of the tire
Insert the first tire lever near the valve between the bead and the rim. Lever it up and hook it onto a spoke. Use a second tire lever on the opposite side of the valve to lift more of the bead over the rim edge. Repeat this two to three times. Then run the tire lever along the rim until one side is fully off.
Expert tip: Use plastic tire levers to avoid damage, especially on carbon rims.

STEP 3
Remove the inner tube
Pull the old tube out of the tire. Remove the valve nut if there is one, then pull the valve out. If you want to find the cause of the puncture, inflate the tube slightly and, if needed, hold it under water – bubbles will show where the leak is. You’ll also find patch kits in our shop so you can reuse the tube.

STEP 4
Check and prepare the tire and rim
Check the inside of the tire for any debris. Carefully run your fingers along the inside and outside, and remove anything that could damage the new tube. Inspect the rim tape. It must be intact, and the spoke ends must not push through. If the tire has large cuts or cracks, we recommend replacing it.

STEP 5
Insert the new inner tube
This step lets you check whether the tire seats correctly without sealant leaking out. If needed, open the Presta valve and inflate the tire, ideally using a floor pump with a reservoir or a tire booster. Make sure not to exceed the tire’s maximum pressure. A clear popping sound indicates that the bead has snapped into place. Check that the tire bead runs evenly and parallel to the rim edge all the way around. Rotate the wheel and check that it spins true. If everything looks good, fully deflate the tire again.
Pro tip: If the tire won’t seat, press it toward the rim at the valve while inflating.

STEP 6
Mount the tire bead
Start mounting the tire opposite the valve and work your way around both sides. Keep pushing the beads into the center of the rim – this makes the final section easier. Finish at the valve and press it slightly into the tire so the bead seats properly underneath. If you can’t mount the tire by hand, use soapy water or plastic tire levers. Check that the tire and tube sit evenly in the rim bed. If needed, work the tire all the way around to help it settle into place.

STEP 7
Inflate the tire
Start by inflating the tire to 1 to 2 bar so it can still move slightly on the rim. Check that the sidewall sits evenly all the way around. If it’s uneven, release some air, center the tire, and inflate again. Once everything is aligned, inflate to your target pressure (check the value on the tire sidewall). A popping sound often indicates the bead is seated correctly. Finally, tighten the valve nut by hand, close the Presta valve, and replace the cap if needed.
Expert tip: If the tire runs unevenly, release some air, apply tire mounting fluid inside the rim, and inflate to maximum pressure. Once everything is seated properly, adjust to your riding pressure.
Our top picks


Need help with your next project?
Get in touch with our customer service team. Our experienced cyclists are happy to help.


Want to stay up to date?
Be the first to hear about great deals, news, and trends – delivered straight to your inbox.
