

Fix a tubeless tire flat
Tubeless systems are now common on mountain, gravel, and road bikes because they offer better puncture resistance than traditional tube setups. Most small punctures seal automatically. If a larger cut causes air loss, a plug repair usually gets you rolling again within minutes.

Why tubeless flats are usually easy to fix
Tubeless systems are now common on mountain, gravel, and road bikes because they offer better puncture resistance than traditional tube setups. Most small punctures seal automatically. If a larger cut causes air loss, a plug repair usually gets you rolling again within minutes.
What you’ll learn
Got a puncture on the trail or road? Here’s how to patch a tubeless tire in five simple steps and get back on the bike.

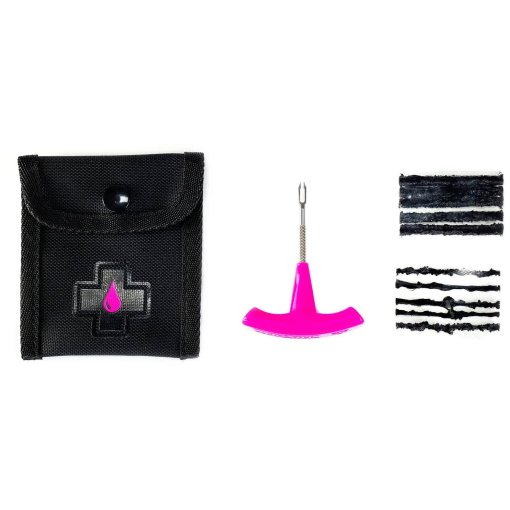
WHAT YOU'LL NEED
Tools and materials
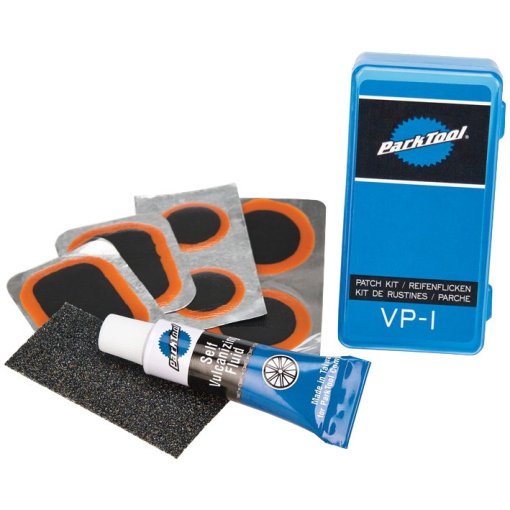
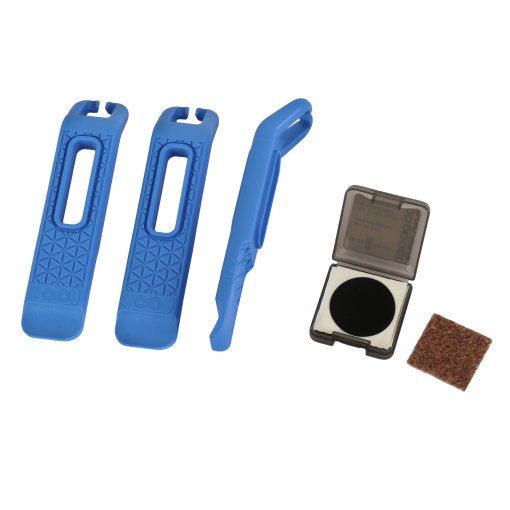
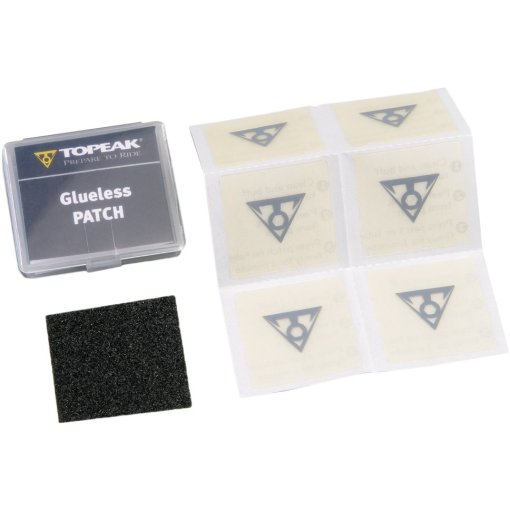
- Repair kit (incl. plugs & insertion tool)
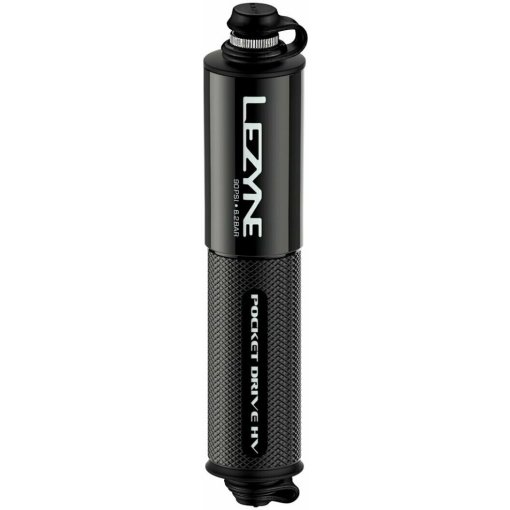
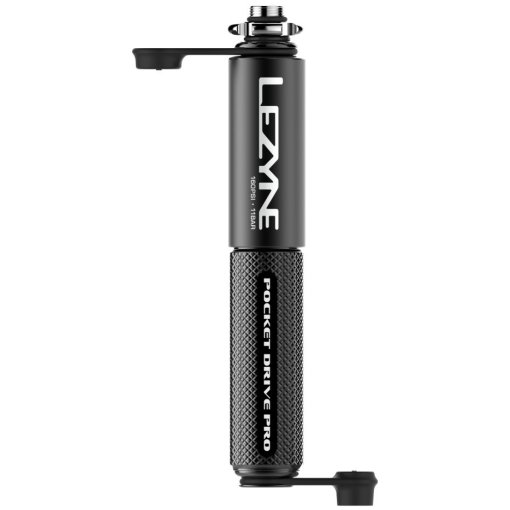
- Mini pump
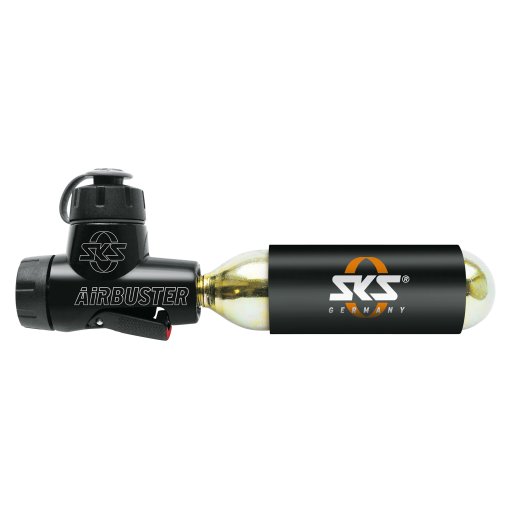
- CO2 inflator (optional)
Pro tip: Many manufacturers offer compact tubeless repair kits that include everything you need for a quick roadside fix.
Step-by-step guide
These five steps walk you through how to repair a tubeless bike tire correctly.

STEP 1
Locate the puncture and clear the area
With a tubeless setup, sealant usually makes the puncture easy to spot. If it has started to dry, add a little air - you’ll often hear or feel air escaping. Once you’ve located the puncture, clean the area thoroughly and remove any debris from the tread, such as glass splinters or nails.
Pro tip: If something is still stuck in the tire, push it through using the insertion tool. If your tool has a reamer, lightly roughen the edge of the puncture to help the plug seal properly.

STEP 2
Thread the rubber plug
Choose one or more rubber plugs depending on the size of the puncture. Insert the plug into the slot of the metal insertion tool so it folds evenly in the center and extends equally on both sides.

STEP 3
Insert the rubber plug
Place the tip of the insertion tool at the puncture. Push it firmly into the tire until about two-thirds of the plug sits inside.
Pro tip: This step may require some force. A slight twisting motion - similar to turning a corkscrew - usually makes insertion easier.

STEP 4
Remove the tool
Pull the tool out carefully while keeping the plug in place. Twist slightly if needed to release it. You can brace the tire with your other hand to keep the plug from shifting. If the puncture isn’t too large, the plug should now sit firmly and seal the tire. If it doesn’t hold, repeat the process with an additional plug.
Pro tip: The plug will usually stick out slightly from the tread. That’s normal - it will wear down after a short ride. If needed, trim the excess material at home with scissors or a knife.

STEP 5
Inflate the tire
Inflate the tire and check that the repair is holding. For mountain and gravel bikes, a mini pump works reliably. On a road bike, a CO2 inflator gets you back up to riding pressure more quickly.
Pro tip: If the repair doesn’t hold, carry a spare tube as a backup. An ultralight inner tube takes up minimal space and ensures you can finish your ride if needed.
How to prevent tubeless punctures
Back home? A few simple checks can help prevent your next flat.
- Check tire pressure before every ride.
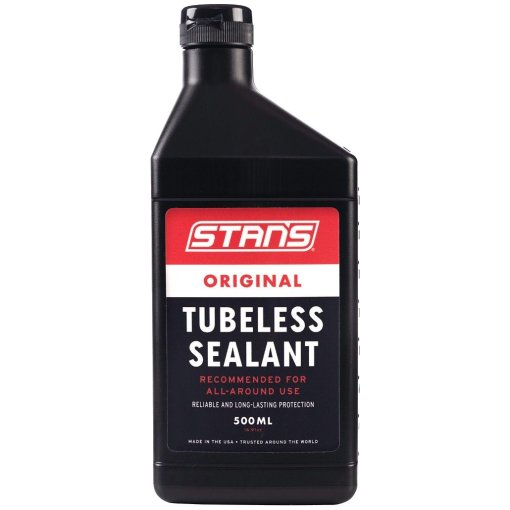
- Top up sealant regularly - especially after a puncture.
- Inspect your tires for cuts or embedded debris during routine maintenance.
- If you notice slow air loss, patch the tire from the inside at home.


Need help with your next project?
Get in touch with our customer service team. Our experienced cyclists are happy to help.


Want to stay up to date?
Be the first to hear about great deals, news, and trends – delivered straight to your inbox.
