

How to True a Bike Wheel
The last rock on the trail was too hard and now your wheel is running out of true? Then radial or lateral runout is most likely the cause. Here you can find out how you can easily eliminate wheel hop.

Truing a Bike Wheel – In a Short
Find out quickly and clearly what you should pay attention to when truing a bike wheel.
- Why You Need to Center a Wheel
- Know-How – What You Should Know before Truing
- Tools – You Need These Tools for Bicycle Wheel Truing
Why You Need to Center a Wheel
The answer is simple: If your wheel has a runout (also known as an eight[er]). Workshop professionals differentiate specifically between lateral runout and radial runout. The former refers to a lateral imbalance of the wheel, the latter to a vertically out-of-round wheel. While radial runout is somewhat more complicated to repair, lateral runout is much easier to fix. In this guide, we will concentrate on the latter.
Know-How – What You Should Know before Truing
Basically, a wheel consists of the hub and the spokes attached to it, which connected to the rim via the nipples. The spokes opposite each other on the rim form a triangle of tension. To center a wheel, move the spoke nipples. This allows you to increase or decrease the spoke tension until the force ratio is balanced to such an extent that the rim runs centered again. The ratio should be as high as possible for all pairs so that the wheel is stably preloaded. The de-stressing process is also important for centering – but more on this later.

WHAT YOU NEED
Material and Tools
You should have the following tools to hand to true a bicycle wheel:
- Truing stand
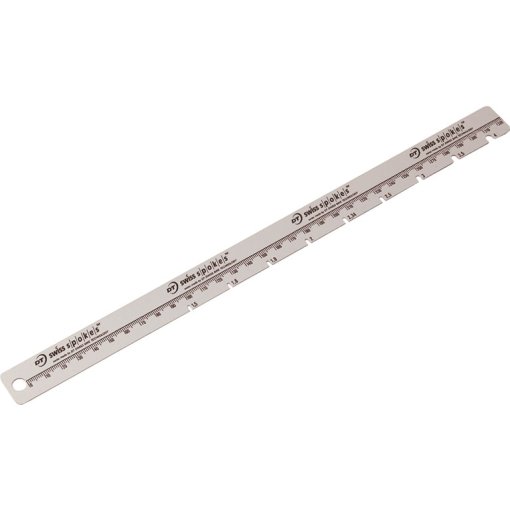
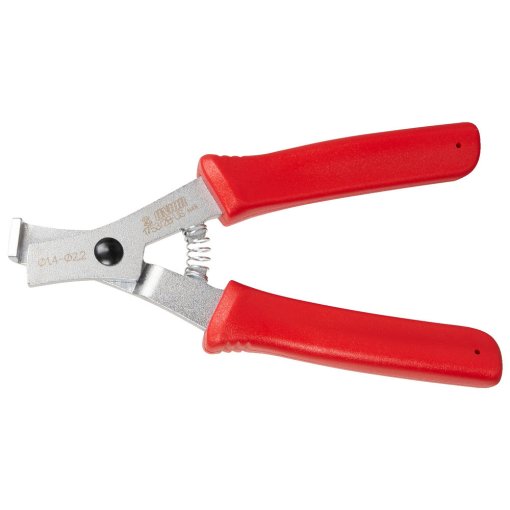
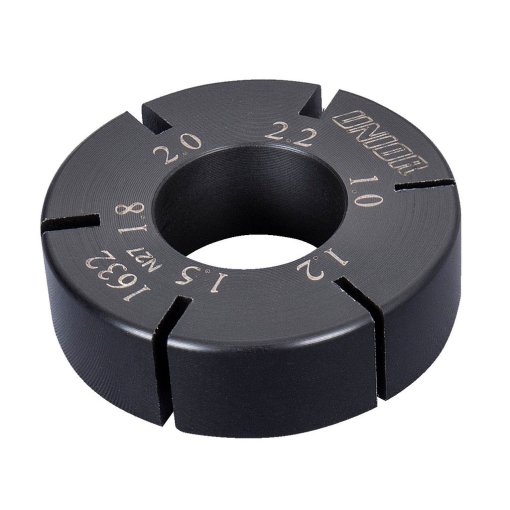
- Spoke wrench in the right size
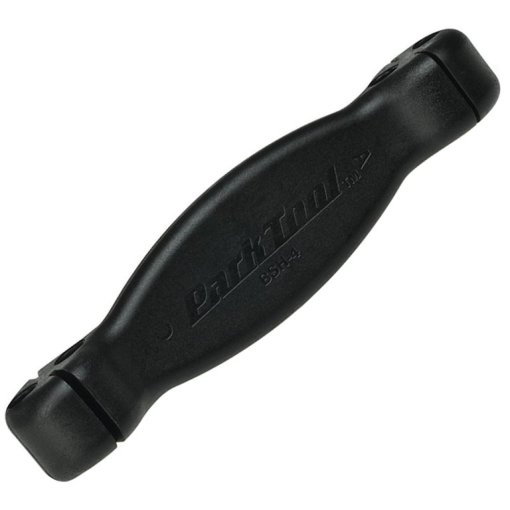
- Spoke holder (for aero spokes)
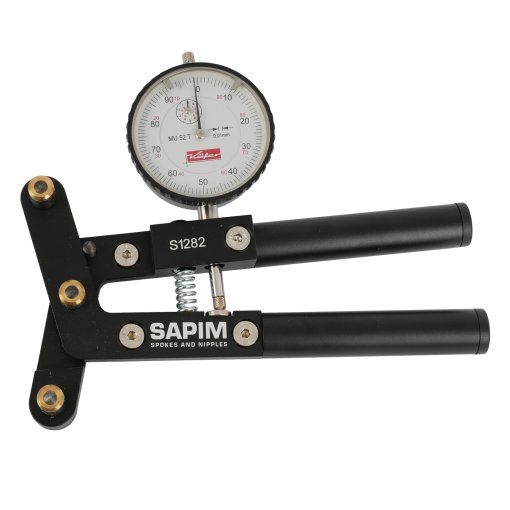
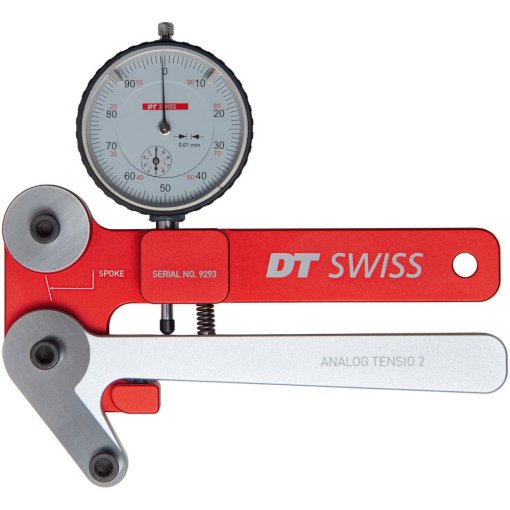
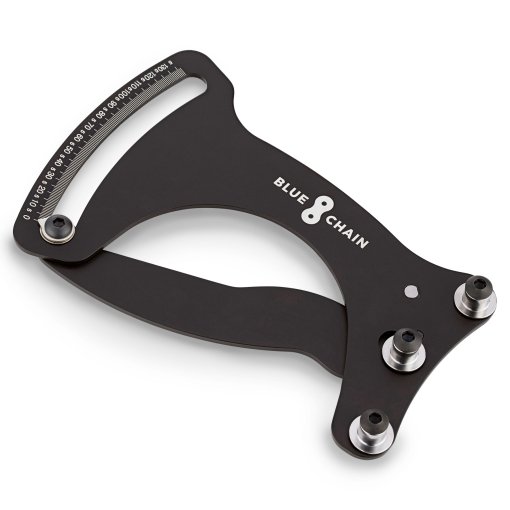
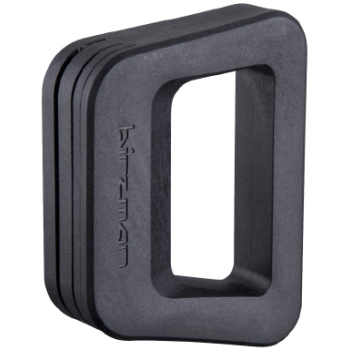
- Tensiometer (optional)
- Tape
- Multitool (for on the road)
- Cable ties (for on the road)
How to True a Bike Wheel – Step-by-Step Guide
The following six steps will show you exactly what you need to consider when centering your bike wheel.

STEP 1
Remove the Wheel
First remove the wheel from your bike and remove the tire and inner tube. On MTBs in particular, bulky 29er studded tires can make it difficult to see and access the rim and spokes. Now hang the wheel in the truing stand.

STEP 2
Check the Wheel for Lateral Runout
To find the position of the lateral deviation, place the truing pliers of the truing stand so close to the rim flank that the pliers indicator just touches the runout and you can still spin the wheel freely. Turn the wheel and observe whether and where the rim wobbles sideways. Mark the beginning and end of the lateral runout with tape.

STEP 3
Locate Spokes and Determine Centering Direction
Next, look at the direction and extent of the deviation. Depending on the strength of the impact, you may also need to reduce the spoke tension:
- Dished to the right: Tighten the spokes leading to the left flange and/or loosen the spokes leading to the right side flange of the hub.
- Dished to the left: Tighten the spokes leading to the right flange and/or loosen the spokes leading to the left side flange of the hub.
Our expert tip: If you also have a tensiometer at your disposal, measure the tension on both sides before the actual centering. Then find out the maximum permissible tension for your rim.

STEP 4
Remove Lateral Runout
You now need the right spoke wrench to eliminate the lateral runout. The right size is important so that you do not overtighten the sometimes sensitive nipples. Position the marked point at the lowest point in the truing stand and turn the spoke tensioner (viewed from above):
+ Turn counterclockwise: Tighten the spoke
- Turn clockwise: Loosen the spoke.
Move the affected nipples only a quarter of a turn at a time and check the rim movement again after each adjustment. If there is no movement, de-stress the wheel as described in step 6. If this is also unsuccessful, you may need to loosen more spokes in the direction of impact. If necessary, repeat these steps until the lateral runout is balanced.
Our expert tip: Always use a spoke holder for bladed spokes to prevent twisting.

STEP 5
Compensate Spoke Tension on the Rest of the Wheel
A tensiometer is absolutely necessary for this step, otherwise please proceed directly to step 6. Use the tensiometer to check the spoke tension on the entire wheel. Make sure that the tension is evenly distributed. Readjust the spokes if necessary to ensure even tension.

STEP 6
De-Stressing and Mounting the Wheel
Before remounting the wheel, be sure to press it down to remove the tension from the spokes and ensure that the spoke heads and spoke nipples are properly seated. To do this, place the centered wheel with one axle-side on a hard surface and press firmly on the rim with both hands. Then move your hands in 45-degree intervals and press until you have completed one round. Then flip the wheel side and repeat the step on the other side.
Now install the tire and inner tube, mount the wheel and go for a test ride. This will ensure that the wheel is correctly centered and that the spokes that were wound up from turning the nipple to unwind.
Pro Tips: How to True a Bike Wheel on the Road
You still have a long way to go home and your bike is unusable due to the impact. With the following tips, you can easily true your bike on tour:
#1 Mount the cable tie as an indicator: Leave the deviated wheel installed and attach a cable tie to the fork or frame seat stays so that its end is near the rim. Spin the wheel and observe where it touches the cable tie. This way you can provisionally detect lateral runout and follow the truing progress.
#2 Multitool with spoke wrench: A multitool with a spoke wrench can help you adjust the spoke tension on the road. It's best to make sure that you buy a mini tool with a wrench that fits your bike.
#3 De-Stressing on the road: After you have adjusted the spoke tension, push the mounted wheel at various points against the deviation so that the spokes can de-stress.
#4 Re-truing at home after the ride: A repair carried out on the road is often only a temporary solution. As soon as you get home, you should check the wheel thoroughly and re-center it correctly.


Need Help with Your Next Project?
Then simply get in touch with our customer service team. Our experts know the answer and will be happy to help you.


Want to be Always up to Date?
Be the first to hear about great deals, news and trends – free and regular in your inbox.
