

How to upgrade disc brakes
Upgrade your MTB disc brakes in just a few steps
> Jump to tools and materials
> Jump to the step-by-step guide
> Jump to FAQs

Why retrofit your disc brakes
Your mountain bike probably already has good disc brakes. But the way you ride – and where you ride – can quickly push them to their limits. If you spend time on long alpine descents, you’ll notice how heat affects braking feel and consistency. On steep or technical trails, stronger brakes with better modulation give you more control and reduce hand fatigue. When you’re bikepacking or riding with extra weight, predictable braking becomes even more important. And even on everyday rides, details like lever shape, reach adjustment, and a clearly defined contact point can make your brakes feel more intuitive and confidence-inspiring. Upgrading your disc brakes means tailoring braking performance to your riding style. You get more control, a more consistent feel, and braking you can trust when things get demanding. Below, we’ll walk you through how to make that upgrade step by step.

WHAT YOU'LL NEED
Tools and materials
To upgrade your disc brakes, you’ll need the following tools:
- Allen key set
- Torx wrench set
- 8 mm open-end wrench
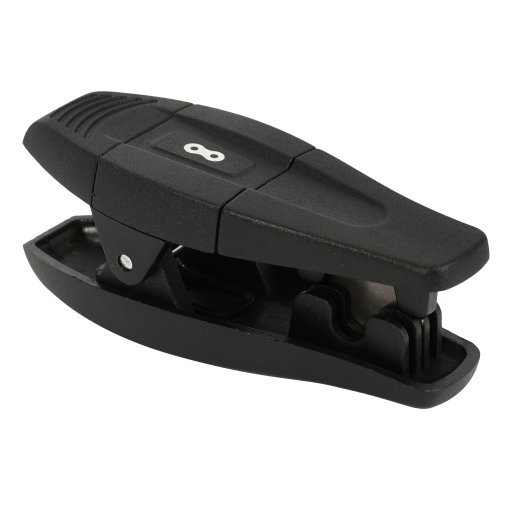
- Cable cutter for hydraulic hoses
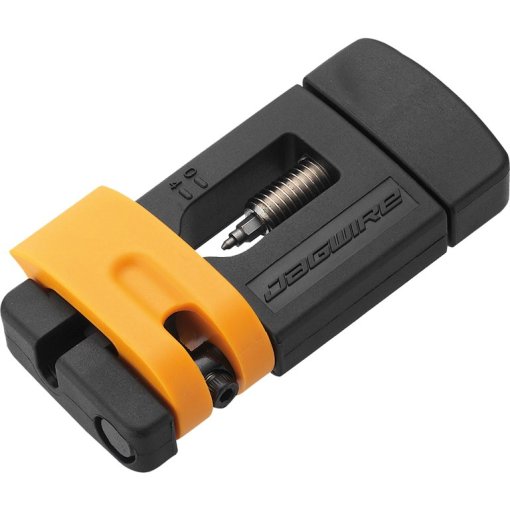
- Press-in tool for pins
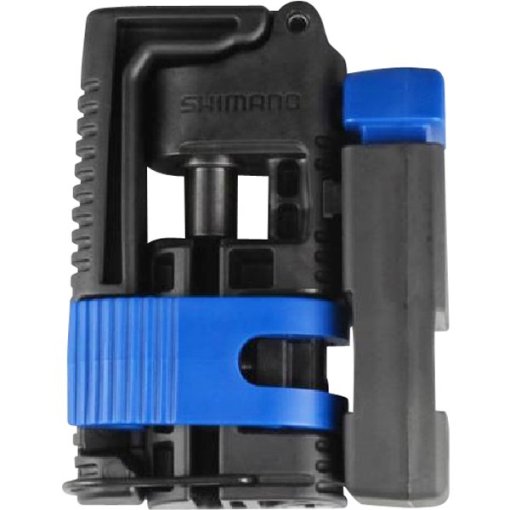
- Bleed kit
- Brake cleaner
- Cloth
- Work gloves
- Mounting kit for internally routed cables (optional)
- Torque wrench (optional)
- Center Lock compatible BB Tool (optional)
- Assembly stand (optional)
You’ll also need the following components:
- Disc brakes (brake lever, hose, brake caliper) front / rear
- Brake rotors
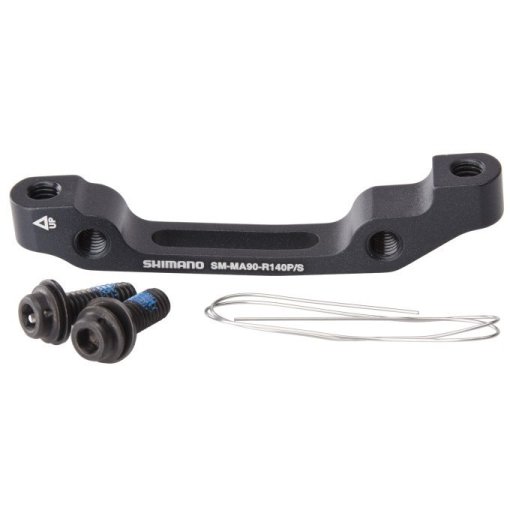
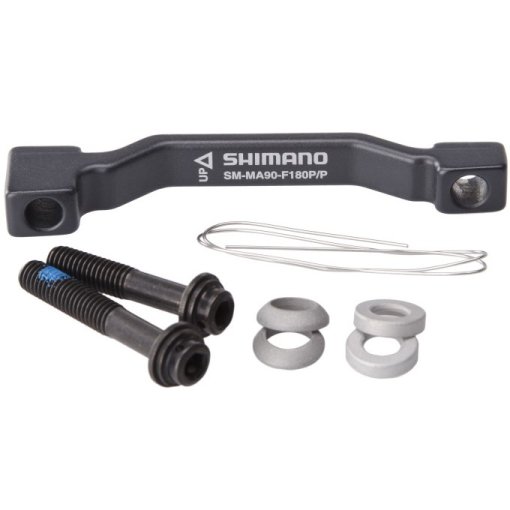
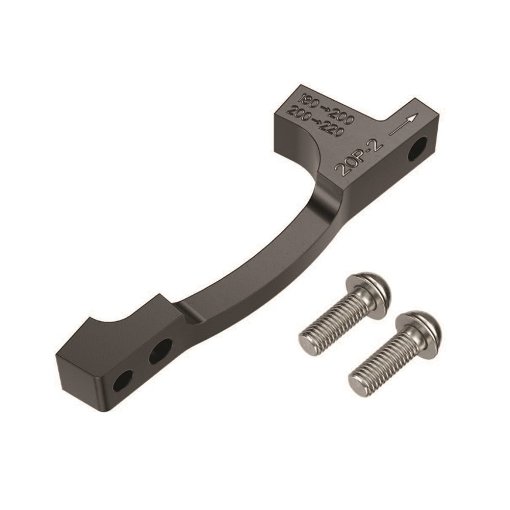
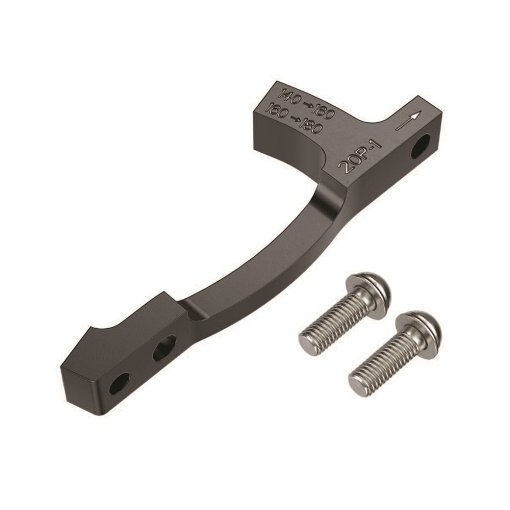
- Brake caliper adapter
- Pins and olives
Pro tip: Required tools can vary by manufacturer. Before you start, always check the installation and service instructions for your specific disc brake system to see whether any special tools are required.
Preparation tips
For this guide, we’ve already removed the wheels and dismounted the brake system from our trail mountain bike. If these parts are still installed on your bike, remove them first. You can do this by following the steps in this guide in reverse, starting with the section on installing the wheel. An assembly stand makes the job much easier, as it holds the bike securely at a comfortable working height. If you don’t have one, lean the bike against a wall on the chainring side with the wheels installed. This gives you clear access to the brake system on the left side of the bike. Before you begin installing the new brake system, remove the brake pads and insert a bleed block. This prevents the pistons from moving accidentally and protects the system while you work. If you’re unsure how to do this, our guide on replacing disc brake pads explains the process step by step.
How to refit disc brakes – step by step guide
Refitting your new MTB disc brakes follows a clear two-step process. You’ll start by installing the new brake system, then move on to bleeding and adjusting it for proper function.
The installation process is essentially the same for the front and rear brakes. The only differences are hose length and how the hose is routed through the frame or along the fork.
Installing the brake system

STEP 1
Mount the brake rotor
Place the new brake rotor on the hub, making sure to follow the specified rotation direction. Depending on the system, secure the rotor either with six bolts or with a Center Lock lockring. If you’re using a 6-bolt rotor, tighten the bolts evenly in a cross pattern. If lock washers are specified, make sure they’re installed before tightening.
Expert tip: Finish by tightening the bolts or lockring with a torque wrench and follow the manufacturer’s torque specifications exactly.

STEP 2
Mount the brake lever
Before you start, check whether your frame uses internal or external hose routing. If your bike has internal routing, disconnect the hose from the brake lever first. Wipe away any escaping brake fluid with a clean cloth.
With external routing, you can leave the hose connected and proceed with the installation. Next, check the brake lever clamp. If it doesn’t open fully, remove the grips before mounting the lever. Position the brake lever on the handlebar so you can comfortably reach it with your index and middle fingers while maintaining a secure grip on the bar.

STEP 3
Mount the brake caliper
If your frame uses internal hose routing, complete Step 6: Route the hose before mounting the brake caliper. Once the hose routing is sorted, attach the brake caliper using the two mounting bolts. If you’re mounting the caliper directly to the fork, make sure you’re using the correct bolt length for the mounting interface. Install any required adapters, washers, and spacers exactly as specified by the manufacturer.
Expert tip: Tighten the mounting bolts only lightly at this stage. The caliper should still be able to move slightly so it can self-align later when the wheel and brake rotor are installed.

STEP 4
Check hose length
Once the brake lever and brake caliper are installed, determine the correct hose length. Route the hose from the brake caliper along the fork or frame as it will be routed later. If needed, secure it temporarily with cable ties to keep it in position. For internal routing, guide the hose end that exits near the head tube toward the brake lever. Turn the handlebar up to about 90 degrees with the hose connected to the brake lever. This makes it easy to see whether the hose is too long and by how much. Mark the point where the hose needs to be shortened.

STEP 5
Shorten and connect the brake hose
For external routing, start by loosening the compression nut on the brake lever using an 8 mm open-end wrench. Cut the brake hose cleanly at the marked point using a hose cutter. The old connection parts – pin and olive – cannot be reused. After cutting the hose, press a new pin into the hose using the appropriate tool. Slide on the dust cover first, then the compression nut. Next, fit a new olive onto the brake hose. Insert the hose fully into the brake lever and tighten the compression nut carefully until you feel resistance.
Pro tip: On SRAM brake systems, installing the connection kit is especially straightforward. Press the pin into the hose first, then slide on the dust cover and compression nut. The olive is then screwed directly onto the pin.

STEP 6
Route the hoses
Hose routing differs depending on whether your bike uses external or internal routing.
- External routing: Run the brake hose along the fork or frame to the designated mounting points. Avoid tight bends, unnecessary loops, or gaps – especially around areas like the bottom bracket. Secure the hose using cable clips or cable ties where required.
- Internal routing: Check your bike manufacturer’s routing diagram first to understand the intended path through the frame. Once you know the entry and exit points, remove any covers or guides at the openings. If you have a cable routing tool, insert it from the top opening and guide it through the frame. If not, carefully feed the brake hose through the frame starting from the brake caliper mount. Tools like a spoke, a hook-style pick, or tweezers can help guide the hose out at the upper exit.

STEP 7
Install the wheel
Remove the bleed block, reinstall the brake pads, and mount the wheel. Make sure the wheel is seated correctly in the dropouts. This is especially important on bikes with quick-release axles, as incorrect wheel positioning can affect brake caliper alignment.
Adjusting the brake system

STEP 1
Bleed the disc brake
Shortening the brake hose can allow air to enter the system, which affects the contact point and braking performance. You’ll notice this if the brake lever feels spongy or if there’s little to no stopping power even after pumping the lever several times. If this is the case, bleed the disc brake using a bleed kit that’s compatible with your brake system. Always follow the brake manufacturer’s bleeding instructions, as the procedure differs between brands.

STEP 2
Adjust the brake caliper
After bleeding the brake system, adjust the brake caliper next. At this point, the caliper mounting bolts should still be slightly loose. Modern disc brake calipers are largely self-centering, which makes alignment straightforward. With the wheel and brake rotor installed, you can align the caliper so the rotor runs freely between the brake pads. Check our guide to see how it works.

STEP 3
Adjust the brake levers
After the brake caliper is aligned, fine-tune the position of the brake levers. Start by adjusting the reach – the distance between the brake lever and the handlebar. Set the reach so you can pull the lever comfortably with your fingers while seated in the saddle and holding the bars. In a neutral riding position, your fingers should form a straight extension of your forearm when resting on the lever. Many brake levers also allow you to adjust the contact point using a knurled screw or a hex screw. This controls the point at which the brake pads contact the brake rotor when you pull the lever. Adjust it to suit your preference and achieve a clear, consistent lever feel.

STEP 4
Bed in the brakes
Once everything is correctly adjusted, bed in the new disc brakes before riding. This step is essential to achieve full braking performance and consistent pad-to-rotor contact.
To complete this upgrade, follow our step-by-step guide on how to bed in disc brakes.
FAQs


Need help with your next project?
Get in touch with our customer service team. Our experienced cyclists are happy to help.


Want to stay up to date?
Be the first to hear about great deals, news and trends – straight to your inbox.
