
Bike Ergonomics – Improve Your Riding Position and Performance
You've probably left your comfort zone on more than one bike ride in order to reach your destination. But that doesn't have to be the case – if your MTB, gravel bike or road bike seat position is optimally adapted to you, hard pedalling will be more enjoyable even on longer rides. On this page, our experts answer frequently asked questions about bike ergonomics. They explain how to adjust your bike saddle and give product recommendations to improve your riding position. Get comfortable now!
Read more


On this page you will find all about bicycle ergonomics you will find questions about typical problems in connection with the bicycle riding position and answers with valuable tips and suggestions. With their help you can counteract problems in the seat and cockpit area at an early stage and increase your comfort.
The most common ergonomics problems with solutions:
- Who Is an Ergonomic Bike Fitting For?
- How to Find the Right Saddle for Road Bikes, Mountain Bikes and Other Bikes
- Sitting Ergonomically – Questions about Straight Handlebars and Stems for MTB and Co
- Ergonomic Drop-Bars for Road Bikes and the Right Stem
- Shoes and Insoles for More Comfort and Performance
A quick note before we get into the topic: This article contains many general recommendations to improve your ergonomics on the bike. If your problems do not decrease or even worsen, please contact one of our BIKE24 customer advisors or a bike fitting expert as soon as possible.
The Most Common Bike Ergonomics Problems with Solutions – The Interview
Have you fulfilled your dream and bought a new bike or discovered cycling for yourself once again? We think that's great! But sometimes, when the initial enthusiasm has faded, problems at the points of contact can arise. You can't get the best performance onto the pedals, your bottom hurts, your neck gets tense or limbs start to fall asleep and in the worst-case scenario you have to stop your ride. To prevent this from happening in the first place, we have addressed some of the most important questions about this topic with the help of our experts for bike fitting and bike consulting.

Who Benefit from an Ergonomic Bike Fitting?
Probably the most important question right at the beginning: When does an ergonomic optimisation make sense, is a little twinge after the first ride already critical?
Answer: A comprehensive replacement and precise adjustment of the bicycle parts and equipment is always recommended if you are cycling regularly and problems occur or if you want to cycle regularly in the future. If you rarely ride your bike, it makes more sense to perform a basic adjustment of all parts.
Question 2: Which bicycle parts and equipment can be optimised?
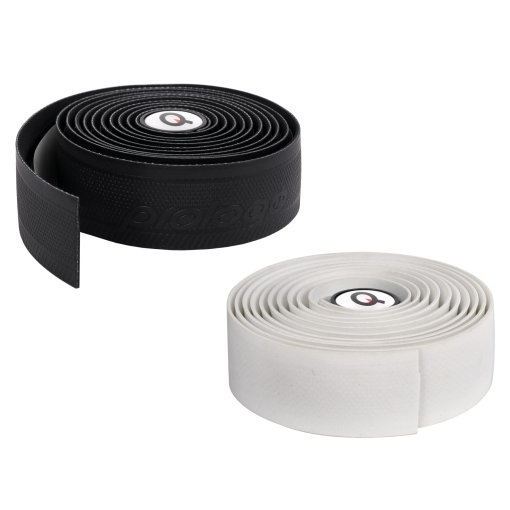
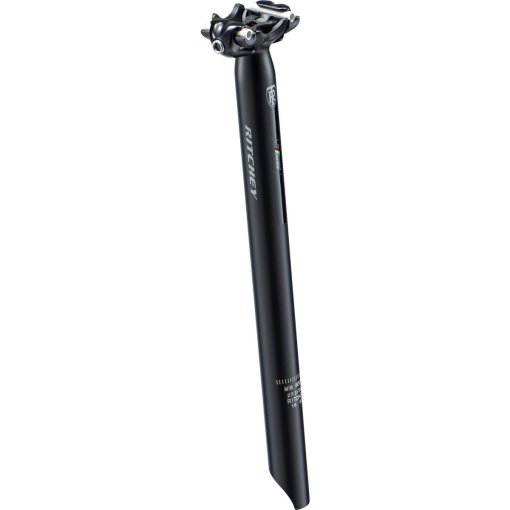
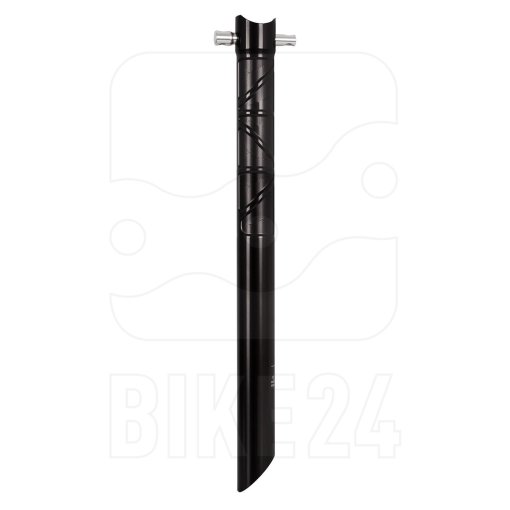
Answer: Handlebars, handlebar grips/tape, stem, gloves, cycling shorts, saddle, seatpost, cranks, pedals, shoes, insoles and, in some cases, the frame – which may mean a new frame or a new bike. To avoid this, be sure to click on ‘Find my frame size’ on our product page before purchasing a bike or frame online.
Question 3: What are the advantages of better bike ergonomics?
Answer: The most important reasons are: reduction of pain, maximised power output, less fatigue due to incorrect strain on muscles and joints and thus a lower risk of injury.
Question 4: Is there also a differentiation between men and women when it comes to bike fitting or parts geometry?
Answer: Yes and no, the principles are the same, but the requirements can be different. For example, female riders often have a wider pelvis, the soft parts of women and men are different and the ratio between torso and leg length is often gender typical.
Question 5: What is the best place for our BIKE24 customers to start?
Answer: That depends on the problem. The component close to the problematic body part is not always the cause. The approach should be as holistic as possible. Some bicycle and part manufacturers have scientifically developed and tested their own ergonomic concepts. All parts, from hardware to apparel, are matched with each other and with the anatomy of men or women and can also be easily adapted. Well-known suppliers of such concepts include Specialized with Body Geometry (BG) bicycle parts and gear, SQlab saddles, handlebars and grips, and Ergon grips, saddles and insoles.

How to Find the Right Saddle for Road Bike, Mountain Bike and Other Bikes
One of the most typical problems for many riders is discomfort in the buttocks. We want to help you find the right saddle and the right setup.
Question 1: If your buttocks hurt, should you buy a new saddle or adjust it first?
Answer: Depending on the conditions – the dimensions and adjustment possibilities of the existing must fit the rider – adjustment can already help.
Question 2: How should the saddle height, tilt and setback be adjusted basically?
Answer(s):
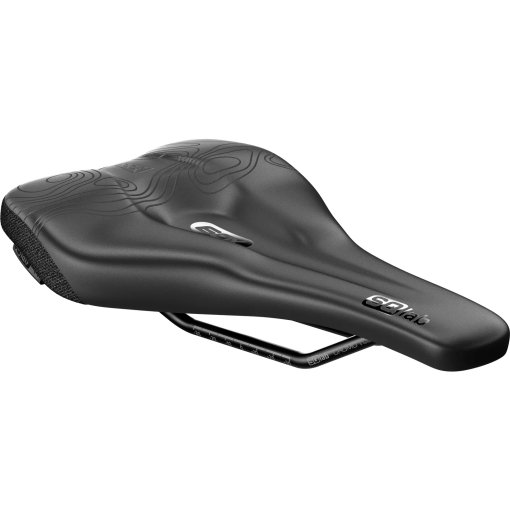
With the right settings, your pelvis is supported, pressure is distributed evenly across your seat bones and power is transferred efficiently to the pedals. Whether on a road bike or MTB, just a few simple adjustments are all it takes to achieve a solid basic position. Our guide shows you step by step how to do this, which tools you need and which saddle models best suit your riding style. Adjust your bike saddle now.
Question 3: What are the most important factors in terms of comfort?
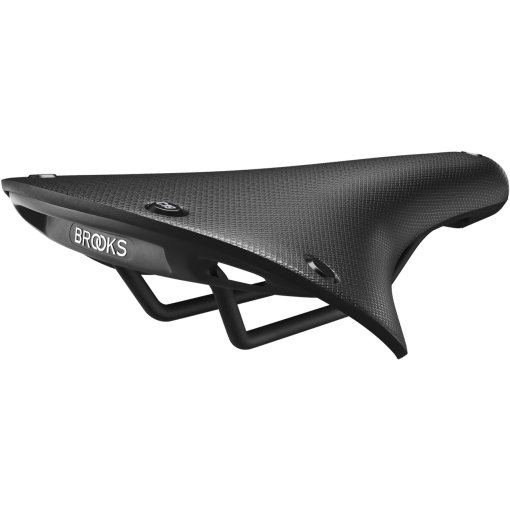
Answer: The saddle width, the overall shape (e.g. saddles can have a rounded shape across the width [transverse direction] or a clearly dropping contour), the design in the middle part – e.g. a pressure-relieving cut-out at the perineum and then also the padding.
Question 4: Is it possible to determine the minimum width at home?
Answer: Yes, sit on a piece of corrugated cardboard that sticks out from underneath your bottom. But do not sit on it straight away. To measure the distance between the sitting bones, place the piece on a hard, flat chair, for example. Next, put on the shorts or pants you are cycling with. Now you can sit down on the cardboard. To make sure that the marks of the seat bones are clearly visible, you can still pull your legs towards your upper body and, if possible, pull on the edges of the seating surface with your hands. Now stand up carefully and evenly to the front. The cardboard should now have two clear marks. Circle them, find the centre and measure the distance. This is the minimum distance. Some manufacturers, such as the bike-ergonomics-oriented brand SQlab, recommend adding the following values depending on the riding position:
- Triathlon/Time Trial: +0 cm
- Strongly bent forward – "stretched" e. g. on a road bike: +1 cm
- Moderate bent forward – e. g. MTB/comfortable gravel bikes: +2 cm
- Slightly bent forward – e. g. trekking bikes: +3 cm
- Upright riding position – e. g. city bikes: +4 cm
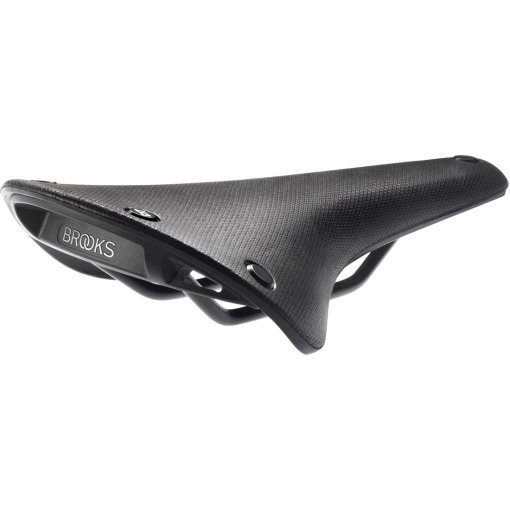
Question 5: Does more padding also mean less pain or discomfort?
Answer: No, not automatically. The better the pressure is distributed or the more the saddle shell flexes, the less padding can be used under certain circumstances. This can be achieved, for example, with a leather saddle cover that adapts to the rider's body, with carbon shells with special fibres orientation or with a custom-made saddle.
Question 6: Are there any other hot tips for buying a saddle?
Answer: The best thing to do is to take advantage of the testing opportunities in your area, many manufacturers of components and apparel regularly invite people to test events. It is important to test a particular model on your own bike or on the bike you'll be riding it. A saddle on an MTB can feel completely different from the same one on a road or gravel bike.
If there is no test event near you in the future, you can perhaps ask a bike buddy to lend you his saddle for testing, provided the width is right. When testing, you should take your time and pay close attention to whether you can sit stably on the seat bones over a longer period of time.

Sitting Ergonomically – Questions about Straight Handlebars and Stems for MTB and Co
Question 1: How is the width of, for example, an MTB handlebar (straight handlebar) determined?
Answer: The question already contains part of the answer. The width depends on the type of bicycle and its field of application. For example, MTB riding requires fast, direct steering action, which means a wide handlebar and short stem (e. g. 50 mm stem and 800 mm handlebar). In addition, there are the physical requirements of the rider. If the handlebars are wide enough, your arms should be slightly bent with your elbows pointing downwards and your upper arms slightly rotated outwards when you sit on the bike. Since mountain bike riders shred downhill in a standing position (active riding position), there is another way to determine a guide value for the maximum width of your MTB handlebars at home. To do this, drop from a kneeling position into a push-up position in a natural movement and let a helping person measure the distance between your hands.
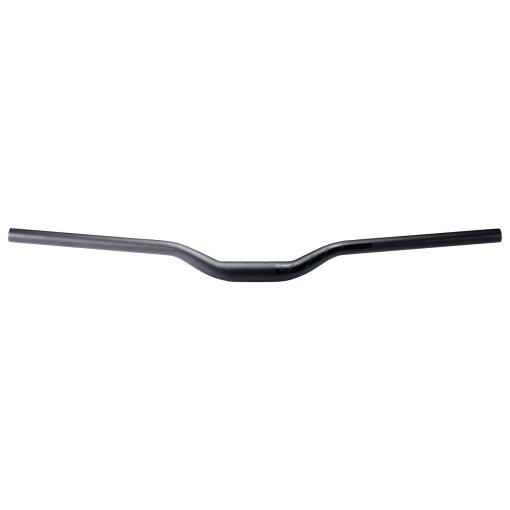
Question 2: What are the geometric features of handlebars for MTBs, trekking bikes and the like?
Answer: Almost all common handlebars have a backsweep. This is the horizontal backward bend after the clamping area. The higher the backsweep, the more upright or ergonomic the rider can sit. The weight is shifted more to the rear, i. e. onto the saddle, and the strain on arms and hands is reduced. At the same time, however, wind resistance increases and power efficiency can decrease.
The backsweep is usually combined with a rise or upsweep. The rise is the difference in height between the handlebar clamp and the grip zone. The transition to the higher level is initiated by the upsweep angle. Riser handlebars are normally also conducive to an upright riding position and allow better weight transfer and control on the trails in the attack position.
Question 3: Which back angle is recommended on the MTB and how can you influence it?
Answer: This depends very much on the MTB discipline, the riding technique and the physical conditions. Very sporty riders, e. g. in cross-country, ride with a torso angle of approx. 40°, while touring enthusiasts in Trail/All-Mountain, but also Enduro terrain tend to sit more comfortably at approx. 55-60°. These are the starting values. It is best to try out different spacer stack heights, stem angles and lengths. It is advisable not to change too many geometric variables at the same time.
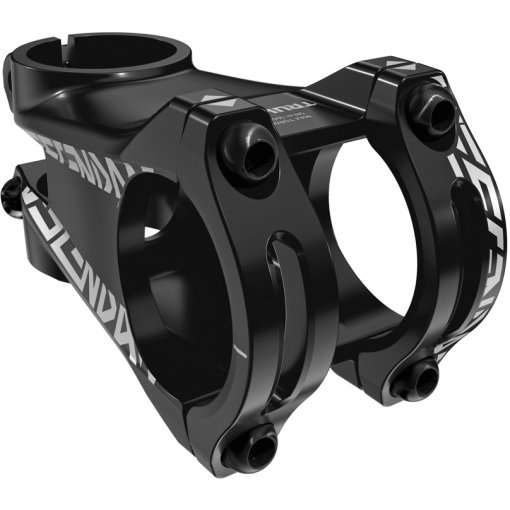
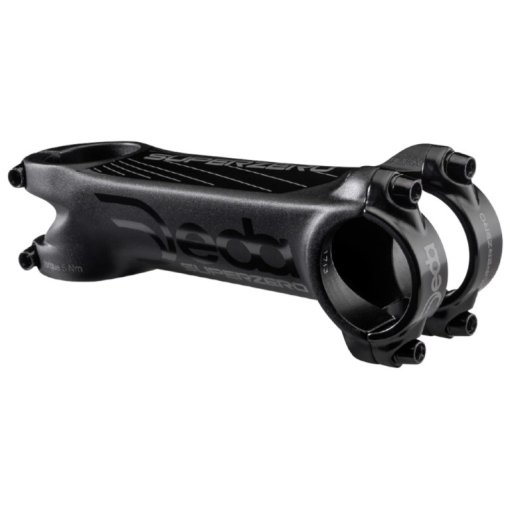
Question 4: Many customers suffer from back or neck pain and numb feelings of hand or fingers on longer rides. What are the right parts in the cockpit area to change this?
Answer: Usually with a different stem (shorter and steeper angle) and/or ergonomic handlebars. Basically, however, you should also work on your physical fitness, e. g. with stabilisation exercises, otherwise the problem will come back later.

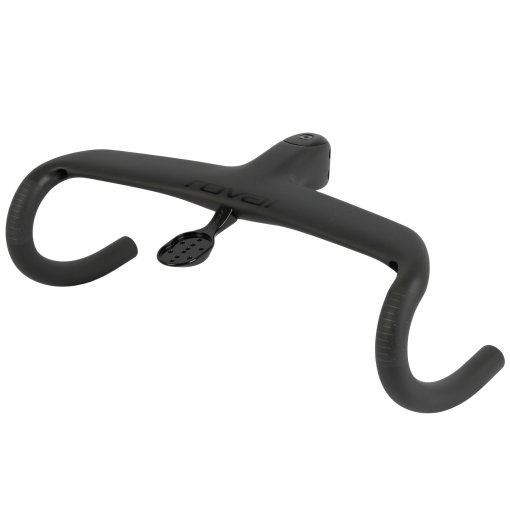
Ergonomic Handlebars for Road Bikes and Similar Bikes, Plus Matching Stems
Question 1: Road cycling is usually a sporty activity, but how much superelevation makes sense?
Answer: The greater the difference between the handlebars and the saddle, the more sporty or aerodynamic you sit on the road bike. However, how low the handlebars should be mounted via stem angle and spacer stack height depends on your mobility in the lower back. To check whether your superelevation suits you, it is best to sit on your bike in road bike clothing while it is clamped in an indoor bike trainer or held by a helping person on the saddle. Now grab the upper bar position, the shift/brake lever position and the drop position one after the other and ask another supporting person to keep an eye on your pelvic mobility. Your superelevation is only ridable for longer if you also reach the drops only by pelvic pre-rotation. If the flexibility comes from the thoracic spine, for example, your superelevation is too high.
Question 2: How can I improve my riding position with the road bike handlebars, stem, etc.?
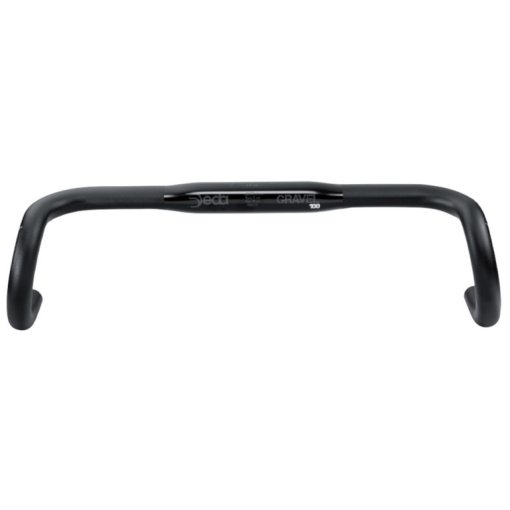
Answer: Modern road bike or drop-bar handlebars are available in many different designs. Especially among touring and long-distance riders, compact models with reduced drop (difference between upper bar and drops less than 130 mm) are very popular. They allow for more aerodynamic riding in the drops even with less mobility in the lower back or pelvis. Besides the drop, you can also improve the ergonomics by using models with rise and backsweep. The rise describes the height difference (horizontal offset) between the upper handlebar grip and the clamping area. It can enable a more comfortable or upright bicycle riding position or allow the absolute handlebar height to be increased if a further change of spacer stack height is not possible. The rise is often combined with a slight backsweep, which makes the upper handlebar position more comfortable and also supports the upright riding position.
In principle, despite sporting ambitions, the parts should be adjusted/positioned in such a way that the position is also endurable over a longer period of time.
Question 3: Anatomical and Ergo – What does that mean and who needs it?
Answer: Anatomic and Ergo refer to the shape of the drops. On both types of handlebars, the radius of the curving shape often varies in order to better reach the shift/brake levers from the upper bar and the drops and to achieve less drop height. An anatomical road handlebar still has a clear step in the drop shape. It allows a further hand position or a more comfortable intermediate position for the back in which the brakes levers can be reached more easily. It is followed by a grip position for sprinting.
In contrast, an Ergo road handlebar curves harmoniously downwards after the horizontally deepest point (maximum reach). If you find an anatomical model in the drop bar position uncomfortable on your hands, you should rather go for an Ergo model.
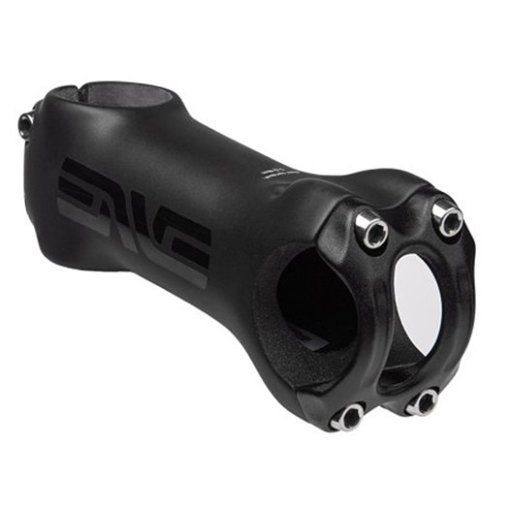
Question 4: Longer stems are traditionally used on road bikes for a stretched position, correct?
Answer: Yes and No, some well-trained cyclists or professionals use particularly long stems mainly for even less drag. Longer stems are rarely used on road bikes that are more suitable for touring. If you want to test different stem lengths yourself, you should be aware of one thing: The longer the stem, the greater the strain on your back and shoulders. This can result in discomfort from tense shoulders and neck sections. Basically, if you have a normal upper-body-to-arm ratio, you can place your elbow at the nose of the saddle and point your outstretched fingers towards the handlebars. The reached point plus 2-3 index finger widths gives a good basis for experimenting.

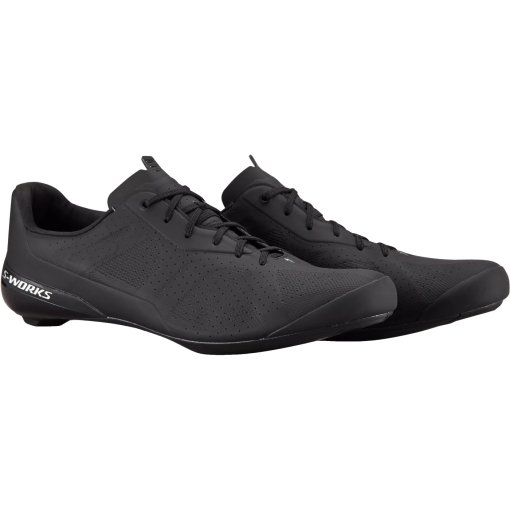
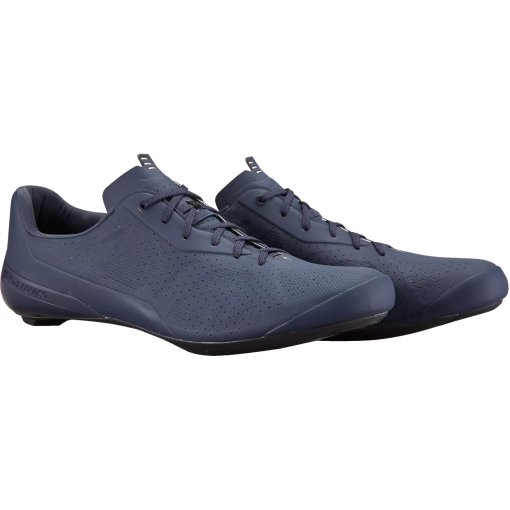
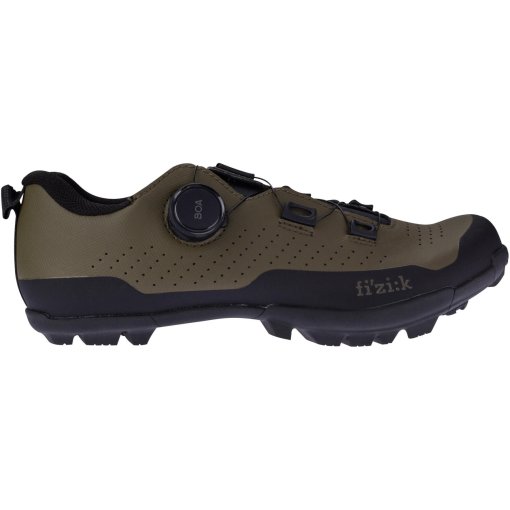
Shoes and Insoles for More Comfort and Performance
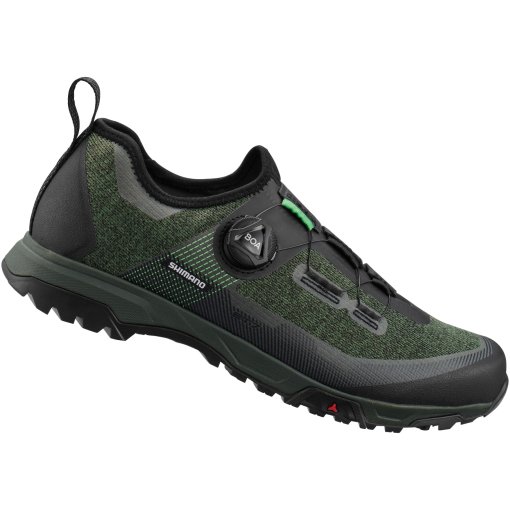
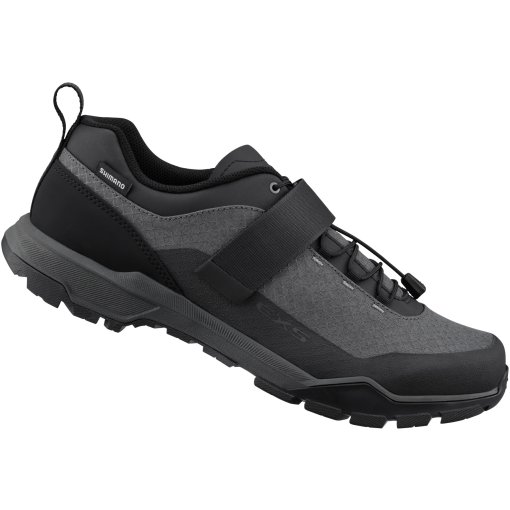
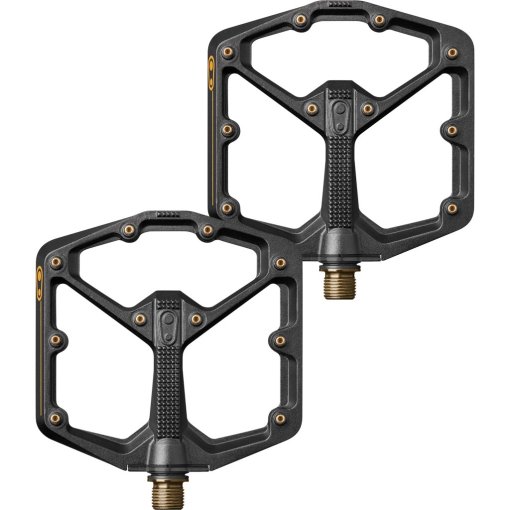
Depending on the type of bike and the resulting sitting position or riding position, a more or less dynamic load is created by the powerful crank revolutions. While the pedals of performance-oriented road bikes and MTB XC race bikes are subjected to 70 % of the load, touring MTBs, comfortable gravel bikes and trekking bikes are subjected to 50 % and city bikes to only 25 %. It is therefore hardly surprising that problems can occur when peak performances are applied to the pedals via the shoes and soles on fast short distances or when a lot of power endurance is required on longer distances.
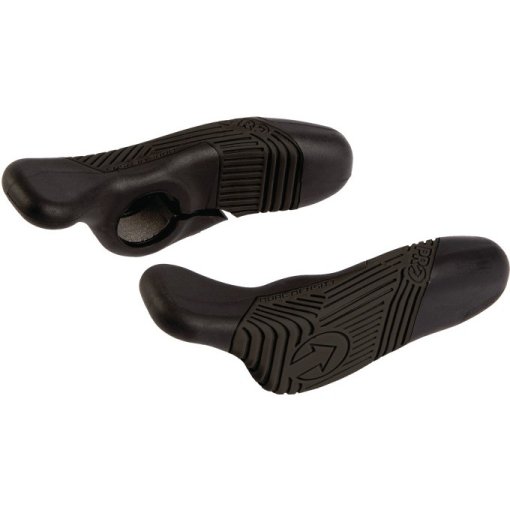
For this reason, manufacturers with comprehensive ergonomic concepts often offer a wide range of shoe versions, insoles, inserts and wedges. These serve, for example, to support the arch of the foot, to stabilise the forefoot and thus often the hip, knee and the entire foot, or to provide targeted pressure relief.
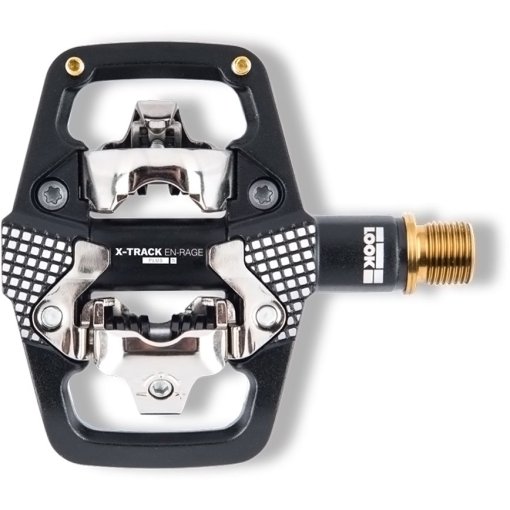
Question 1: How do I initially adjust the cleats on my road bike or MTB shoes to a neutral basic position?
Answer: Most systems allow you to move the cleat lengthwise and crosswise to the shoe and also to turn it in horizontally to the sole. First put on your cycling shoes, which hopefully already fit in length, and feel the base joint of the big toe with your thumb – located between the metatarsal head and the first joint of the toe. Now you can mount the cleats, lengthwise so that the virtually extended pedal axle runs as vertically as possible through this point. To ensure that your knees are initially subjected to a balanced load – assuming that your legs are moving parallel to the frame – we recommend that you position the cleats transversely in a central or neutral position on the mounting surface. If, for example, you experience pain on the outside of your knee, you can try moving the cleat little further inwards; if the pain is on the inside, try the opposite. In terms of rotation, it is advisable to first mount the cleats so that the shoes clicked into pedals by hand are parallel to the rear wheel and can be moved without interferences along the chainstays. Small changes can make a real difference. Listen to your body when doing test rides.
Question 2: At the beginning of the tour everything feels fine, but later you feel discomfort on the underside of your foot. What could be the reason for this and can insoles help?
Answer: This can be due to a collapsing arch. In such a case, suitable insoles or special wedges or arch supports in longitudinal and transverse direction can help.
Question 3: How do I know which shoe model version – models for feet with normal circumference or high-volume – is the right one for me?
Answer: A difficult question – Most high-volume shoes feature more upper material and can provide a better fit for feet with a high instep, for example. However, if there are other foot deformities such as a flat foot, this is often not enough. Suitable insoles, wedges or a shoe with a wider forefoot area, often called a 'wide' version, may be necessary.
Question 4: What else can I do before ordering my selection of shoes at BIKE24 to avoid these problems?
Answer: If you already know that you have a splay foot, or flat foot, for example, you should look directly for shoes that can be adjusted accordingly.
If you are unsure, you can also stand on a piece of paper at home with slightly moistened bare feet and then draw conclusions about the basic pressure distribution of your feet.
It is also advisable to measure the length of your left and right foot with a tape measure. The wrong size is more often responsible for unpleasant side effects than you think.
How much space you should add inside the shoe depends on how you ride. If you spend almost 100% of your activity time on the bike, a few millimetres of space are sufficient. Otherwise, there should be about 1 cm of extra space and the shoe should be suitable for walking. Compare the result with the manufacturer's size chart. If the foot length varies considerably between your left and right foot, it is quite possible that both differ by one shoe size. In such a case, you can order both sizes and then support other athletes via a shoe exchange platform.