- Home
- Bike Maintenance by Yourself – How-to Guide & Suitable Equipment
Bike Maintenance by Yourself – How-to Guide & Suitable Equipment
Bicycles are more popular than ever as a year-round means of transport, but they also need regular maintenance and care. Bike maintenance is particularly recommended after a certain mileage. Your trusted workshop is fully booked? No problem! Use our checklist to check your bike step by step for wear and tear and repair needs. Then carry out repairs and maintenance yourself using the right wear parts, tools, care products and lubricants. Performing a bike service can be so easy! Now
Read moreBike Maintenance and Service – What Is It Good For?
With good instructions and the right tools, identifying and repairing the most common defects on your bike is no magic trick and you can also save a lot of inspection costs. On our topic page you will find both, as well as spare and wear parts for many current mountain bikes, road bikes and e-bikes.
Additionally, to protect the material and prevent damage, we support you in bike care with special lubricants, products for bike cleaning and material care.
As with cars, a distinction is made between small services, e. g. after longer tours, and large services. The latter should be carried out at least once every six months or, in our experience, every 3,000 km.
The following maintenance checklist for current bicycles – based on our experience – is already quite comprehensive, but does not replace the work, experience and equipment of a specialist workshop in the case of larger or more specific defects on e-bikes or full suspension bikes.
We recommend using a working stand as an optimal basis. Provisionally, you can also lean your bike against a wall or lay it down on the non-drive side using a pad in between.
This Will Make Your Bike Check a Clean Job
Bike inspection is only a real pleasure on a clean bike!
So, especially after many rainy rides or in spring: get rid of the mud crust from the trails and the winter salt from the roads! But before you start, please think about the environment: parking areas or paved backyards with drains are particularly recommended for sustainable bike cleaning. Let the water flow – you can simply remove coarse dirt with water and a sponge. Stubborn mud can be soaked with special, usually biodegradable cleaning and care products for bicycles and then rinsed off with water.
You can also use a garden hose or a special cleaning device. But be careful, you should set the water nozzle to a spray and never point it directly at the bearings or, in the case of e-bike maintenance, at the electronics or battery.
Bike Maintenance Checklist
For a major six-monthly inspection, the following points are important:
1. General Appearance

If there are any visible problems, you should pay special attention.
2. Frame and Fork
Dirt and a lack of shine can be quickly removed with care products such as varnish cleaner and polish.
There are also suitable care products for superficial corrosion.
However, if there is deeper rust, cracks or deformation, you should replace the frame and fork or urgently visit a professional repair shop, as these are safety-relevant parts.
Suspension fork and rear shock should compress and decompress smoothly and not leak oil.
3. Handlebar, Stem, Grips/Bar Tape and Headset
If everything is visually in good condition (no severe corrosion or cracks), check the headset play (steering bearing). Pull the front brake with one hand and hold the top of the headset with the other hand. For modern Ahead systems, use a 5 mm Allen key or torque tool to adjust the headset and check that all bolts for clamping the steerer tube and handlebar are tight. With carbon parts, it is best to renew the carbon assembly paste beforehand.
If your bike has a straight handlebar, e. g. on MTB's and trekking bikes, the grips should also be tight for maximum safety and control – lock-on grips can be tightened, normal ones may be fixed with hair spray.
On bikes with a drop bar (road bikes, gravel bikes etc.), an intact handlebar tape not only looks good but also provides grip and insulation against coldness.
Tip: Don't forget to test the bell for participation in public traffic or to retrofit it if necessary.
4. Saddle and Seatpost
As with the cockpit: if everything looks fine, you can check the bolts on the saddle with an Allen key or torque tool and tighten them if necessary.
The seat post clamp should also be tight, but we recommend that you renew the grease or assembly paste between the seat post and the seat tube beforehand.
Furthermore, the head of a multi-piece seat post should be firmly connected to the shaft and the saddle should be checked for cracks in its base, padding and cover as well as a firm connection to its rails.
Check suspension and height-adjustable seatposts (dropper posts) for smooth, noiseless operation and possible oil leakage. If it leaks or dries out, we recommend having it serviced at a workshop.
If you cannot control your dropper post at all, you will find further useful tips under: Cables and hoses

5. Wheels and Tires
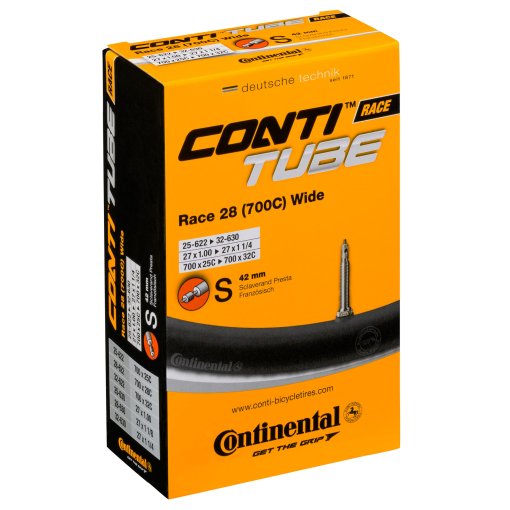
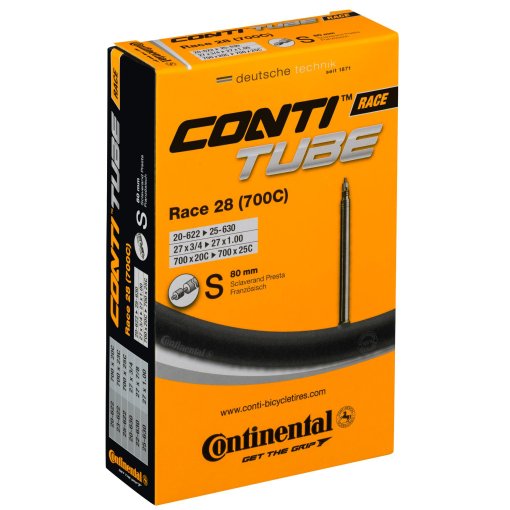
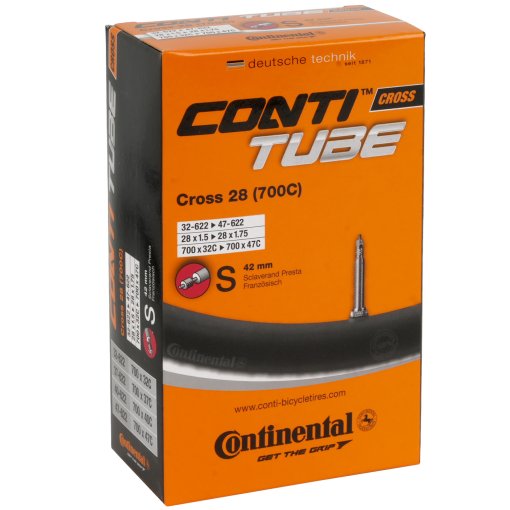
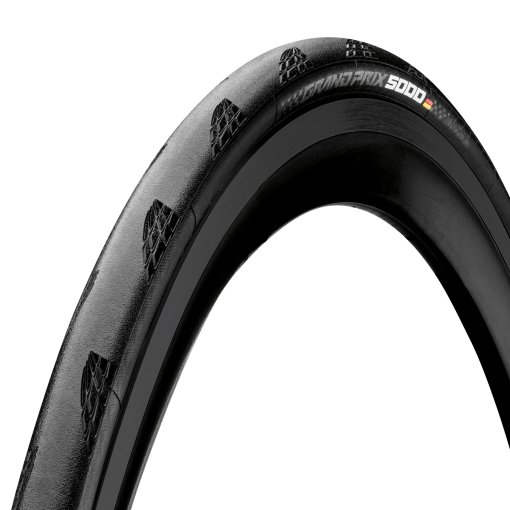
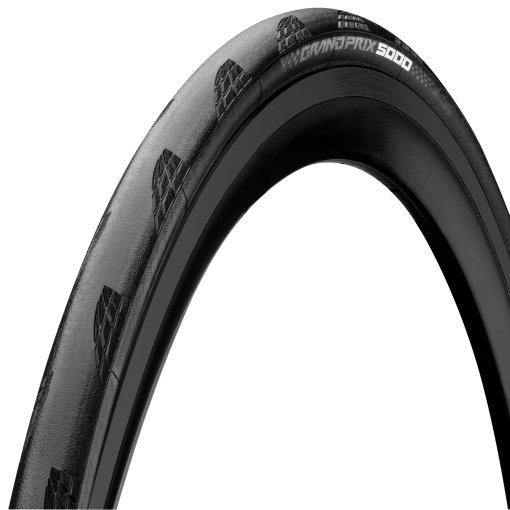
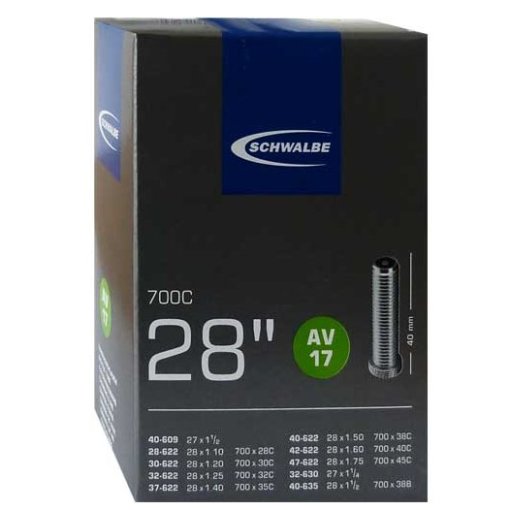
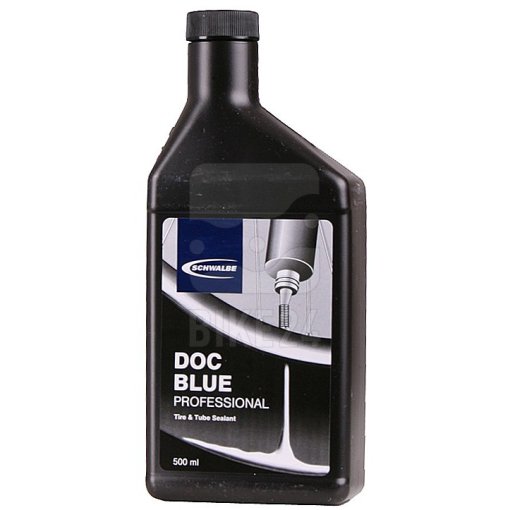
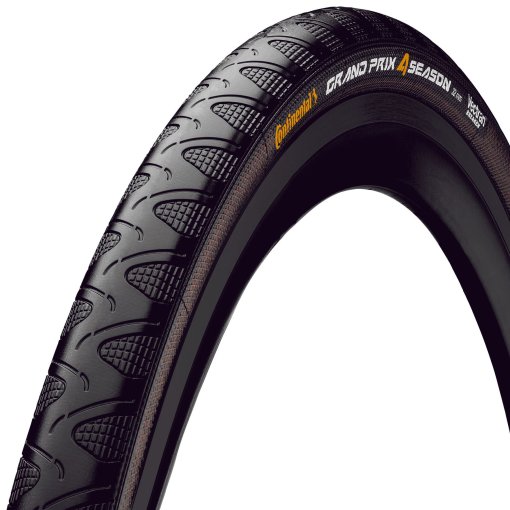
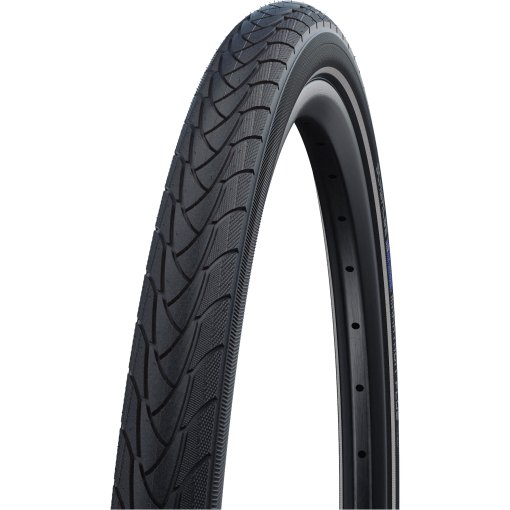
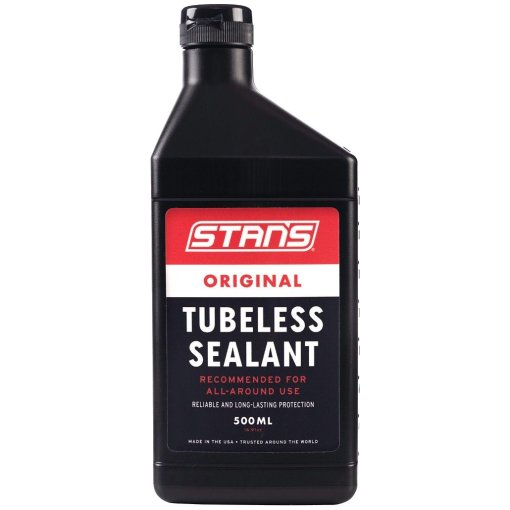
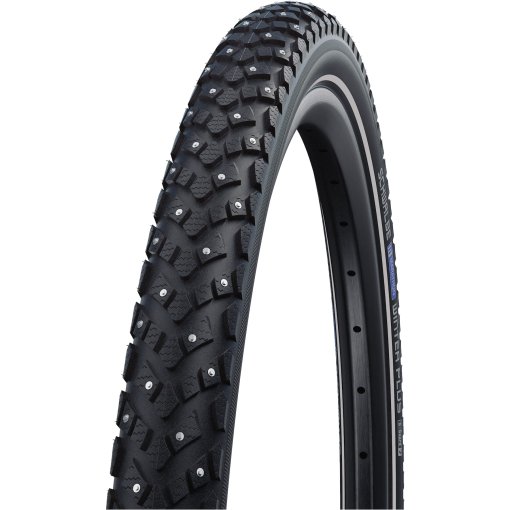
The tires are a particularly important factor for riding performance. If they are worn, cracked or so punctured that you can see the inner tube, you should urgently replace them with new ones. If you are riding on tubeless tires, you should also renew the tire sealant so that it seals properly in the in case of punctures. Finally for the tires check if you are using the right air pressure.
The next step is to check the wheels: they should be tight and correctly aligned. If something is wobbling despite tight clamping, the hub bearings most likely have play. Next, feel free to turn the wheel to see if everything is running smoothly. Finally, check the rims for dents.

6. Bottom Bracket and Crank
Do you hear strange noises coming from the direction of your crank or does it feel wobbly and spongy when you pedal? In this case, check the so-called bottom bracket play and the connection of the crank arms and pedals. If, even without play, it still sounds like a nutcracker at every turn, it may help to dismount the crank and grease all contact points. If at this section everything runs fine, we can go with chainrings, cassette and of course the chain.
7. Drivetrain

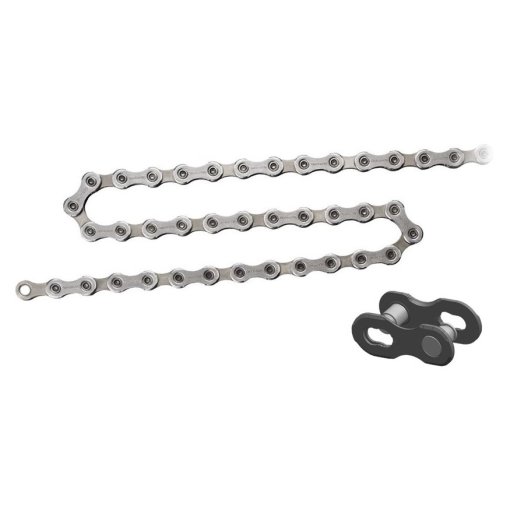
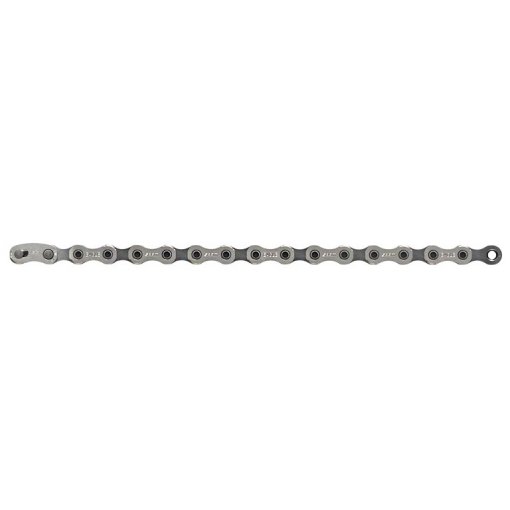
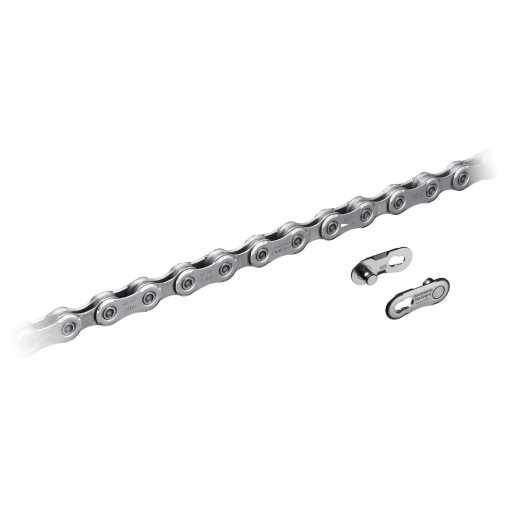
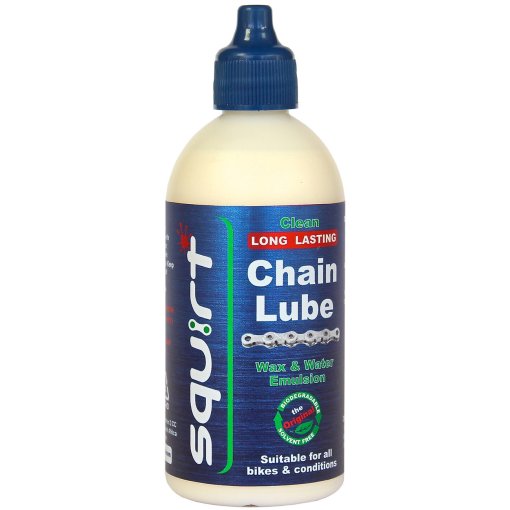
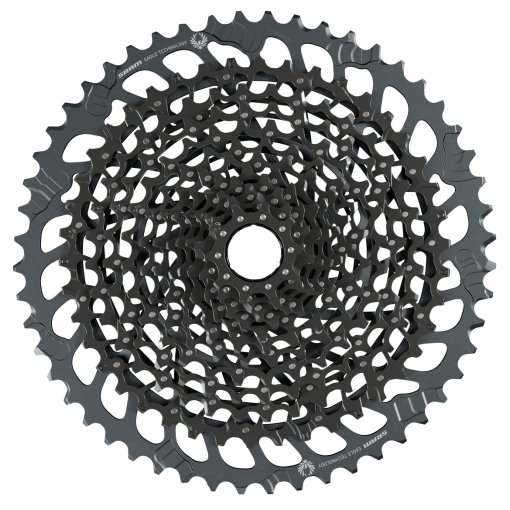
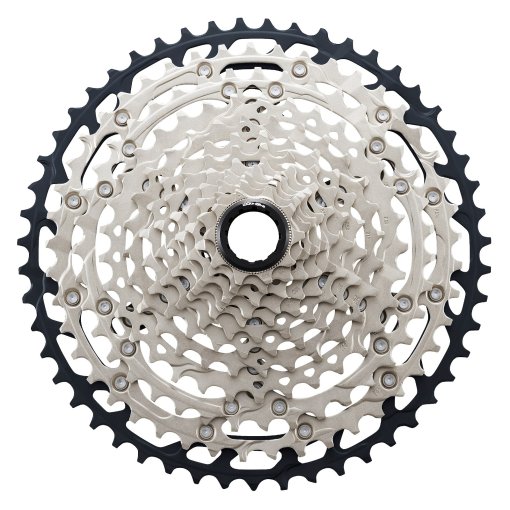
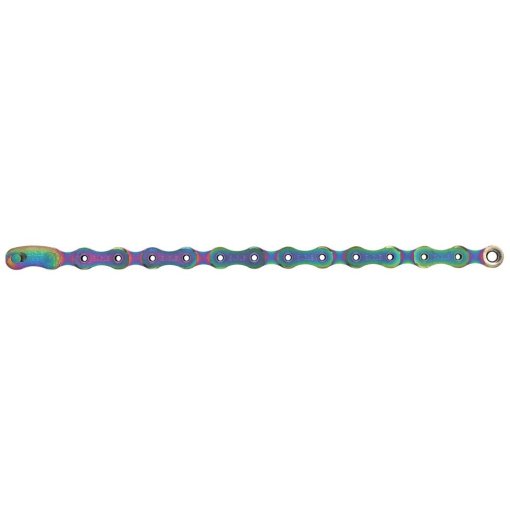
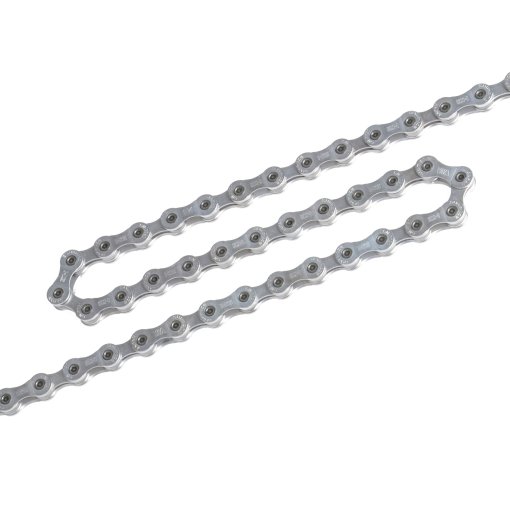
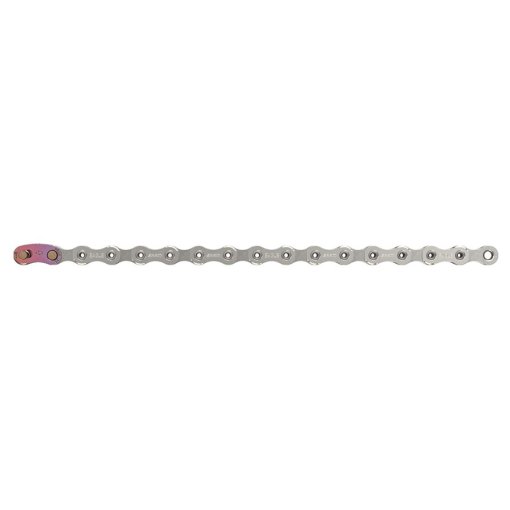
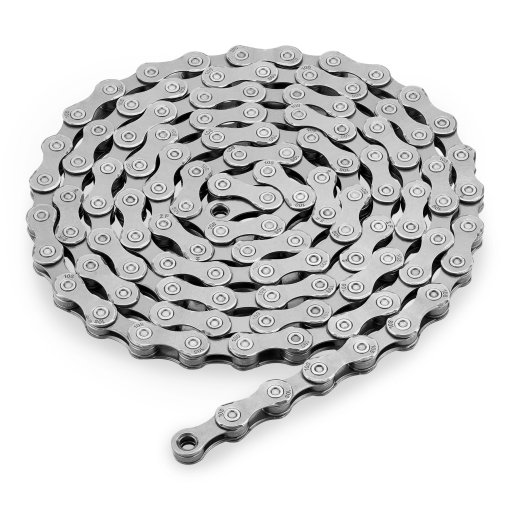
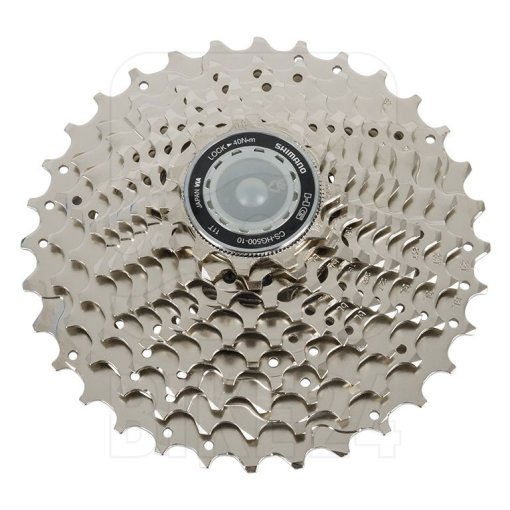
If the cassette and chainring teeth look more like shark teeth, or if some are missing, these so called wear and tear parts need to be replaced. Another important part of the drivetrain is the bicycle chain. First check if it is worn out with a chain gauge. Furthermore it should have tension and should look complete, as well as clean and corrosion-free. And between the links: lubrication means best acceleration. Oil or lubricate it with a dry lubricant.
Tip for e-bike riders: Check the charge level of your battery regularly – it should not fall below 30%.
8. Shifting
For the best possible performance, everything should also run smoothly here. Shifting can be tested by trying out all gear combinations with the shifters or brake-shift-lever. They should operate smoothly and without rubbing or jumping of the chain. Check the rear and front derailleur for correct alignment. If this is not possible, the derailleur hanger could be distorted.
9. Brakes

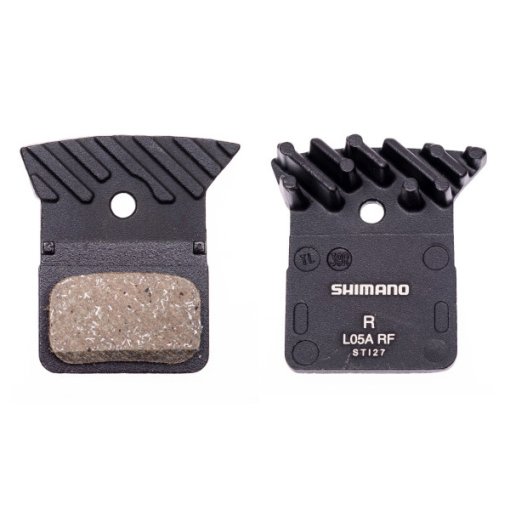
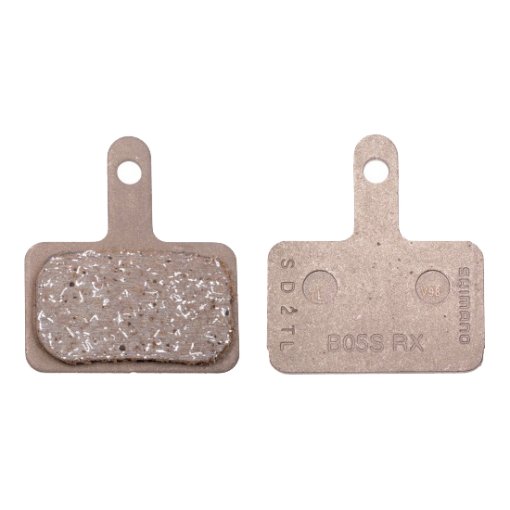
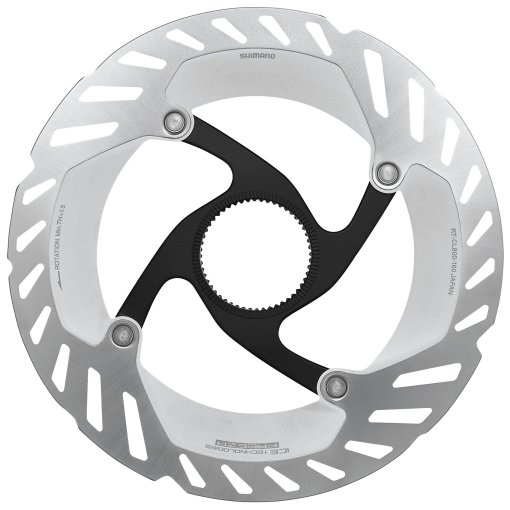
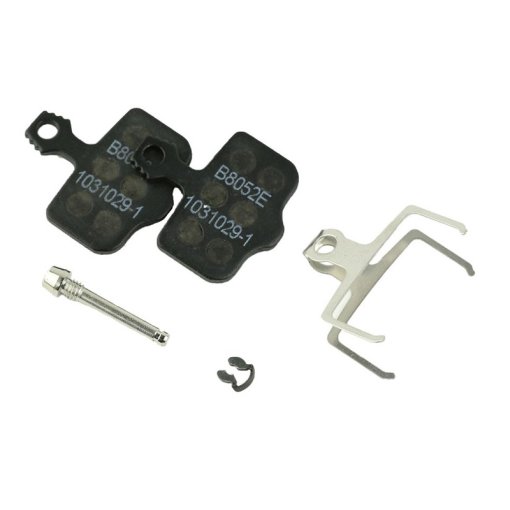
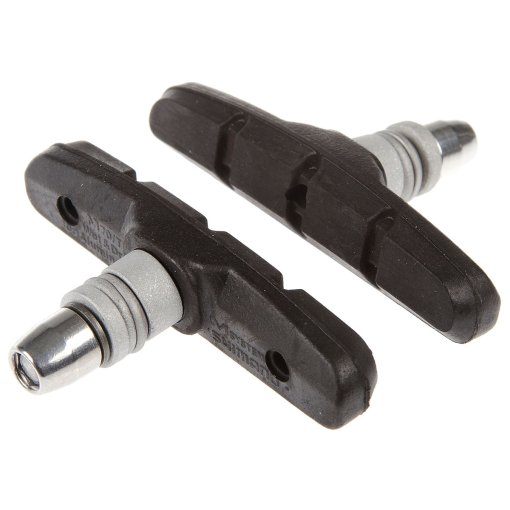
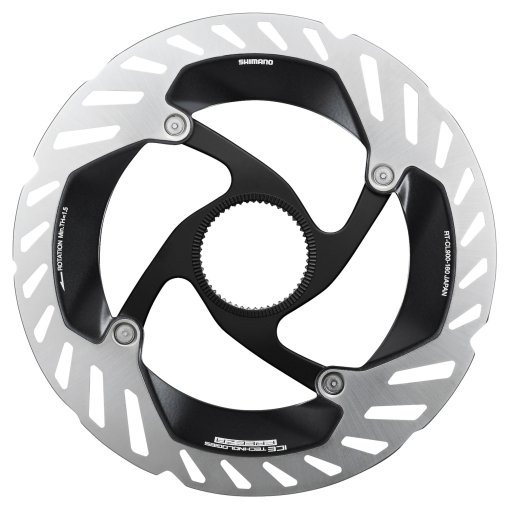
Every bicycle on public roads in Germany should have two independent working brakes. So please check first whether the front and rear brakes are present and firmly screwed on. The brake pads and discs should also be thick enough. After a short push, a firm pull on both brake levers will also tell you whether your brakes are basically working. You should be able to feel a firm pressure point. And what about the cables and lines? That comes next.
10. Cables and hose
Today's bikes often have cables and hoses on brakes and derailleurs – if not wireless or electric. If your saddle is height adjustable, there is most likely a cable leading to the post.
Whether hydraulic hoses, mechanical cables or wires, check all variants for kinks, cracks or leaks. Mechanical cables and hydraulic hoses should be easy to operate.
11. Lighting System

Properly functioning bicycle lights is indispensable for visibility and visual range in the dark season and is mandatory for participation in road traffic in many countries. First check whether your bike has a securely mounted front and rear light. If you do not get any illumination after switching on the light or, in the case of dynamo lights, after turning the front wheel, check the cable installation or the charge status of the batteries. If you want to get through everyday life stress-free, your bicycle must also be equipped with cat's eyes on the spokes and pedals as well as a white reflector at the front and a red one at the rear.
12. Accessories
If your bike has a pannier rack, it must not be hanging on its last legs, but must be well tightened. Also, the mudguards should not look like a sieve and should be firmly mounted. If you don't have one yet, we strongly recommend them to protect against wetness and road make-up. Finally, don't forget the side stand. Test it for tight mounting and function.
Our Top Tips for Your Bike Check
- Bicycle beauty – Treat your bike to a complete wash and some material care for less wear and tear.
- Grip is everything – Replace tires with worn tread or sidewalls in good time for long-term puncture free riding fun.
- Reliable brakes – Test for smooth operation at the levers, check the pad thickness and, if present, brake disc thickness front and rear. Additionally, all brake parts should be tightened regurlarly.
- Well lubricated – Oil and grease moving parts for less wear. This applies especially to the chain, but may also be necessary for the bottom bracket, headset and suspension elements.
- Lighting system that complies with the Road Traffic Act – Front and rear lights with rechargeable batteries or powered by a dynamo, as well as reflectors, are essential for you to see and be seen.
- Mudguards against moisture – With easily retrofittable mudguards (pluggable) you protect yourself against water from below during spring weather caprioles and are social towards fellow riders.
- Intact grips or bar tape – These components are important for maximum control.
Once everything has been checked, maintained and repaired, take the bike for a test ride. It is best to test basic and safety-relevant functions such as steering, brakes, drivetrain and, if available, the lighting system. If everything is in fine order and there are no annoying or untypical noises, we congratulate you on a successful inspection!


