

How to adjust bike disc brakes
Is your disc brake rubbing or recently installed a new one? Here’s how to adjust your bicycle disc brake step by step.

What you’ll learn

WHAT YOU'LL NEED
Tools and materials
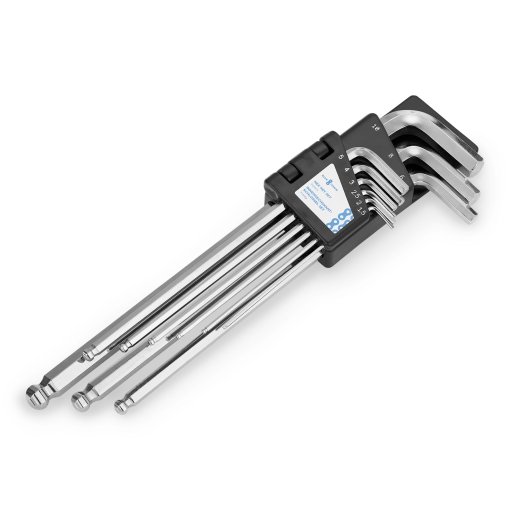
- Allen key or Torx key
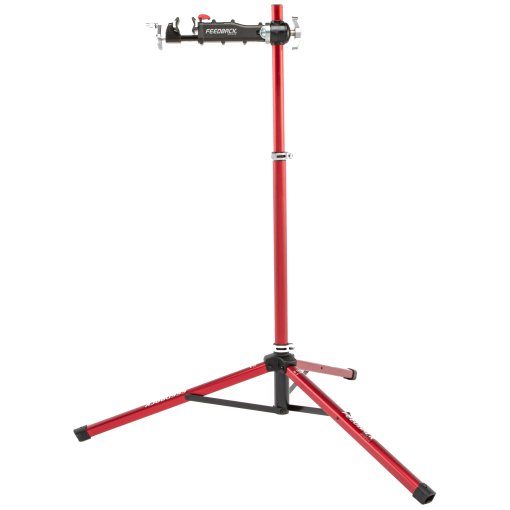
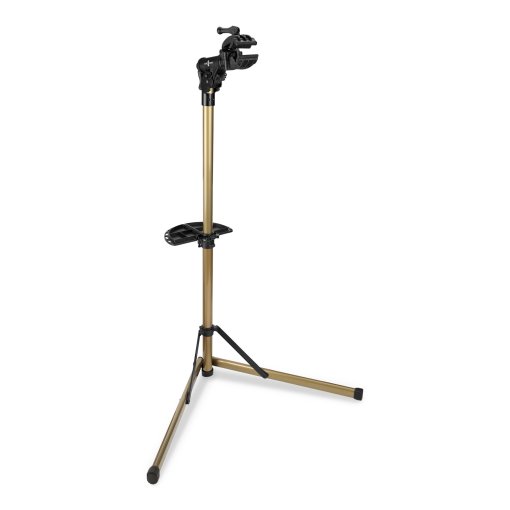
- Repair stand (optional)
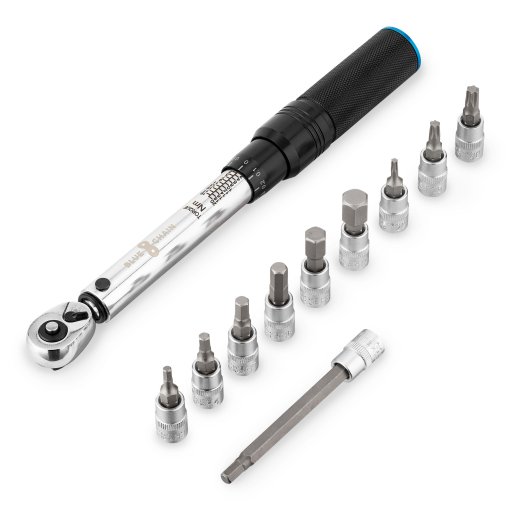
- Torque wrench (optional)
- Flashlight (optional)
- White Sheet of Paper (optional)
Prepare your bike for adjustment
If your disc brake is rubbing or squeaking, the caliper is often slightly misaligned. Mounting your bike on a repair stand makes the adjustment easier. You can work at a comfortable height, and the wheels can spin freely. It also makes it easier to check whether the brake pads need replacing. If you don’t have a repair stand, lean the bike against a wall on the chainring side, so you can comfortably work on the side where the disc brake is.
The next five steps show what to look for when adjusting your disc brakes, whether you’re fine-tuning an existing setup or working on a bike recently converted to disc brakes. The process is the same for road and mountain bike disc brakes.

STEP 1
Loosen the brake caliper
Loosen the two mounting bolts that secure it in place using the correct Allen key or Torx key. Loosen them just enough so the caliper can move side to side. It should move freely without wobbling.

STEP 2
Center the caliper using the brake lever
Pull the brake lever firmly and hold it to center the caliper over the rotor. While holding the lever, tighten the two mounting bolts evenly. Tighten the bolts alternately and follow the specified torque values.
Pro tip: To keep your hands free while adjusting the caliper, secure the brake lever with a rubber band.

STEP 3
Check rotor alignment
If the alignment is correct, you shouldn’t hear any rubbing. Look down into the caliper from above while the wheel is turning slowly. There should be an even gap between both brake pads and the rotor.
Pro tip: You can see the gap more clearly by holding a white sheet of paper behind the caliper or shining a small light into it from below.

STEP 4
Align the caliper by hand if necessary
If the rotor is still rubbing, you can center the caliper manually. Loosen the mounting bolts slightly again and position the caliper roughly in the correct place. Lightly tighten the upper bolt while making sure the caliper remains centered at the top. Then adjust the lower side so the rotor sits evenly between the brake pads and lightly tighten the lower bolt.

STEP 5
Tighten the bolts to final torque
Once the caliper is properly aligned, tighten the bolts to the correct torque. Most caliper mounting bolts require 5–8 Nm. If you don’t have a torque wrench, tighten the bolts firmly but do not overtighten. Spin the wheel again to confirm it runs smoothly without rubbing. If the brake is still dragging, the issue may be something else, such as a bent rotor. Learn more here.


Need help with your next project?
Get in touch with our customer service team. Our experienced cyclists are happy to help.


Want to stay up to date?
Be the first to hear about great deals, news, and trends – delivered straight to your inbox.
