

How to replace a bike brake rotor
Change your brake rotor in three simple steps.

Worn down or due for an upgrade? This guide shows you how to swap your brake rotor in just 3 steps – for Centerlock and 6-bolt mounting systems.
What you'll learn
Jump to the step you need and get your brakes back in shape:
- How to remove the old rotor (Centerlock and 6-bolt)
- How to install the new rotor (Centerlock and 6-bolt)
- How to reattach the wheel and bed in your brakes
- FAQs

WHAT YOU'LL NEED
Tools and materials
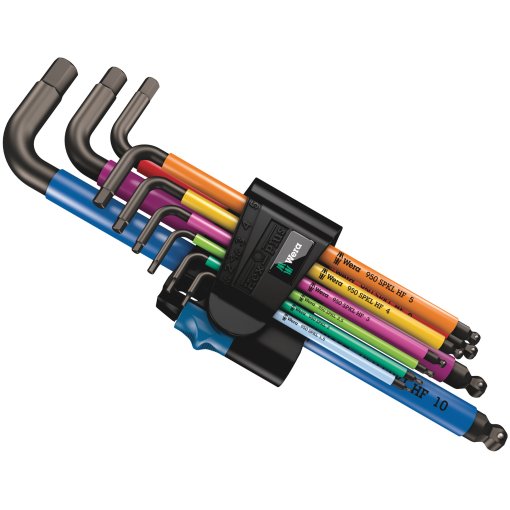
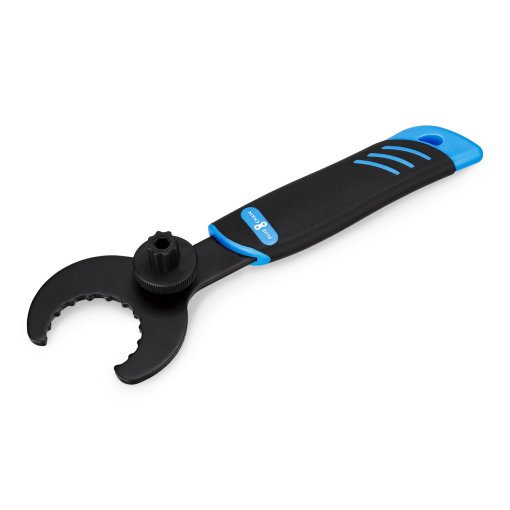
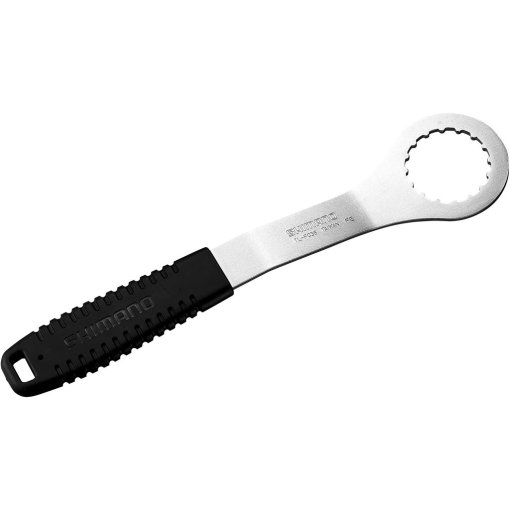
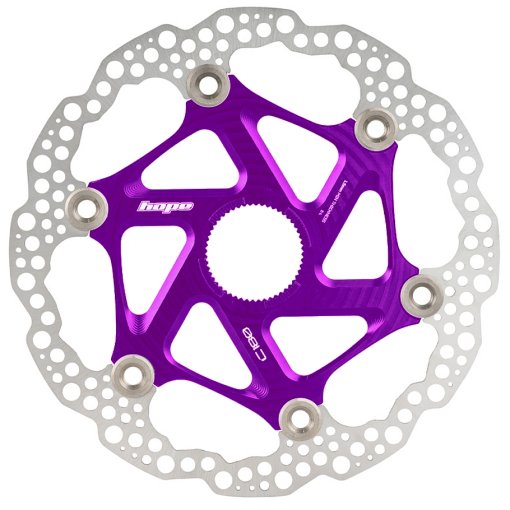
For Centerlock rotors:
- Hollowtech II bottom bracket tool (external spline) or cassette lockring tool (internal spline)
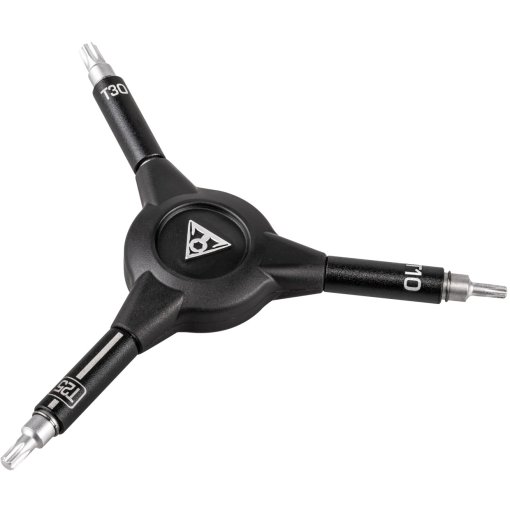
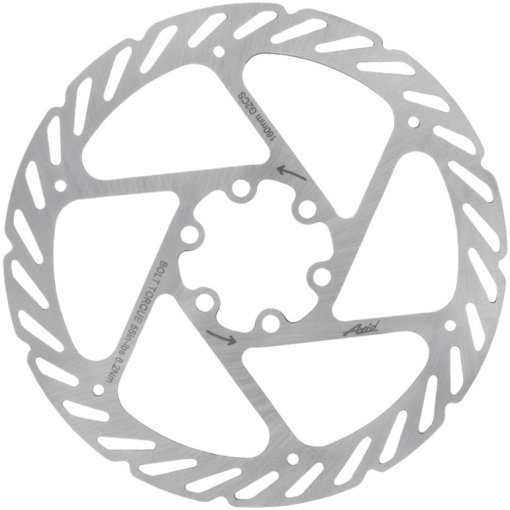
For 6-bolt rotors:
- T25 Torx or matching hex key
- Thread locker (if reusing old bolts)
General:
- New brake rotor (Centerlock or 6-bolt)
- Shop rag and brake cleaner
Optional: Torque wrench, calipers for wear measurement
Ready? Let's get started.

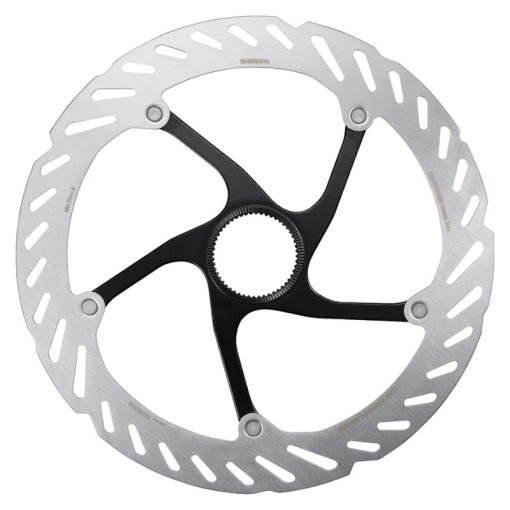
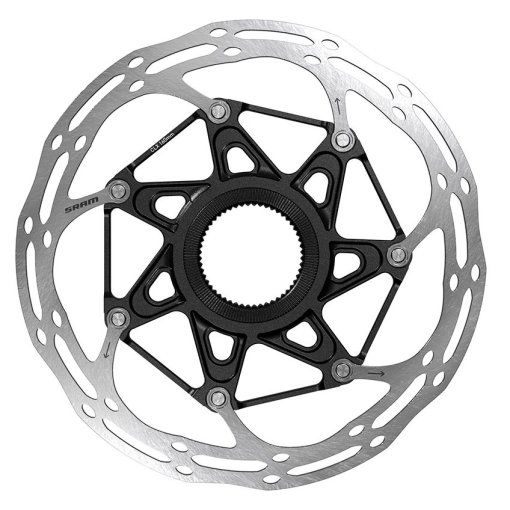
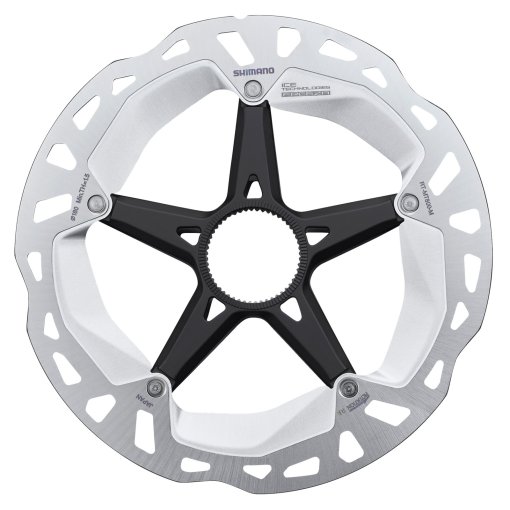
STEP 1a
Remove the old rotor (Centerlock)
Remove the wheel from the bike. Place it rotor-side up on a workbench or on the floor. Seat your Centerlock tool – either the external spline (Hollowtech II bottom bracket tool) or internal spline (cassette lockring tool), depending on your rotor. Turn the lockring counterclockwise to loosen it, then remove it and lift the rotor off the hub.
Pro tip: Before fitting the new rotor, clean the Centerlock interface and hub flanges with brake cleaner.

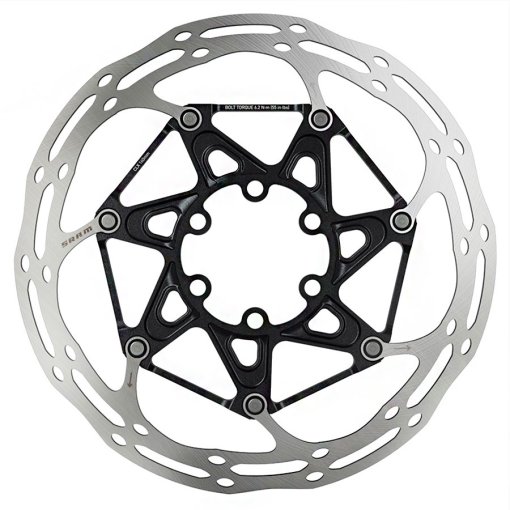
STEP 1b
Remove the old rotor (6-bolt)
Place the wheel rotor-side up on a workbench or on the floor. Seat the Torx or hex key straight and as deep as possible into the bolt head before loosening the first bolt – this reduces the risk of slipping and damaging the bolt head. Loosen all six bolts counterclockwise, then lift the rotor off the mounting interface.
Pro tip: Before fitting the new rotor, clean the mounting interface and hub flanges with brake cleaner.

STEP 2a
Install the new rotor (Centerlock)
Place the new rotor onto the Centerlock interface with the label and directional arrow facing up. Thread the lockring on by hand clockwise first – this confirms the threads are engaging cleanly. Stand the wheel upright, seat your Centerlock tool, and tighten the lockring. Use a torque wrench to hit the manufacturer's specified torque – on most Centerlock systems, that's 40 Nm.

STEP 2b
Install the new rotor (6-bolt)
Check whether your bolts already have thread locker applied – look for a colored coating on the threads. If not, apply medium-strength thread locker and let it tack up before proceeding. Place the new rotor onto the mounting interface with the label and directional arrow (if present) facing up. Insert the first bolt (with a locking washer on Shimano systems) and thread it in finger-tight. Thread in the remaining bolts finger-tight. Then torque all six bolts to approximately 4–5 Nm using a torque wrench, working in a star pattern.

STEP 3
Reattach the wheel and bed in the brakes
Wipe the new rotor down with brake cleaner after installation. If the brake caliper pistons are too extended for the new rotor, push them back with a flat tire lever before reinstalling the wheel. Reinstall the wheel, then bed in your disc brake. This brings the brake up to full stopping power.
FAQs
Our top picks


Need help with your next project?
Get in touch with our customer service team. Our experienced cyclists are happy to help.


Want to stay up to date?
Be the first to hear about great deals, news, and trends – delivered straight to your inbox.
