

How to install tubeless tires
Install any tubeless tire yourself in just a few steps.

Want to switch to tubeless or replace a worn tire with a more aggressive tread? With the right preparation and our step-by-step guide, you can install your tubeless tires yourself.

WHAT YOU'LL NEED
Tools and materials
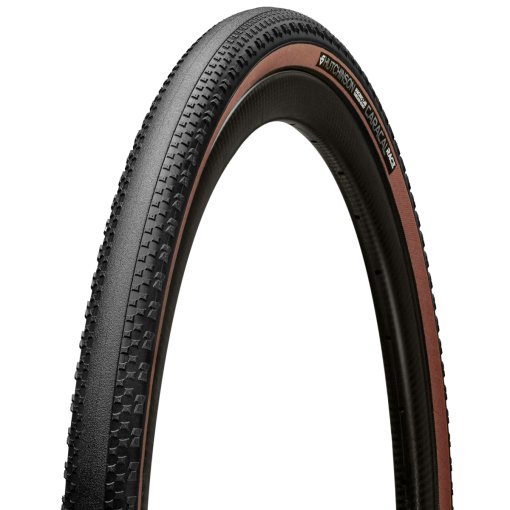
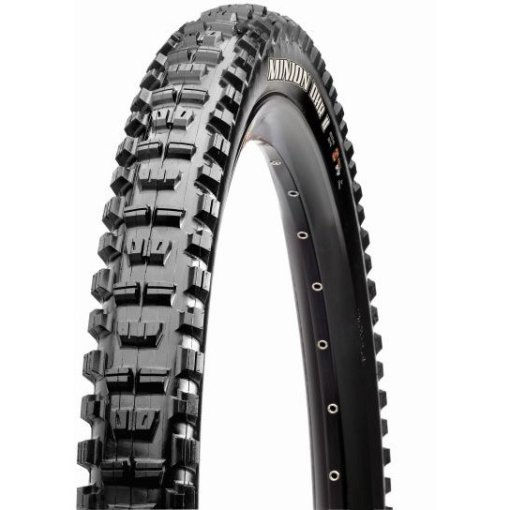
- Tubeless tire compatible with your rim
- Tubeless rim tape in the correct width
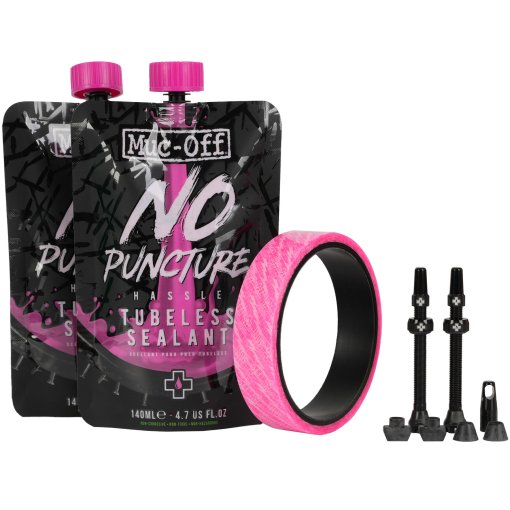
- Tubeless valves in the correct length
- Tire sealant
- 2–3 tire levers
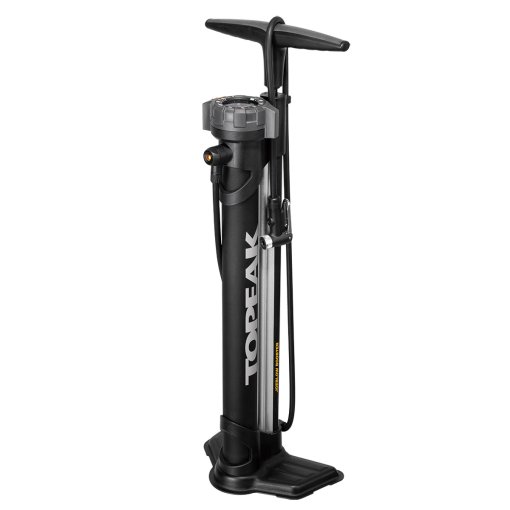
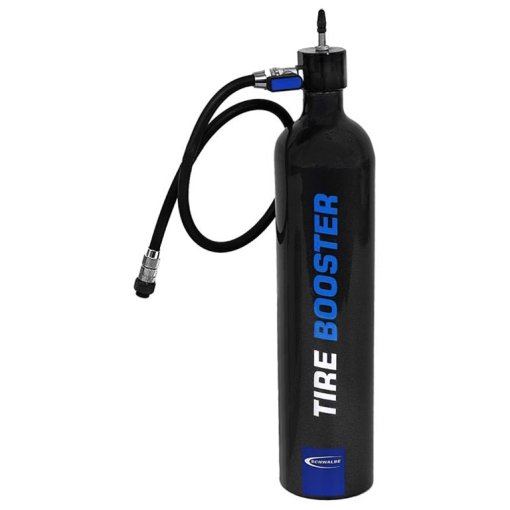
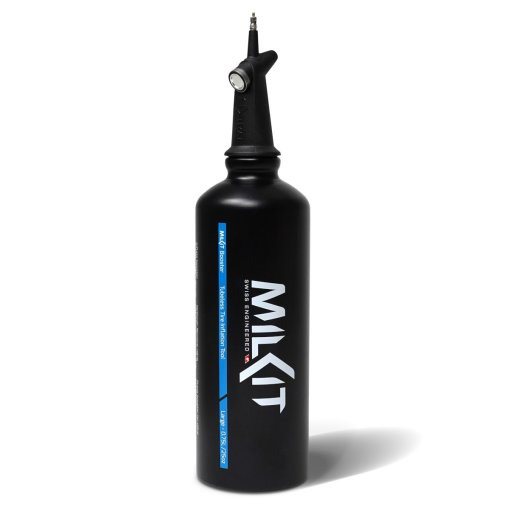
- Floor pump with a tire booster or a tubeless pump
- Valve core tool
- Cleaning supplies
- Scissors
Have everything you need for installing tubeless tires? Let’s get started.

STEP 1
Remove the old tire
Start by fully deflating the tire. Then press the tire bead all the way around into the center of the rim to create as much slack as possible. About 5 cm to the left of the valve, use a tire lever to lift the bead over the rim edge and hook the lever onto a spoke. Repeat the same step about 5 cm to the right of the valve with a second tire lever. Work your way around the rim until one side of the tire is completely off. If there’s still a tube inside, remove it from the rim. Turn the wheel so the remaining mounted side is facing you, then pull the tire off the rim by hand along the rim edge.
Pro tip: If the tire feels too tight, double-check that all the air is out. Then push both beads as far into the center of the rim as possible before trying again.

STEP 2
Prepare the rim
Lift the old rim tape at the valve using a screwdriver and peel it off the rim from the side. You only need to remove old tubeless rim tape if it no longer adheres properly. Once removed, clean the rim thoroughly to remove any residue. Next, clamp the wheel between your legs and position the start of the tubeless rim tape two to three spoke holes past the valve hole. Pull the tape firmly toward you and begin applying it to the rim. Work your way around the rim with steady tension. Overlap the end of the tape by around 5–10 cm, then cut it off. Press the tape down firmly all the way around.

STEP 3
Install the valve
Start by removing the valve cap and locknut. Set both parts aside so they don’t get lost. Insert the valve from the spoke side of the rim so its position marks the rim tape. You can either pierce the tape directly with the valve or, to protect the rim tape, carefully punch a hole using a heated awl. Next, push the tubeless valve through the valve hole from the outside. If a seal is included, place it onto the valve. While pressing the valve firmly into the rim bed with your fingers, tighten the locknut by hand until it’s snug.

STEP 4
Mount the tubeless tire
First, check the direction of rotation printed on the tire sidewall. Place the wheel inside the tire and start mounting one side of the tire opposite the valve. You should be able to fit this side onto the rim by hand without using tools. To create more slack, keep pushing the bead into the center of the rim as you work. Now mount the second side of the tire the same way. The last 10–20 cm are usually the most difficult. Push the already mounted sections back into the center of the rim and work the remaining section on with your thumbs. On very tight setups, especially with hookless rims, plastic tire levers can help.
Pro tip: You can apply mounting fluid or soapy water to the tire bead and rim edge to make installation easier.

STEP 5
Check the tire seating
This step lets you check whether the tire seats correctly without sealant leaking out. If needed, open the Presta valve and inflate the tire, ideally using a floor pump with a reservoir or a tire booster. Make sure not to exceed the tire’s maximum pressure. A clear popping sound indicates that the bead has snapped into place. Check that the tire bead runs evenly and parallel to the rim edge all the way around. Rotate the wheel and check that it spins true. If everything looks good, fully deflate the tire again.
Pro tip: If the tire won’t seat, press it toward the rim at the valve while inflating.

STEP 6a
Add sealant through the valve
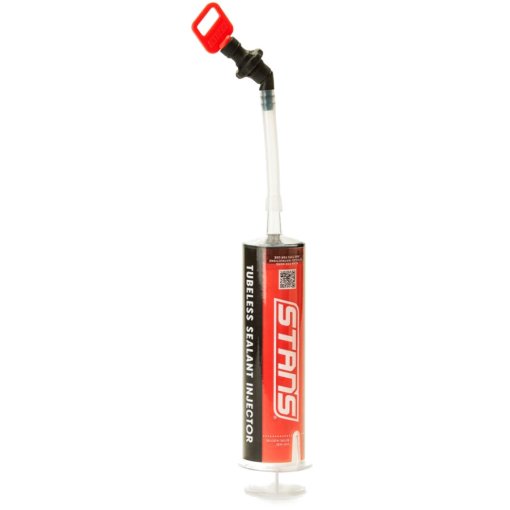
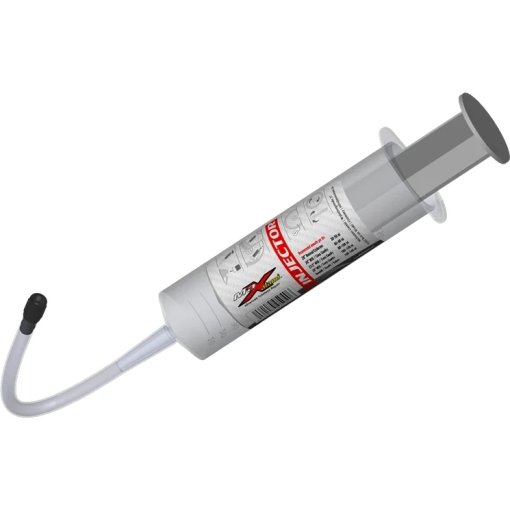
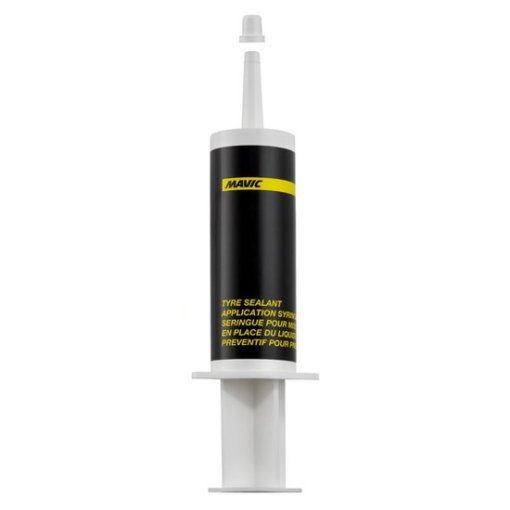
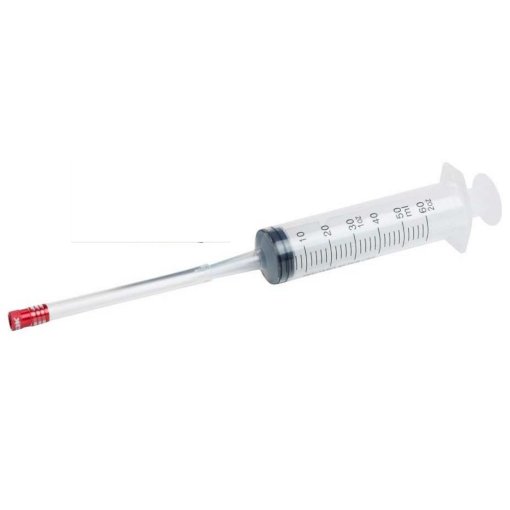
Place a cloth on the floor to protect it from spills. Using a valve core tool, remove the valve core. Shake the sealant bottle thoroughly. Position the valve at the 12 o’clock position, then rotate the wheel so the valve moves to 6 o’clock. This makes it easier to add the correct amount of sealant. Add the recommended amount of sealant through the valve. You can pour it directly from the bottle or use a syringe. Once finished, reinstall the valve core.

STEP 6b
Add sealant from the side
Unseat the tire slightly at the valve, as described in Step 1. Rotate the wheel so the opening is at the lowest point and add the correct amount of well-shaken sealant. Carefully rotate the wheel again so the opening is at the top, then fully remount the tire.

STEP 7
Inflate the tire
Inflate the tire to a pressure that’s approved for both the rim and the tire. The permitted pressure range is printed on the tire sidewall and often on the rim as well. If you’re using hookless rims, take extra care not to exceed the maximum pressure. Once inflated, rotate and shake the wheel in all directions so the sealant spreads evenly inside the tire and seals the sidewalls. Small bubbles along the sidewall are completely normal. You can just wipe away any excess sealant.
FAQs
Our top picks


Need help with your next project?
Get in touch with our customer service team. Our experienced cyclists are happy to help.


Want to stay up to date?
Be the first to hear about great deals, news, and trends – delivered straight to your inbox.
